
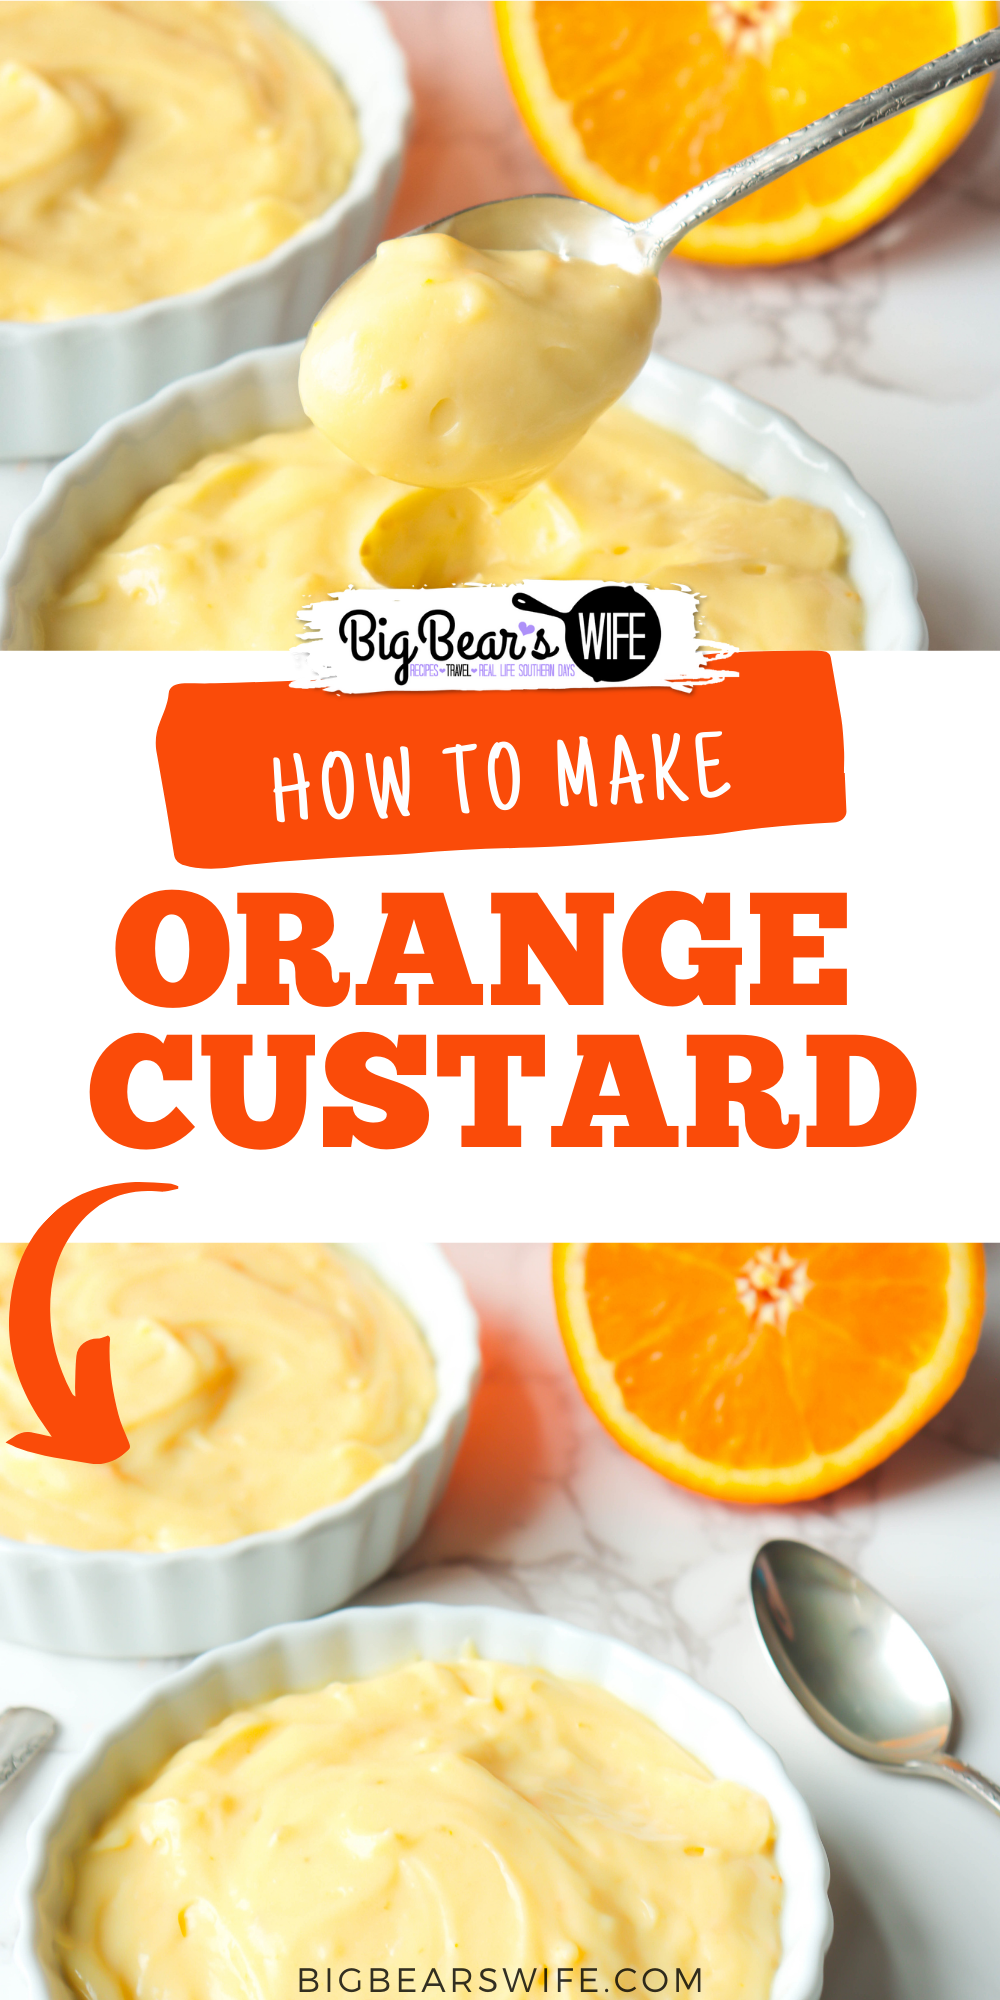
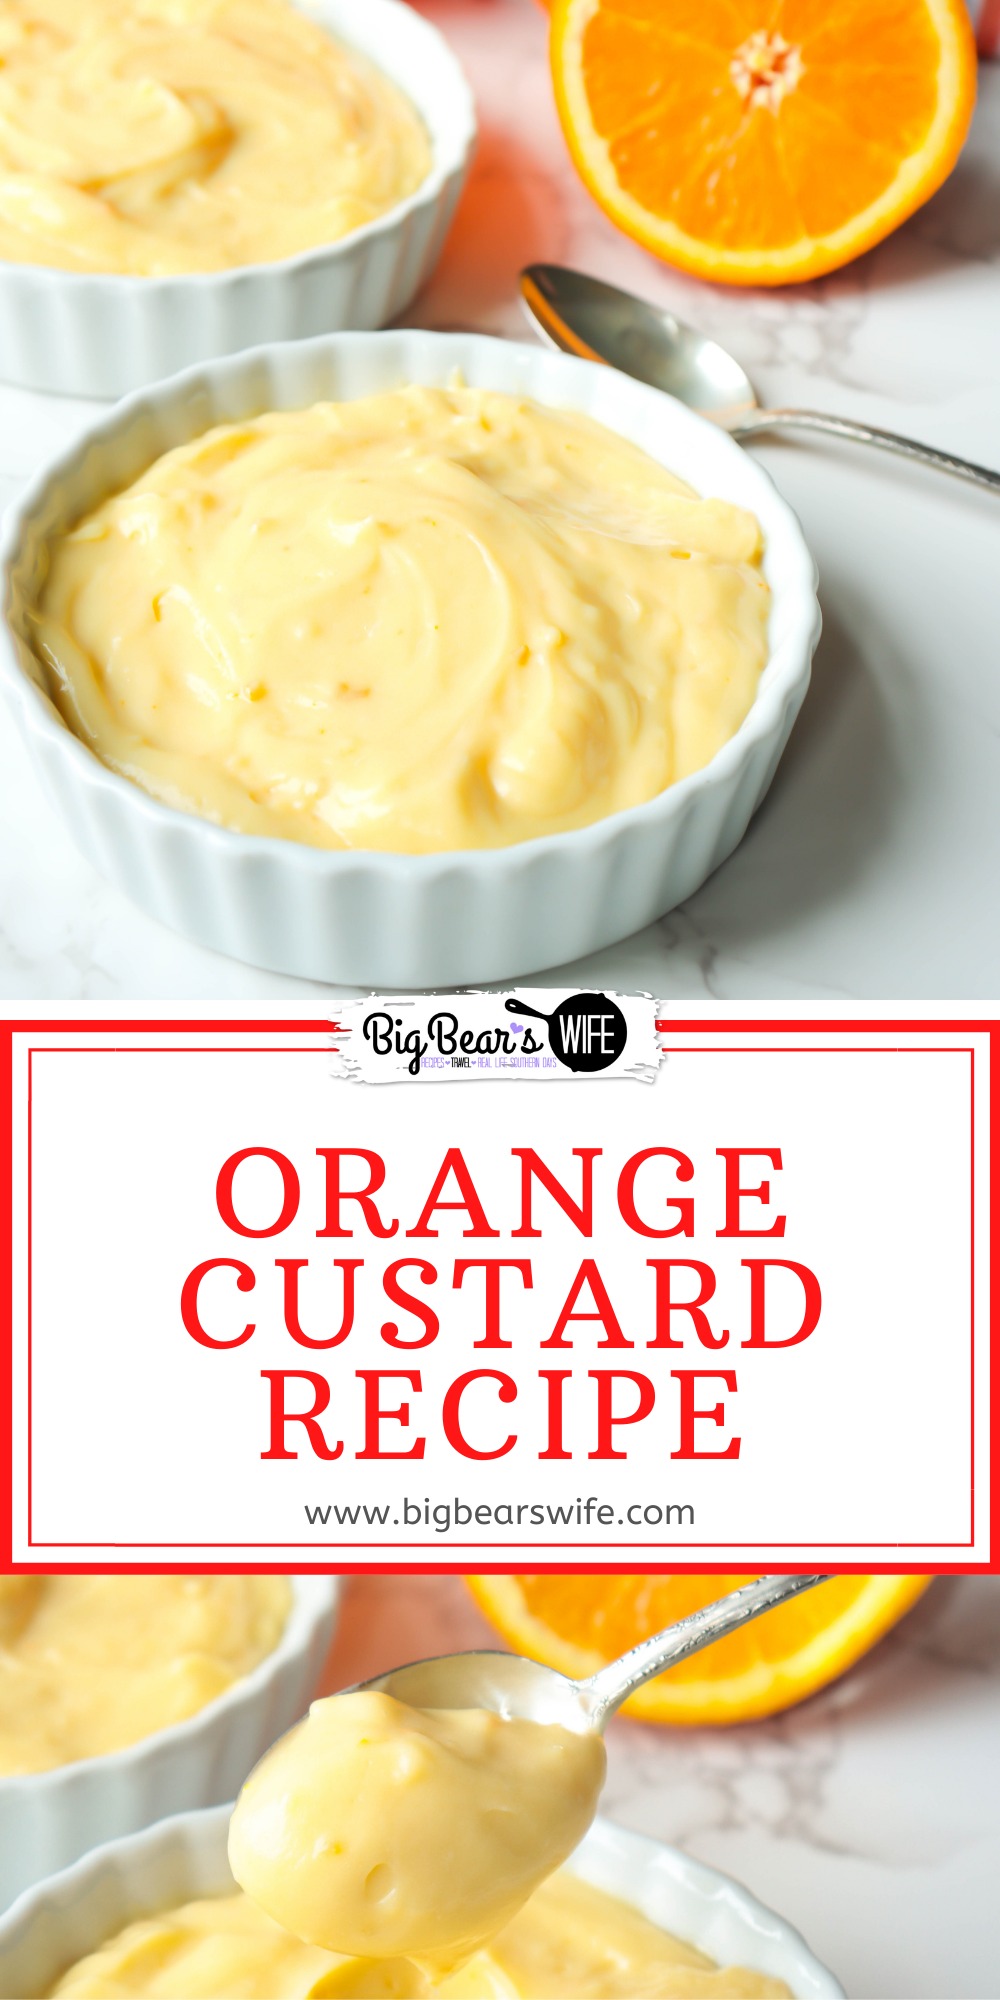

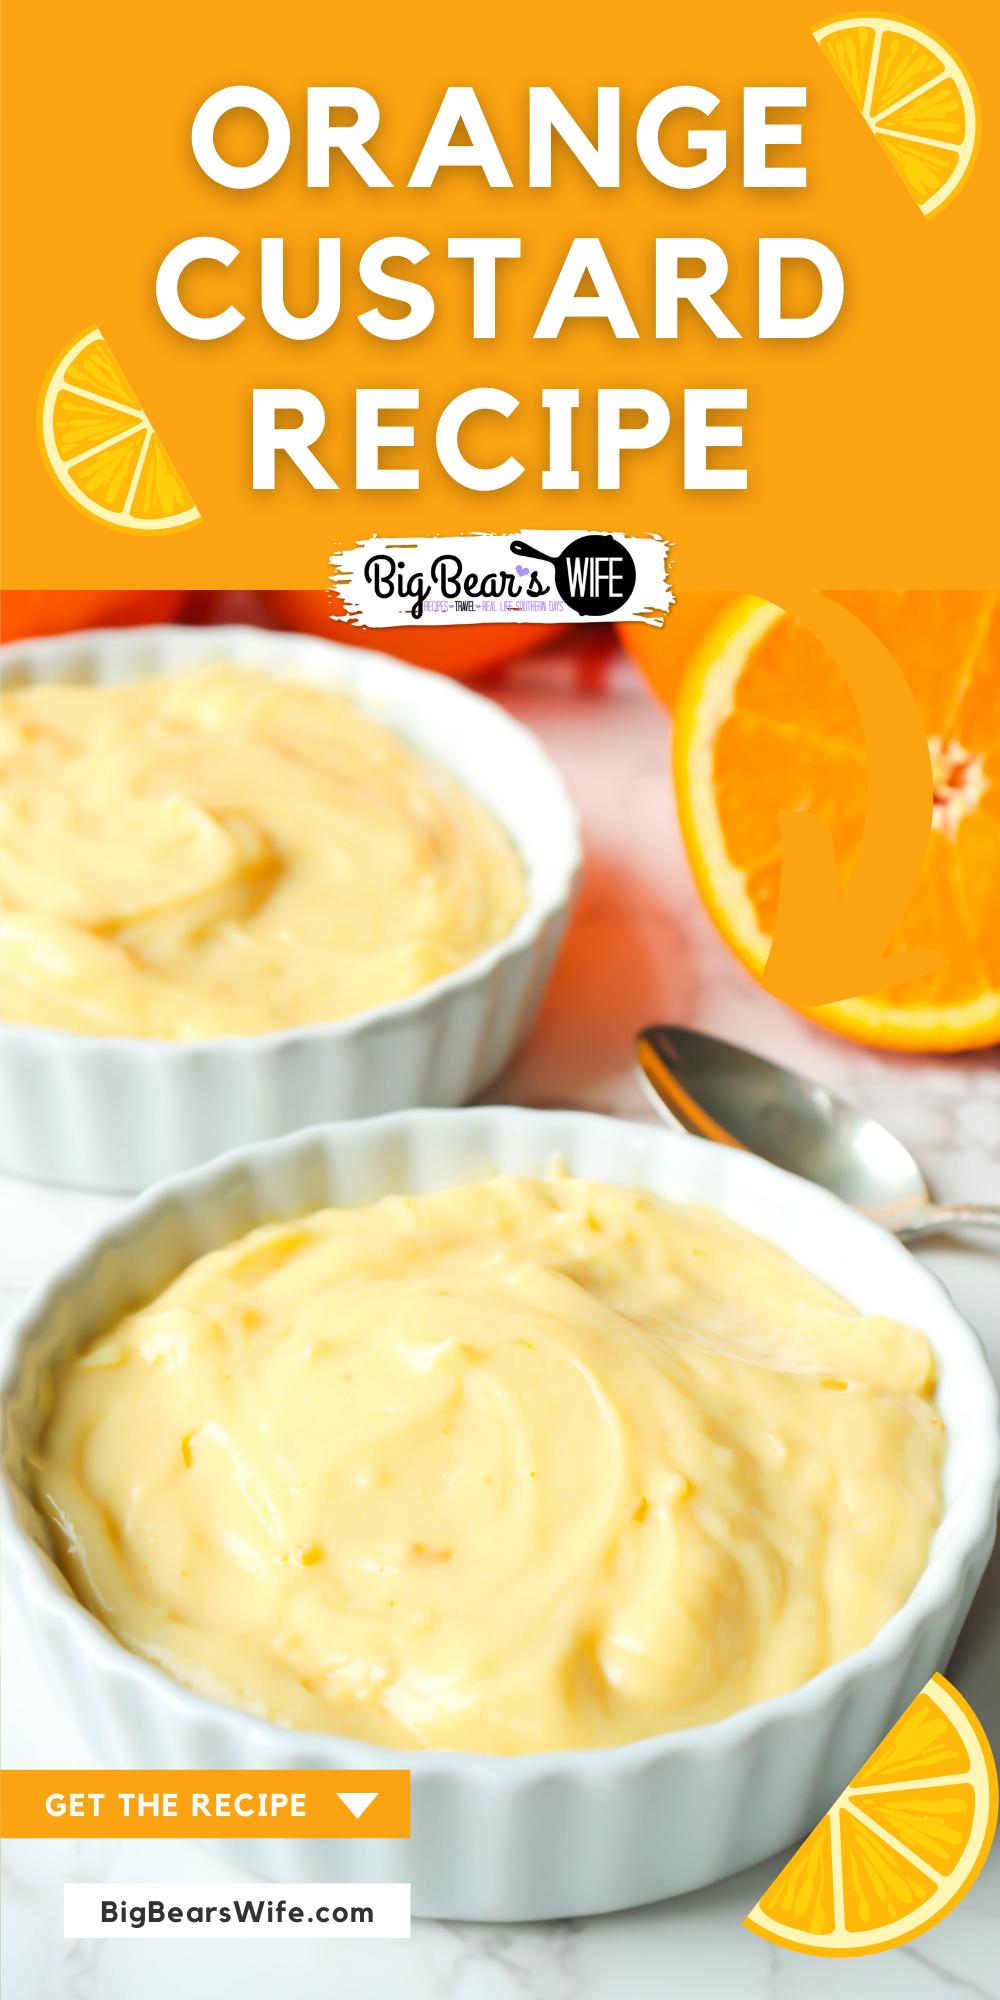
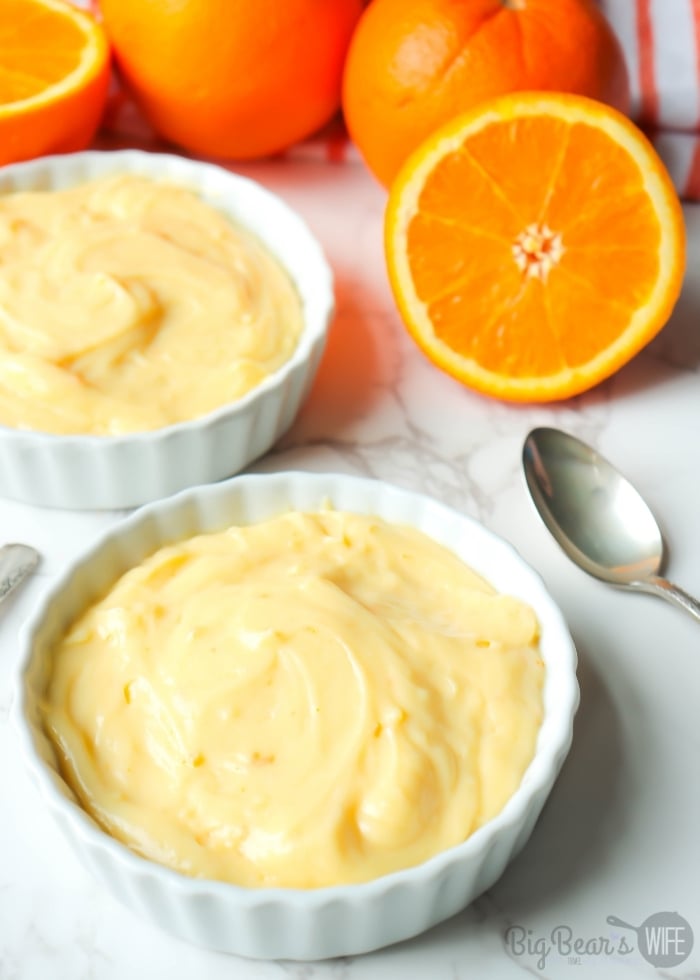
This Orange Custard is a cold, creamy vintage custard recipe that is full of orange flavor and smooth like a thick homemade pudding!
This post was created for Dixie Crystals by BigBearsWife, post and words written are 100%mine as always.
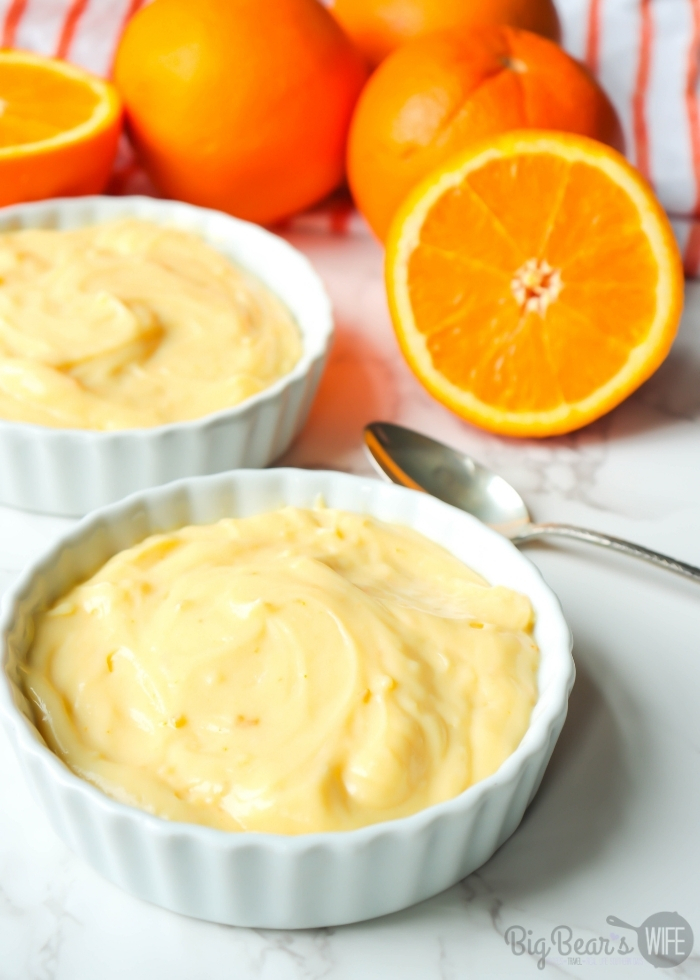
If you love pudding this is a dessert that you’ll be adding to your favorites list as well! This Cold Orange Custard is the perfect dessert for spring or summertime!
Ingredients For Cold Orange Custard:
- whole milk
- white sugar
- cornstarch
- egg yolks
- orange zest
- fresh orange juice
- vanilla
- butter
Ingredient amounts and recipe directions below with a print option!
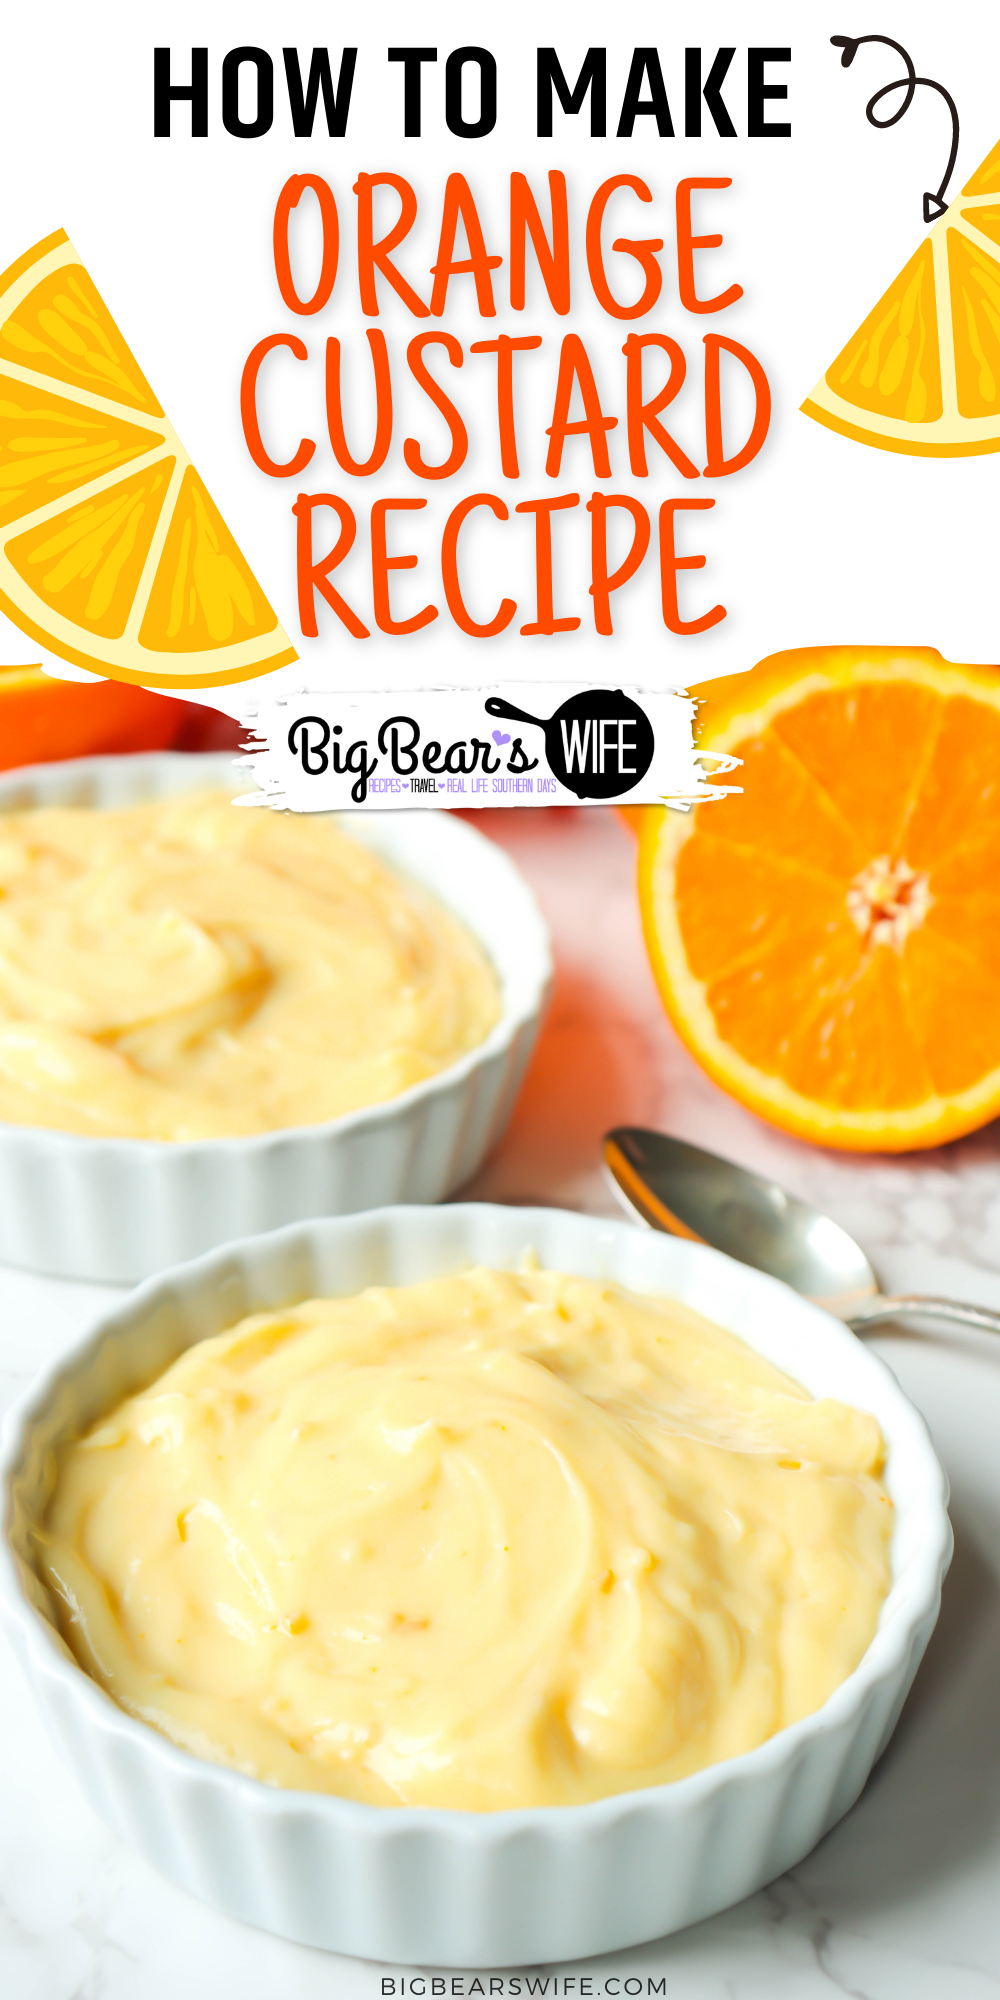
How To Make Cold Orange Custard:
-
We’re going to start this recipe by heating milk in a sauce pan. Don’t let the milk boil but it needs to get pretty hot.
-
While that is heating up you’ll want to whisk together the sugar & cornstarch together. Just sit that aside because we don’t need it quite yet.
-
We do however need to whisk the egg yolks to a pale yellow color. Once the egg yolks are a pale yellow it’s time to add in the orange and vanilla parts of this recipe.
-
I like to add the zest and juice to the egg yolks instead of the milk because I’ve read that orange juice can curdle milk if added directly to it and we don’t want to do that.
-
When it comes to the point in the recipes where you need to add the milk to the egg mixture make sure to follow the directions. You want to remove the milk from heat and then slowly add it to the egg mixture while whisking.
Don’t add it too fast or whisk to quickly of you’re going to end up with orange flavored scrambled eggs! -
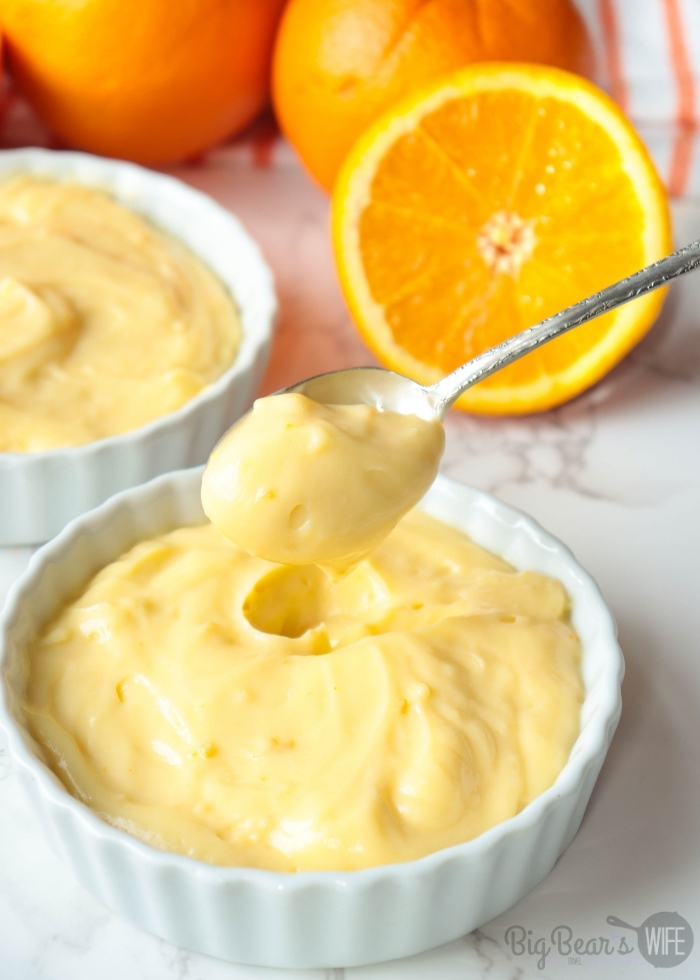
Pour mixture back into sauce pan and place over medium heat. Heat and whisk continuously for 5 minutes, until custard has thickened to the consistency of thick pudding. At first you’ll think that it will never thicken! Don’t worry, it will.
-
Once thick, remove from heat and whisk in butter.
-
Pour custard into large bowl. Cover with plastic wrap, pressing plastic wrap onto top of custard to prevent skin from forming.
Is Custard The Same As Pudding?
If you’ve never had custard, you may be wondering what it is and how to make it. I like to compare custard to pudding, especially homemade pudding. Custard is slightly thicker and a bit heavier than pudding but very similar in texture.
Why Do I Need To Add Plastic Wrap To The Top Of Custard?
Adding plastic wrap directly onto hot custard will prevent a gross skin from forming over the custard as it cools.
Chill for at least 4 hours before serving.
Can I Use Bottled Orange Juice?
You can but you already have to use an orange for the zest, you might as well use the juice from the same orange.
How Long Does This Need To Chill Before Serving?
Chill for at least 4 hours before serving.
Cold Orange Custard
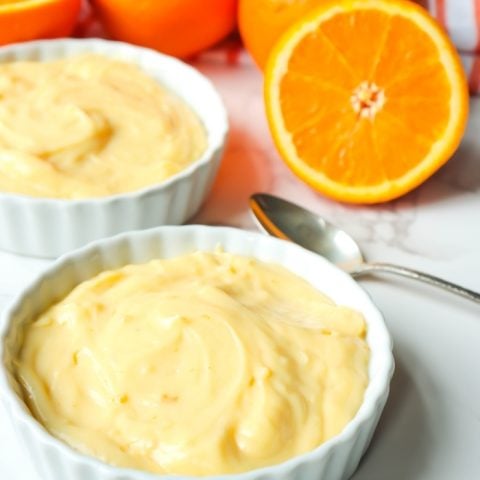
Cold Orange Custard
A cold, creamy vintage custard recipe that is full of orange flavor and smooth like a thick homemade pudding!
Ingredients
- 2 cups whole milk
- 1/2 cup white sugar
- 1/4 cup cornstarch
- 4 egg yolks
- 1 teaspoon orange zest
- 1 tablespoon fresh orange juice
- 2 teaspoons vanilla
- 1 tablespoon butter, unsalted
Instructions
Heat milk in medium saucepan until hot but not boiling.
While milk is heating, add sugar and cornstarch to mixing bowl. Whisk together.
With an electric mixer or by hand, whisk egg yolks into sugar mixture until pale yellow.
Whisk in orange zest, orange juice and vanilla.
Remove milk from heat.
While whisking/mixing on low, very slowly pour heated milk into egg mixture. Mix slowly until combined.
Pour mixture back into sauce pan and place over medium heat.
Heat and whisk continuously for 5 minutes, until custard has thickened to the consistency of thick pudding.
Once thick, remove from heat and whisk in butter.
Pour custard into large bowl. Cover with plastic wrap, pressing plastic wrap onto top of custard to prevent skin from forming.
Chill for at least 4 hours before serving.
If you make this recipe, leave me a comment or snap a picture and share it on Instagram, Facebook or Twitter with the hashtag #bigbearswife — I love to see what you’re cooking from the blog!
Love it? Pin it to Pinterest!
Leave a Comment