
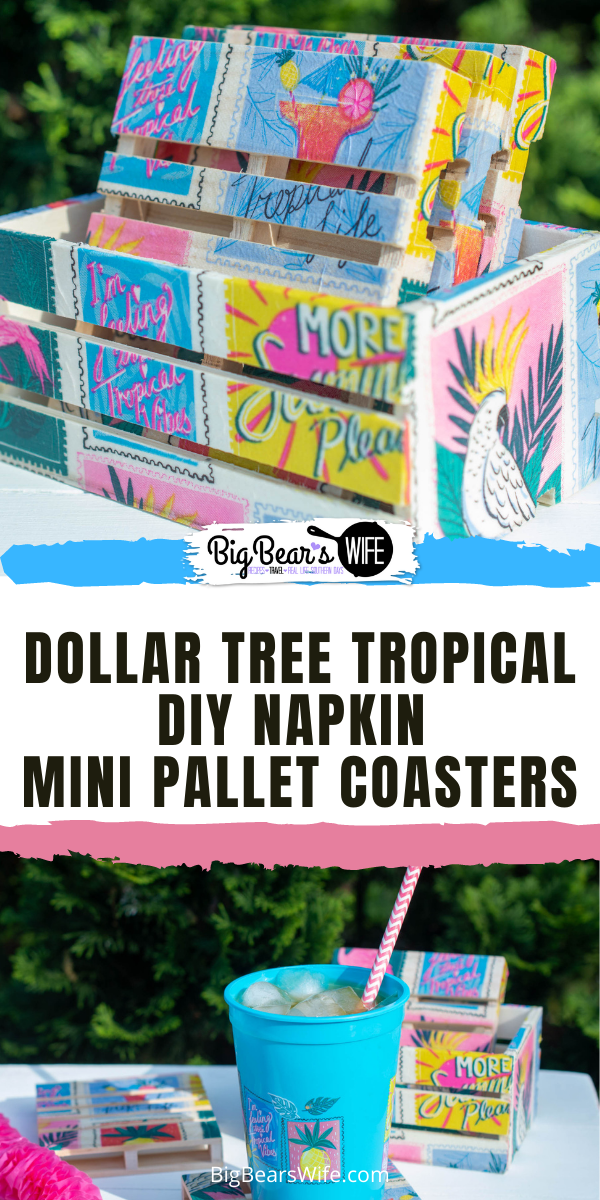
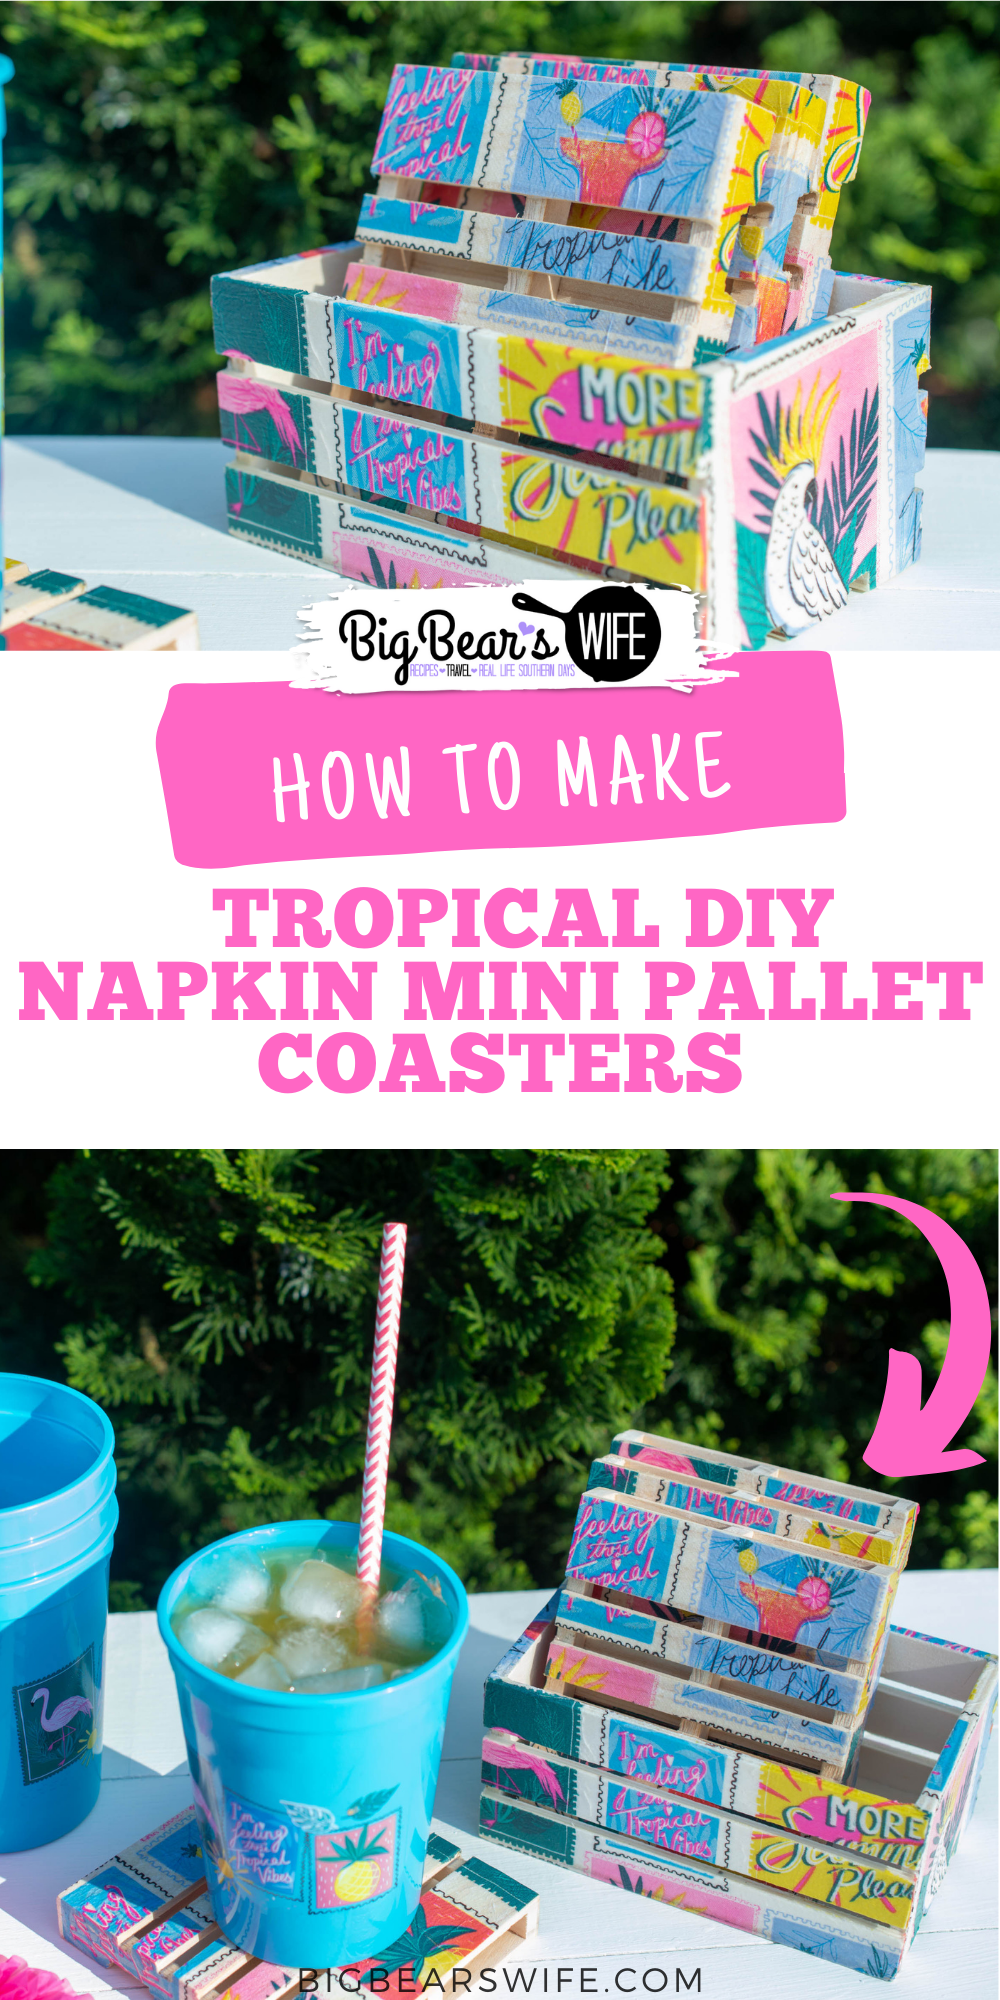
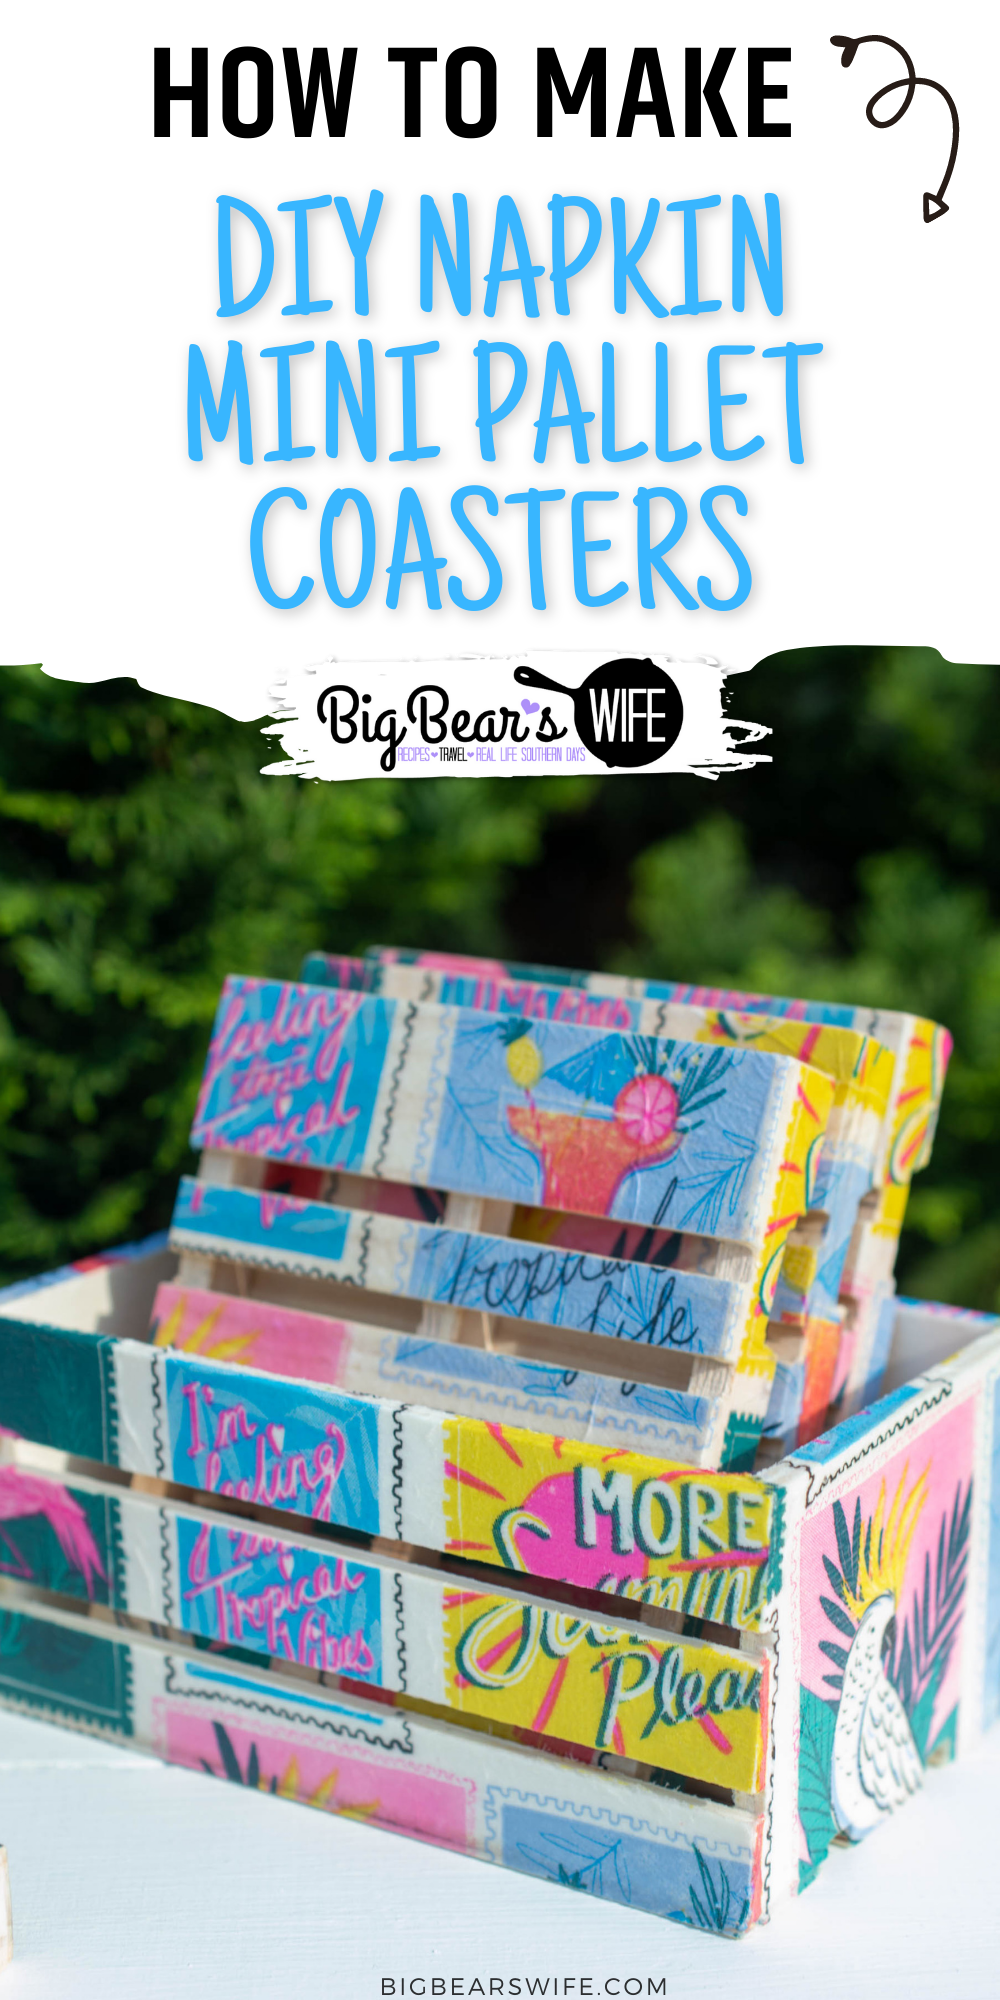
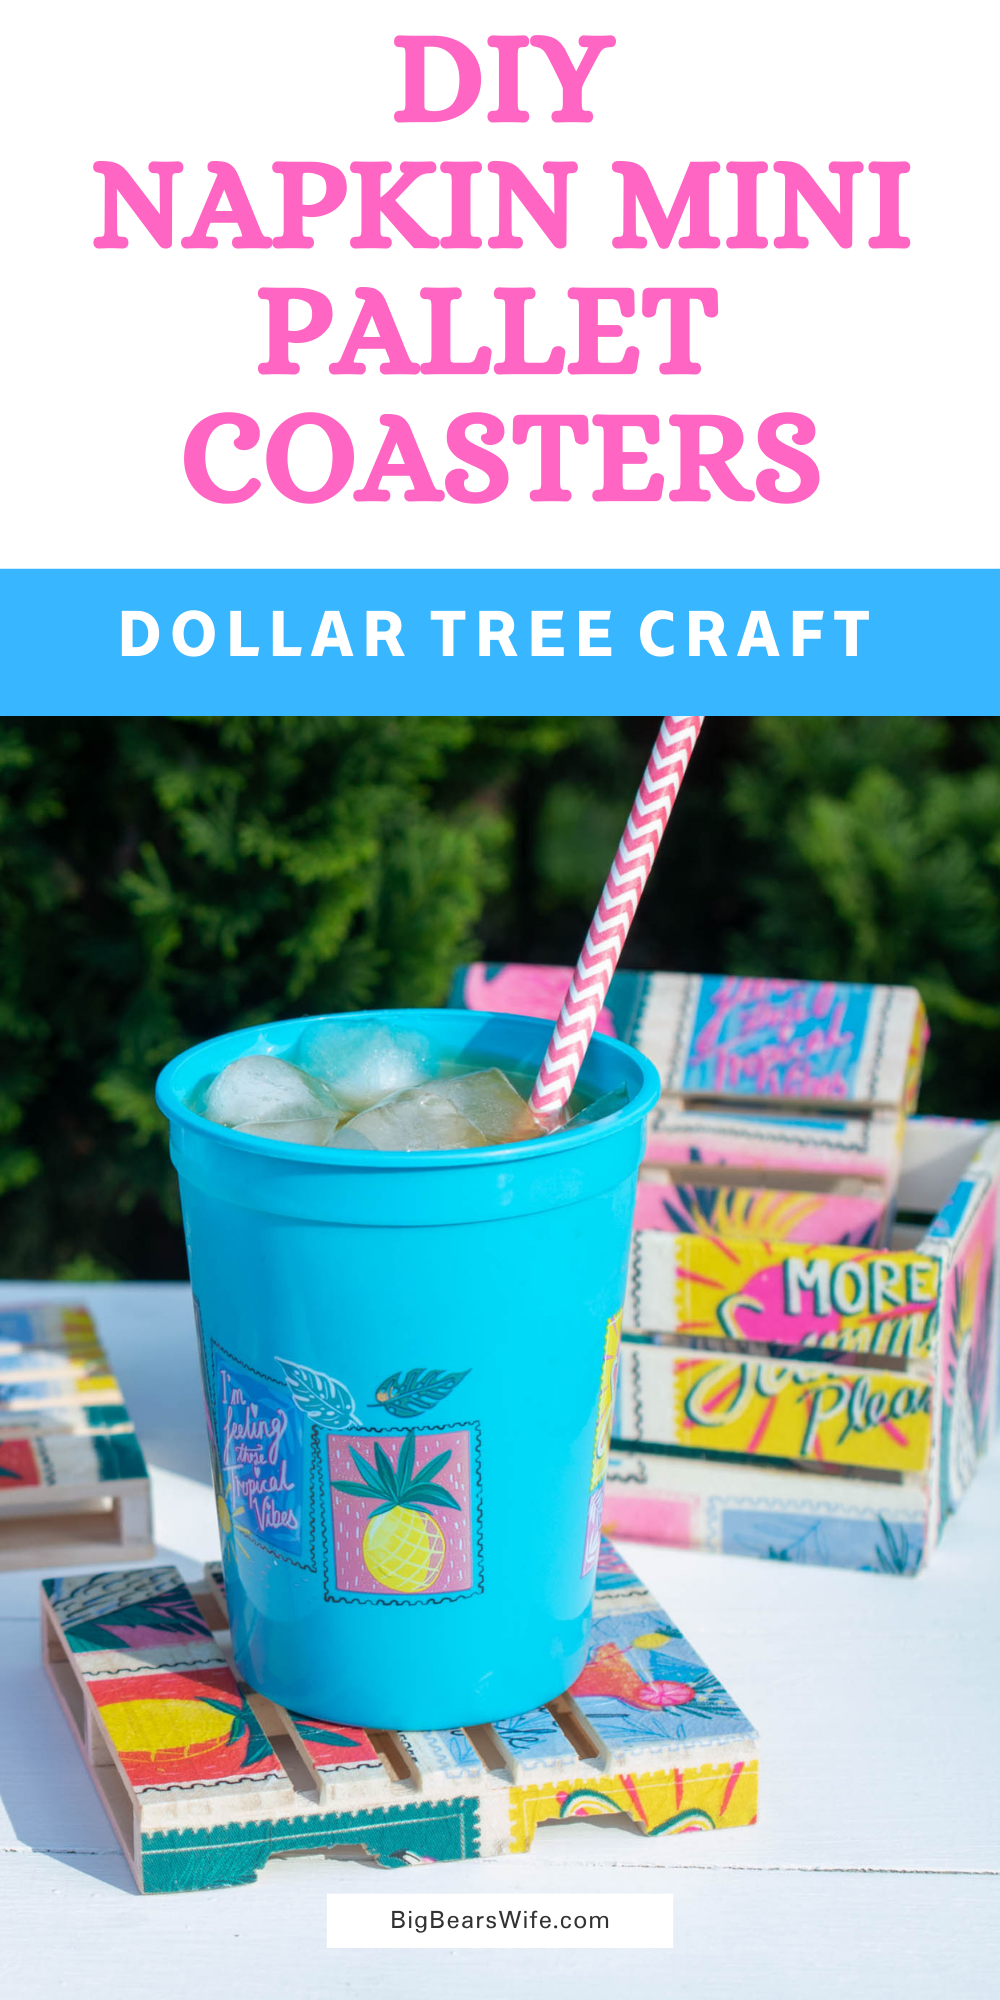

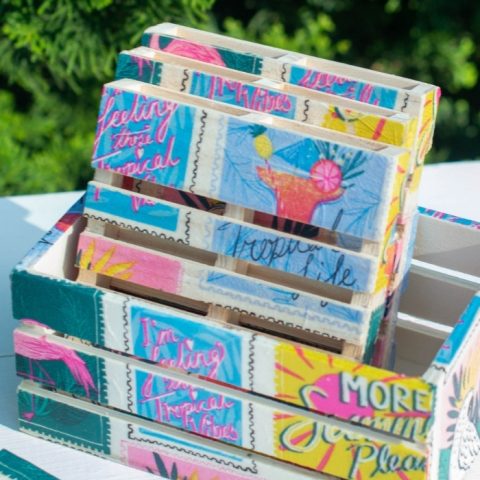
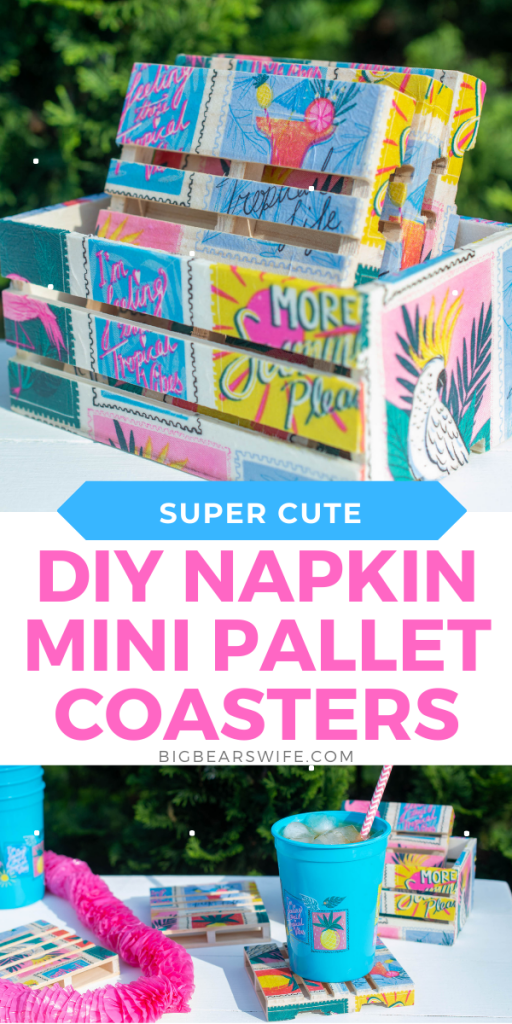
These adorable Dollar Tree Tropical DIY Napkin Mini Pallet Coasters are perfect for summer and super cute for the patio or beside the pool! They’re made using napkins, mod podge and mini wooden pallets from Dollar Tree! This step by step photo tutorial will show you exactly how to make Napkin Mini Pallet Coasters
RECIPE IS BELOW IN PRINTABLE RECIPE CARD BUT BLOG POST IS FULL OF “HOW TO MAKE IT”, TIPS, INFORMATION AND FAQ
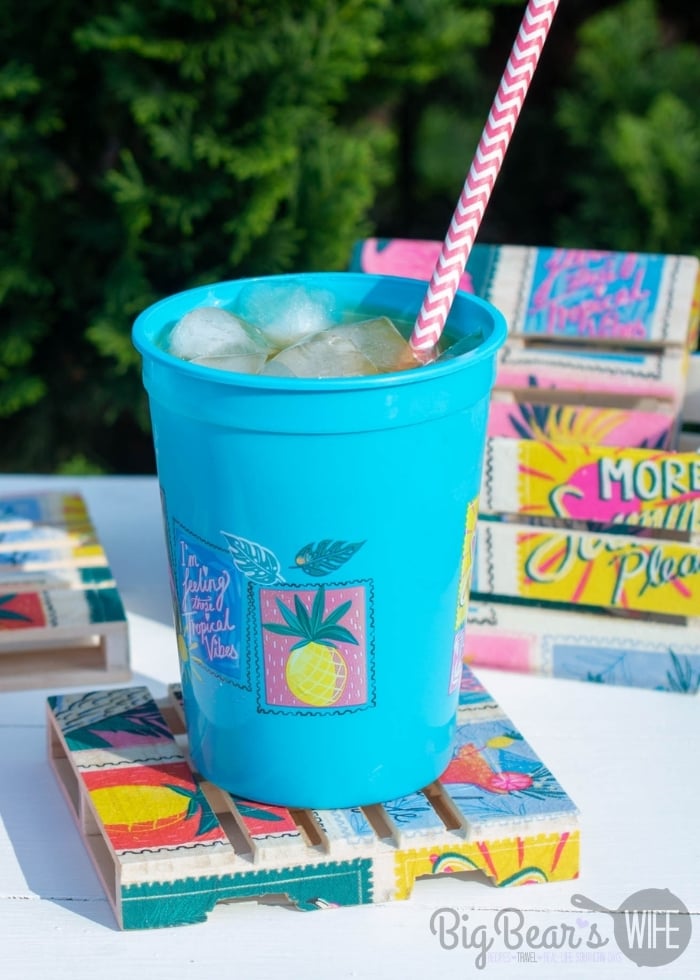
I’m so in love with these cute DIY Napkin Mini Pallet Coasters! Not only are they adorable but they’re perfect for sitting out by the pool or on the table for this weekend’s summer cookout! I love cute little DIY crafts like this because they don’t cost a lot of money and because you can make them match any theme or holiday.
Why You Should Make these cute DIY Napkin Mini Pallet Coasters…
- Mini Pallet Coasters are easy to make
- Can make them any theme just by picking different napkins
- almost all of the supplies come from Dollar Tree
- Super cute DIY gift idea
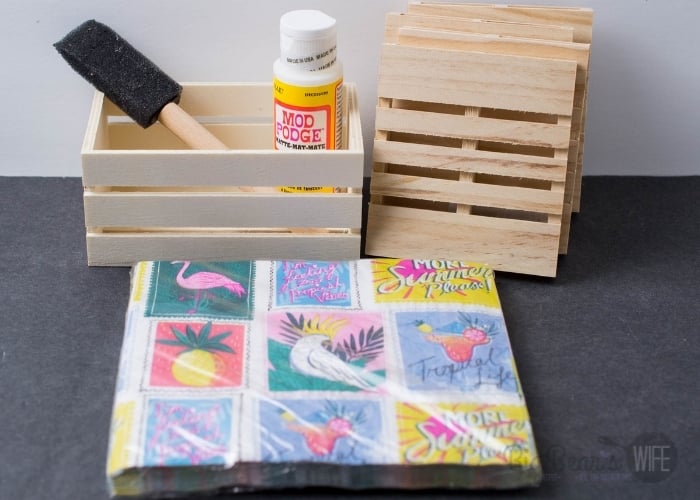
QUICK GLANCE AT Materials needs for these Mini Pallet Coasters:
- tropical design napkins*
- mini wood pallets*
- mini wood crate (the one that has open slats)*
- Matte Mod Podge*
- Foam brush*
- Scissors
- Exacto knife
- nail file (or sand paper)
Items with an * are from the Dollar Tree
How to make DIY DIY Mini Pallet Coasters:
- Gather Supplies
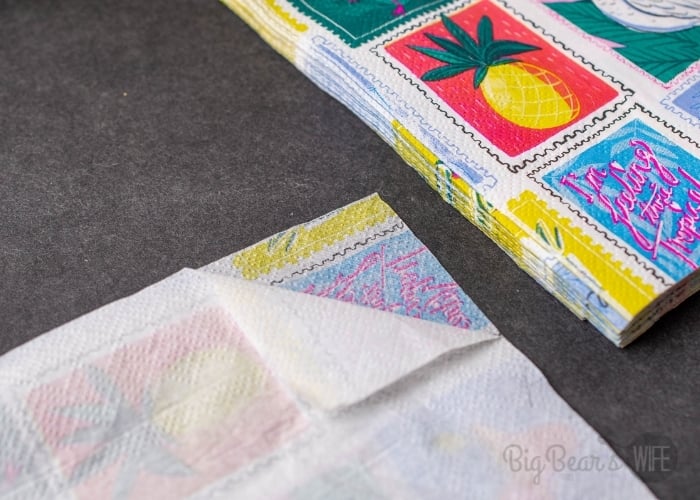
- Separate napkins
Start off by opening and separating the white backing from the napkins. Discard the white backing.
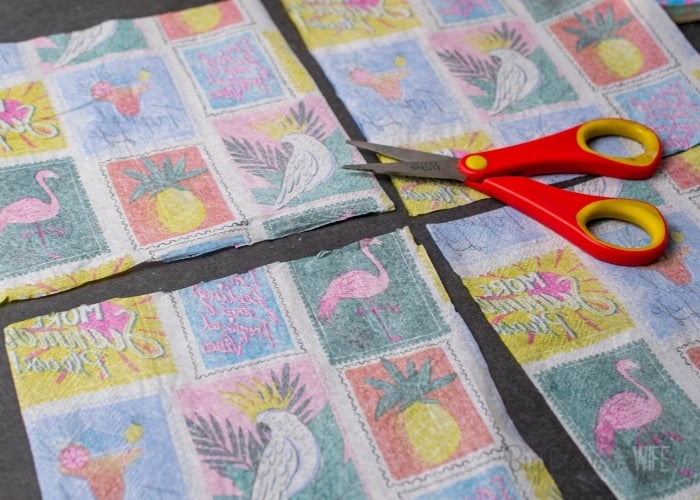
- cut napkins
Use scissors to cut one napkin with design layer into 4 squares
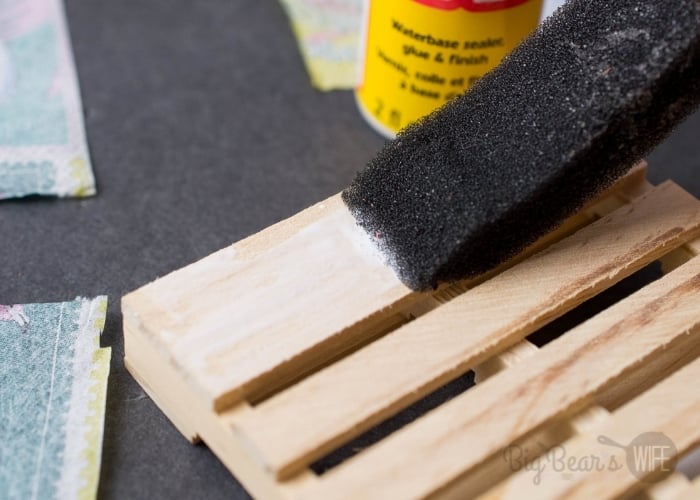
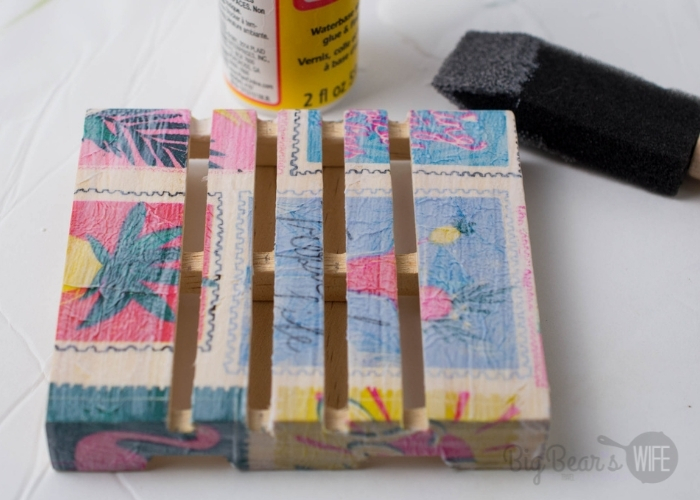
- start the mod podge
Apply a layer of Mod Podge to the “front” top of a pallet.
- press that napkin on!
Gently press the napkin evenly onto the pallet, design face up.

- Do the sides too!
Add Mod Podge to the “left and right flat sides” of the pallet and fold the napkin down, pressing gently and evenly.
-
The back of the pallet and “open top and bottom sides” do not need to be covered.
Repeat with all 4 pallets and cut any extra napkin that hangs over with the scissor. Set aside.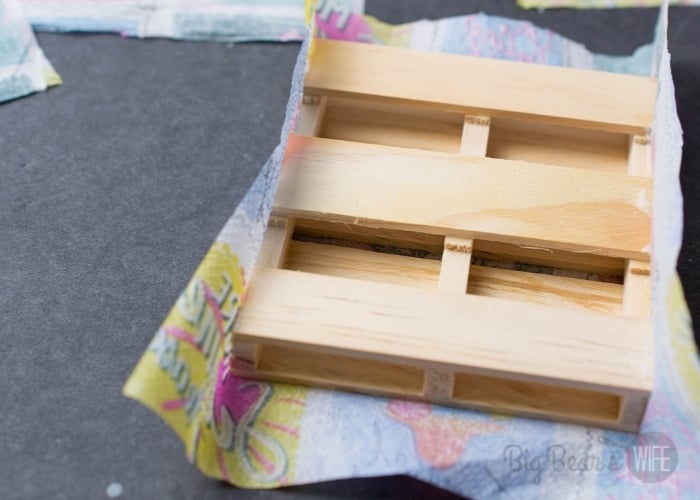
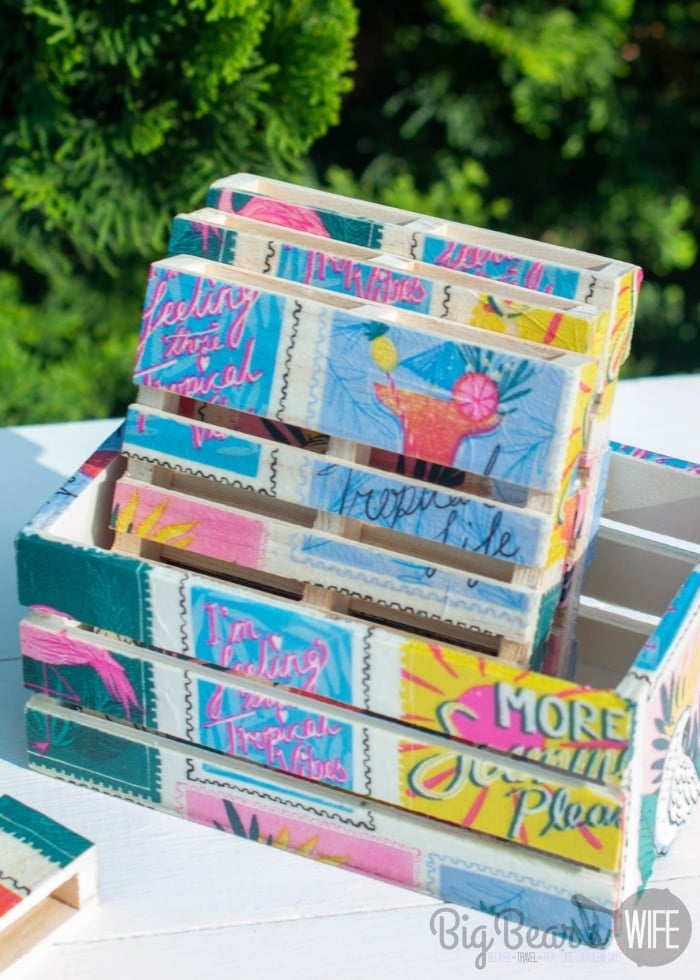
- Time to decorate the crate!
Using the remaining napkin that has been separated, cut in half into two long rectangles.
-
Apply a layer of Mod Podge to one side of the crate that has slats.
Gently press the napkin evenly onto the crate, design face up.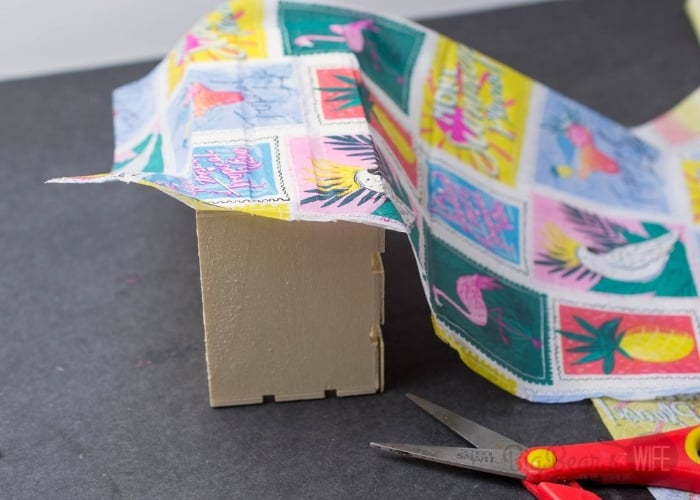
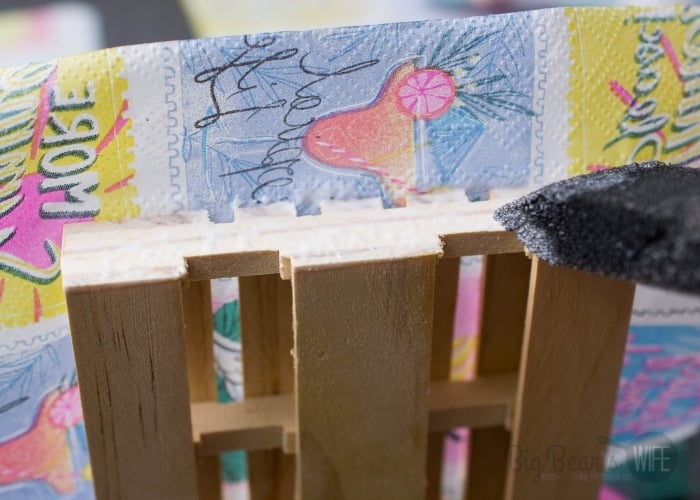
-
Add Mod Podge to the top edge above the side you just pressed the napkin onto and bring the napkin over and press gently to attach.
Repeat on the opposite side.
Cut any extra napkin that hangs over with the scissor.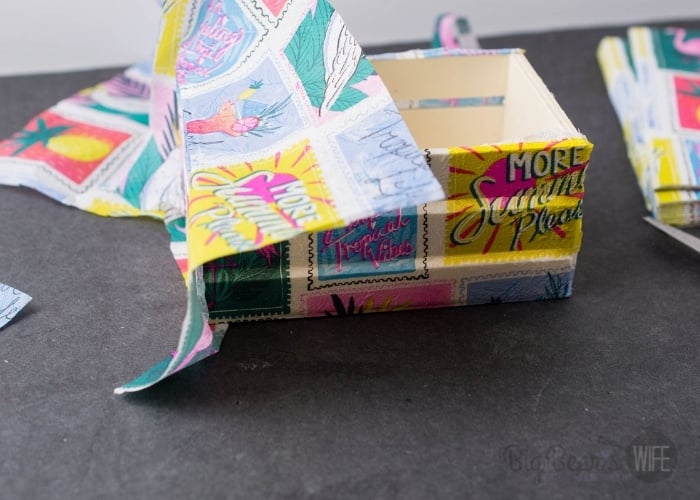
- Mod Podge those crate sides
Add more Mod Podge onto both the flat side of the crate and press a piece of the napkin onto it gently and evenly.
Apply Mod Podge to the top edge above those sides and bring the napkin over and press gently to attach.
Cut any extra napkin that hangs over with the scissor.
The bottom and inside of the crate do not need to be covered.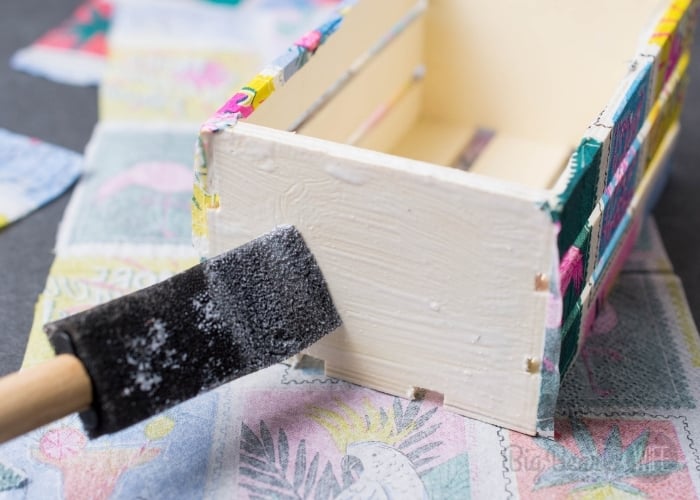
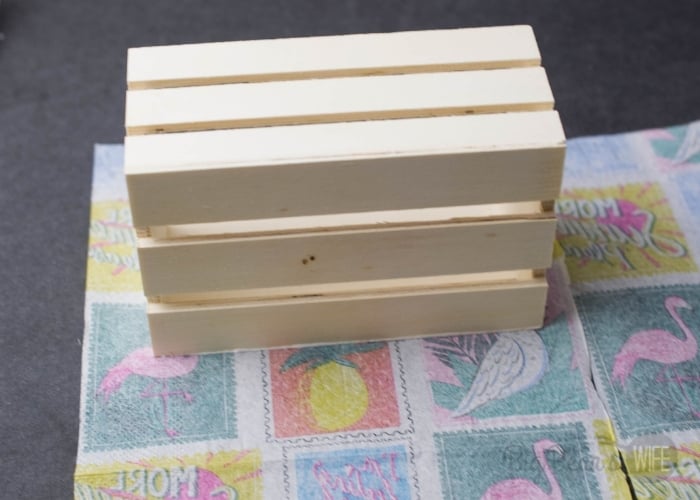
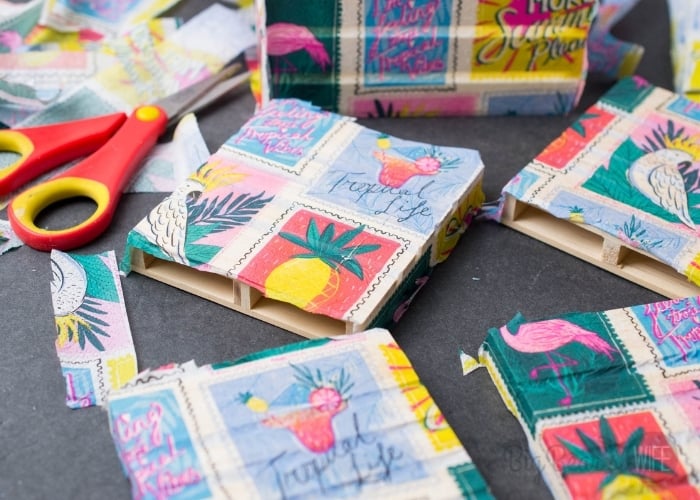
- Let them dry.
Allow all pieces to dry overnight or 8-12 hours.
- Exacto knife will help!
Using an Exacto knife, go in between all the slats that the napkin isn’t adhered to and cut off all extra napkins that hang over and aren’t needed.

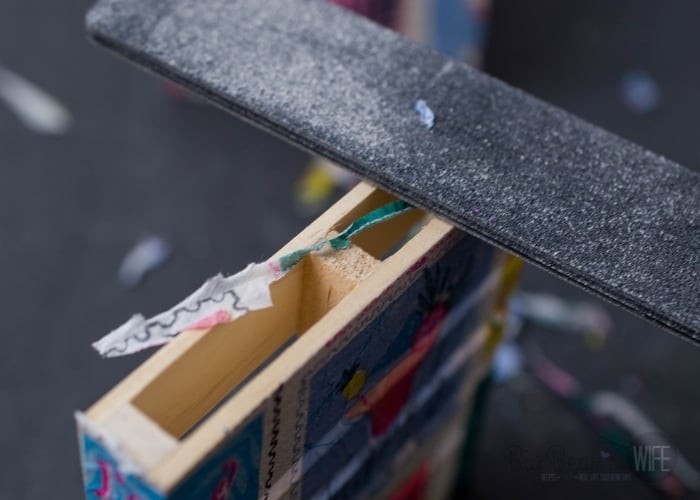
- Use a nail file to remove excess napkin.
You can also use a medium 100/180 grit nail file (you can use sandpaper instead) to gently rub to take off at edges.
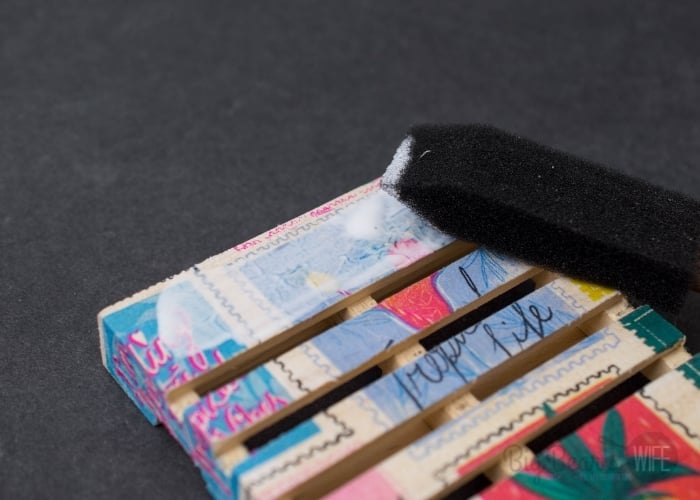
- Seal the coasters
Once all the extra napkin is taken off, add a final layer of Mod Podge all over areas with napkin on them to seal.
- Final Dry
Allow to dry for 6-8 hours.
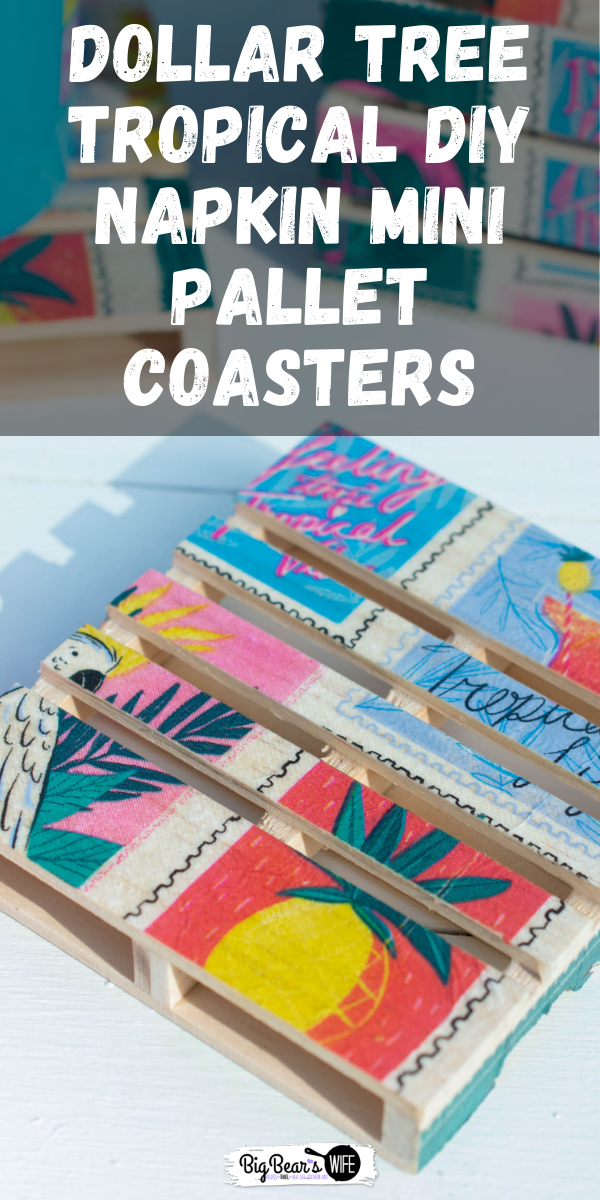
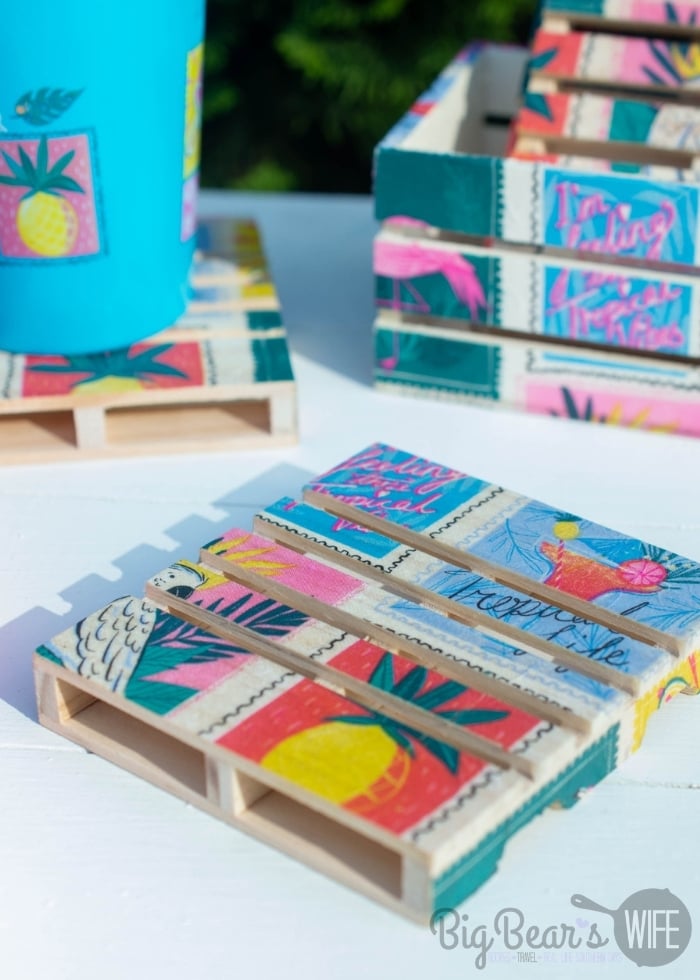
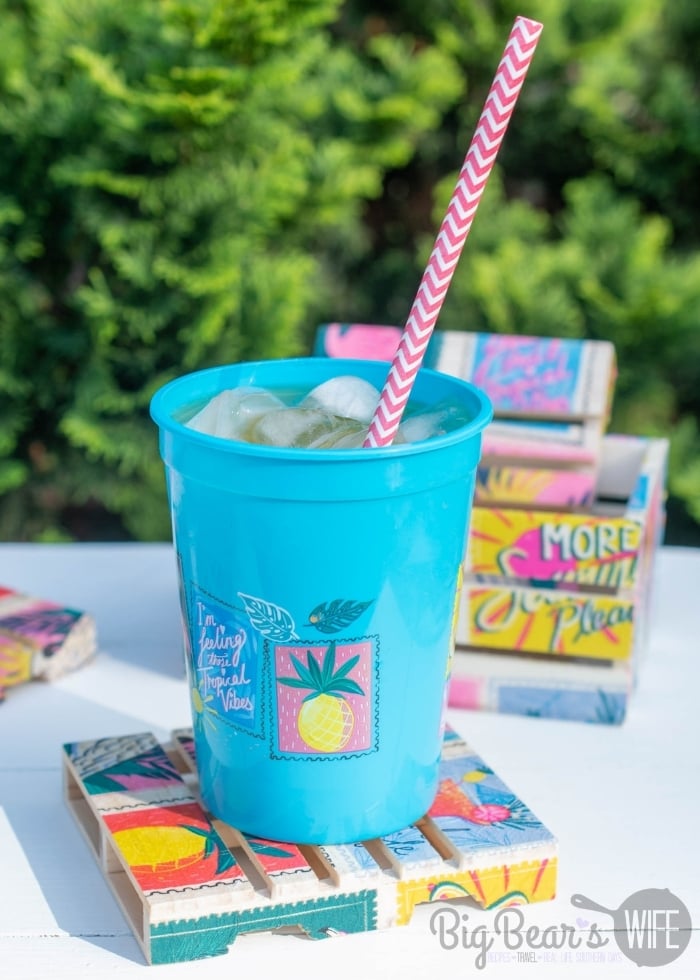
- After they’ve dried, it’s time to set them up and use them! So cute!!!
Change it up for seasons and holidays!
You don’t have to just make these with the tropical napkins! You could use any paper napkins that you like!
Frequently Asked Questions
They’re coasters for your drinks that are mini versions of larger wooden pallets.
You need paper napkins for this craft. You’ll need the kind that has a design on one side and white on the other. We’re going to only use the design layer for this project.
You can find mod podge at Walmart and at craft stores like Hobby Lobby and Michaels.
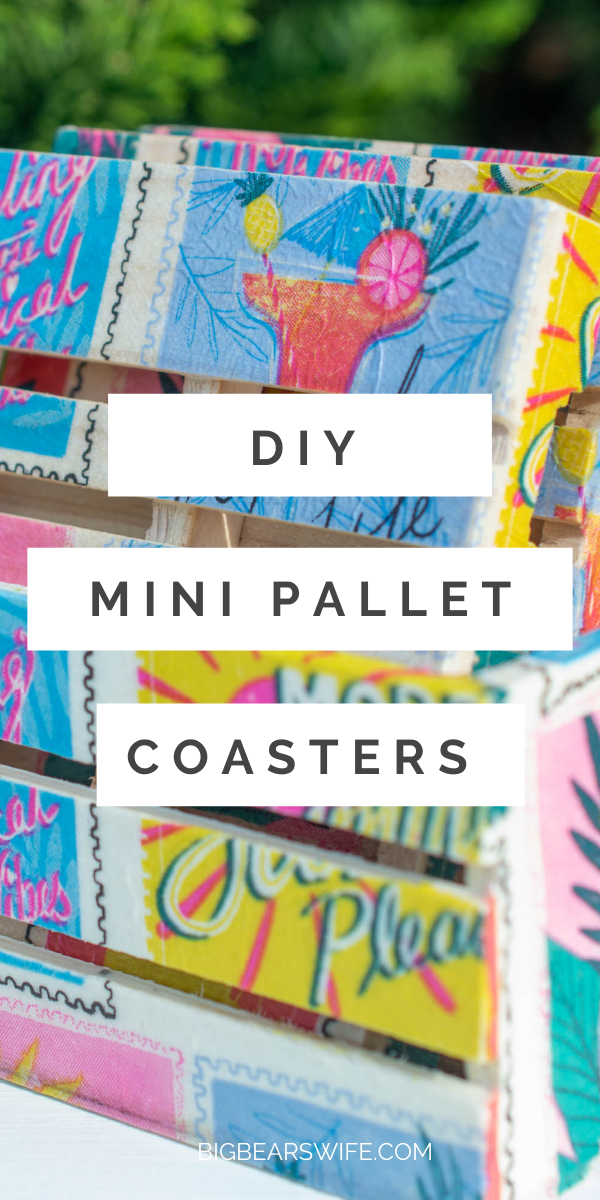
DIY Mini Pallet Coasters
Napkin DIY Mini Pallet Coasters
These adorable DIY Mini Pallet Coasters are perfect for summer and super cute for the patio or beside the pool! They’re made using napkins, mod podge and mini wooden pallets from Dollar Tree! This step by step photo tutorial will show you exactly how to make them!
Materials
- 2 tropical design napkins*
- 4 mini wood pallets*
- 1 mini wood crate (the one that has open slats)*
Tools
- Matte Mod Podge*
- Foam brush*
- Scissors
- Exacto knife and/or nail file (or sand paper)
Instructions
- Start off by opening and separating the white backing from the napkins. Discard the white backing.
- Use scissors to cut one napkin with design layer into 4 squares.
- Apply a layer of Mod Podge to the “front” top of a pallet.
- Gently press the napkin evenly onto the pallet, design face up.
- Add Mod Podge to the “left and right flat sides” of the pallet and fold the napkin down, pressing gently and evenly.
- The back of the pallet and “open top and bottom sides” do not need to be covered.
- Repeat with all 4 pallets and cut any extra napkin that hangs over with the scissor. Set aside.
- Using the remaining napkin that has been separated, cut in half into two long rectangles.
- Apply a layer of Mod Podge to one side of the crate that has slats.
- Gently press the napkin evenly onto the crate, design face up.
- Add Mod Podge to the top edge above the side you just pressed the napkin onto and bring the napkin over and press gently to attach.
- Repeat on the opposite side.
- Cut any extra napkin that hangs over with the scissor.
- Add more Mod Podge onto both the flat side of the crate and press a piece of the napkin onto it gently and evenly.
- Apply Mod Podge to the top edge above those sides and bring the napkin over and press gently to attach.
- Cut any extra napkin that hangs over with the scissor.
- The bottom and inside of the crate do not need to be covered.
- Allow all pieces to dry overnight or 8-12 hours.
- Using an Exacto knife, go in between all the slats that the napkin isn’t adhered to and cut off all extra napkins that hang over and aren’t needed. You can also use a medium 100/180 grit nail file (you can use sandpaper instead) to gently rub to take off at edges.
- Once all the extra napkin is taken off, add a final layer of Mod Podge all over areas with napkin on them to seal.
- Allow to dry for 6-8 hours.
Notes
- Items with an * are from the Dollar Tree
- These particular napkins only had 2 layers. Some may have 3 so always double check.
- You want the Mod Podge layers to be not too thin, but not too thick.
- I found that using the nail file was helpful to get in between the slats and edges that sandpaper would have been a little tough to get to.
If you make this craft , leave me a comment or snap a picture and share it on Instagram, Facebook or Twitter with the hashtag #bigbearswife — I love to see what you’re making from the blog!
Love the recipes/crafts that you’re finding here but worried about misplacing them? Sign up for my newsletter above for new recipes/crafts every week OR make sure to pin this recipe to your Pinterest account so it’s always easy to find!
Love it? Pin it!
Leave a Comment