
Have you ever made bread at home? It can be quite a scary adventure. Well maybe not scary for you but the thought of baking homemade – from scratch – bread terrified me. I kind of over came my fear a few years when I started making Homemade Beer Bread , but to be honest that’s pretty much flour, sugar and beer. That’s not homemade “yeasty” bread! The yeast part of bread making is what scared me!
The other day when I was at the Amish Market I bought a huge container of active yeast. Why? Because I obviously wanted to torture myself and because I’m crazy pants….
No, really I bought it because I wanted to use it as motivation! I thought that if I had this huge container of yeast in the pantry that I would HAVE to make bread or my money would go to waste. Well, I was correct.
That container of yeast in the pantry meant 2 things….#1 I needed to make bread and #2 I had an entire container to yeast to experiment with!
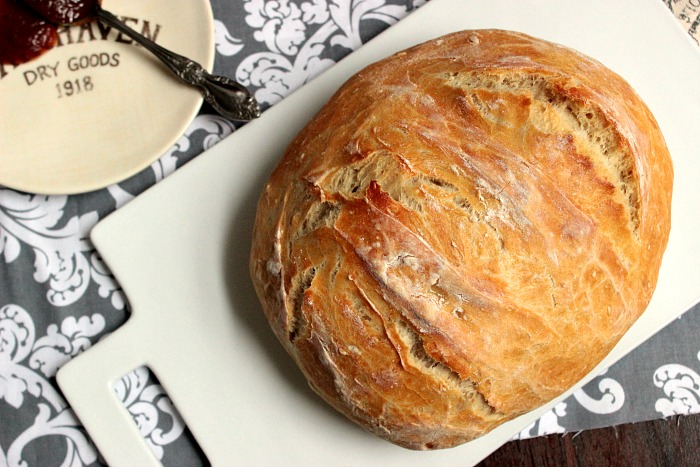
That’s how this beautiful homemade bread was made! I was so ridiculously in love with this bread and was beyond excited when it came out right! I made two loaves of bread and BigBear was in homemade bread heaven!

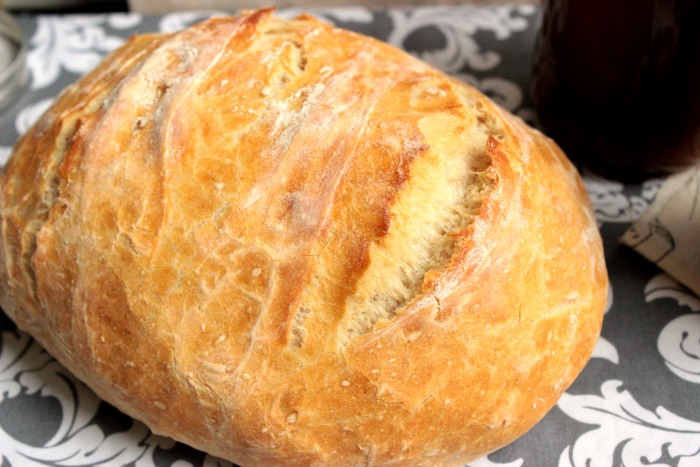
The top was crusty BUT the good kind of crusty! You know, the crusty baked bread with the soft inside.
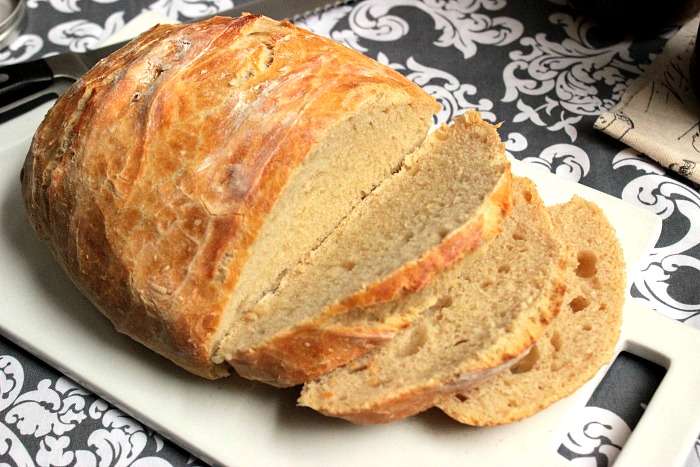
We cut it into slices and slathered homemade apple butter all over it!

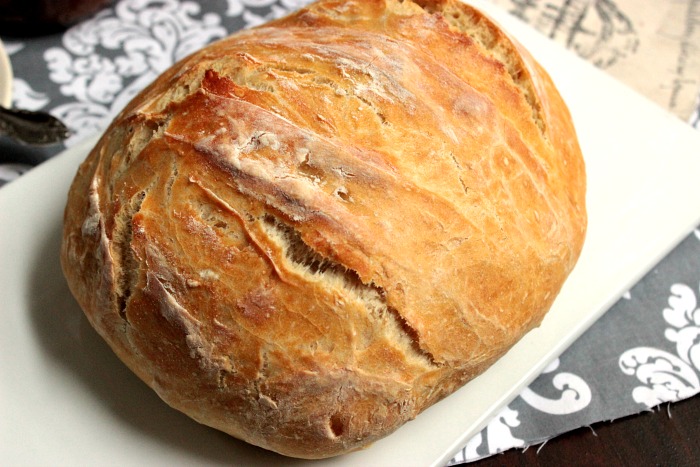
This recipe will make 2 loaves of Homemade “Artisan” Style Bread. Yes, I used the air quotes when saying “Artisan” because I’m kind of on the fence about what Artisan really means. I read somewhere once that Artisan was about the person that made the bread but I always think about Artisan as being this kind of bread. You know the kind here, round/oval with the crusty outside and soft outside. So I decided to call is “Artisan” haha.

…
 Homemade “Artisan” Style Bread
by: Angie Barrett 08/11/14 (Click to Print)
1 1/2 teaspoons salt
3 cups water
6 1/2 cups all-purpose flour, extra for dusting
In a small bowl, mix the yeast and 3 tablespoons of water, set aside.
In a large bowl mix together the flour and salt. Add in the yeast mixture and water. Stir well to combine.
Cover the bowl with a tea towel and let the dough rise in a warm place for two hours. (I place my bowl in the microwave and close the door just to let it sit)
Preheat the oven to 450F.
Place a baking sheet into the oven. Also place a roasting pan into the bottom of the oven to preheat.
Once the dough has been sitting for about 2 hours and almost doubled in size, turn the dough out onto a floured surface and cut in half.
For 1 half, roll the dough into a ball/oval shape. Dust with flour. Do the same for the second half.
I place my dough balls on a square of foil and then lightly dust them with a little bit of flour.
Sit the to loaves in a warm place and let them rest for 45 minutes.
Pre-heat oven to 450F.
Place a sheet pan onto the top rack of the oven (kinda middle top). Place a roasting pan on the bottom rack of the oven. Let the baking sheet and roasting pan preheat in the oven for about 30 minutes.
Use a sharp knife and slash across the top of each loaf 3 times. Slide the bread (on the foil squares or parchment paper squares) into the baking sheet! BE CAREFUL, it’s HOT!
Pour 2 cups of water into the hot roasting pan under the bread and quickly shut the oven door and trap the steam inside!
Bake for 30-40 minutes!
Remove from oven and let cool! Bread should be hard on the outside but oh so soft inside!
Makes 2 loves

Leave a Comment