
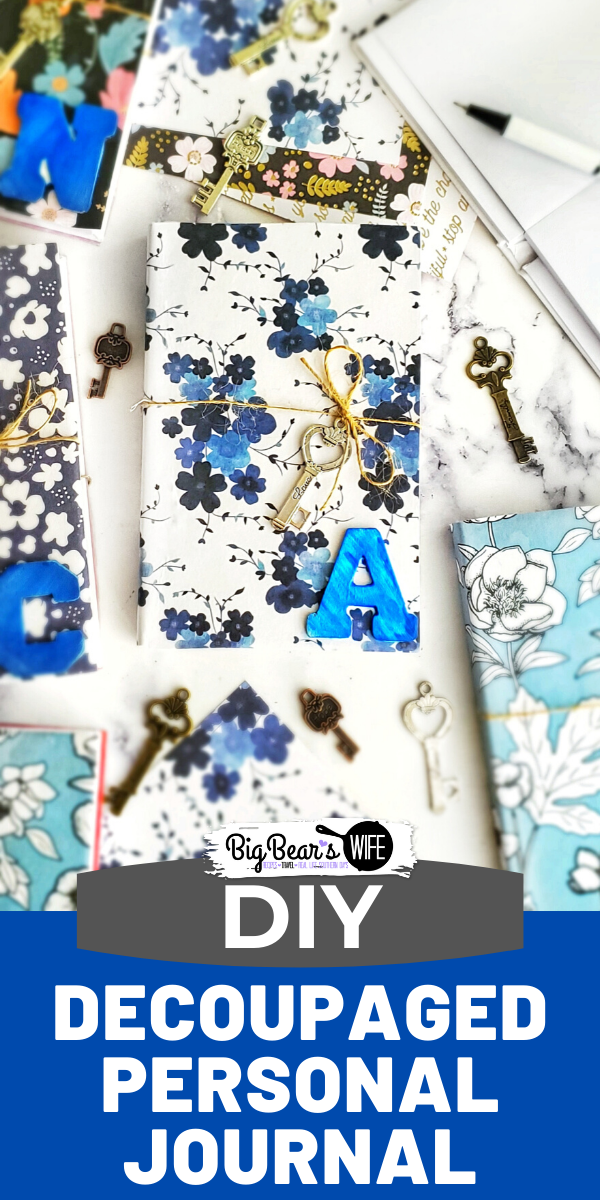
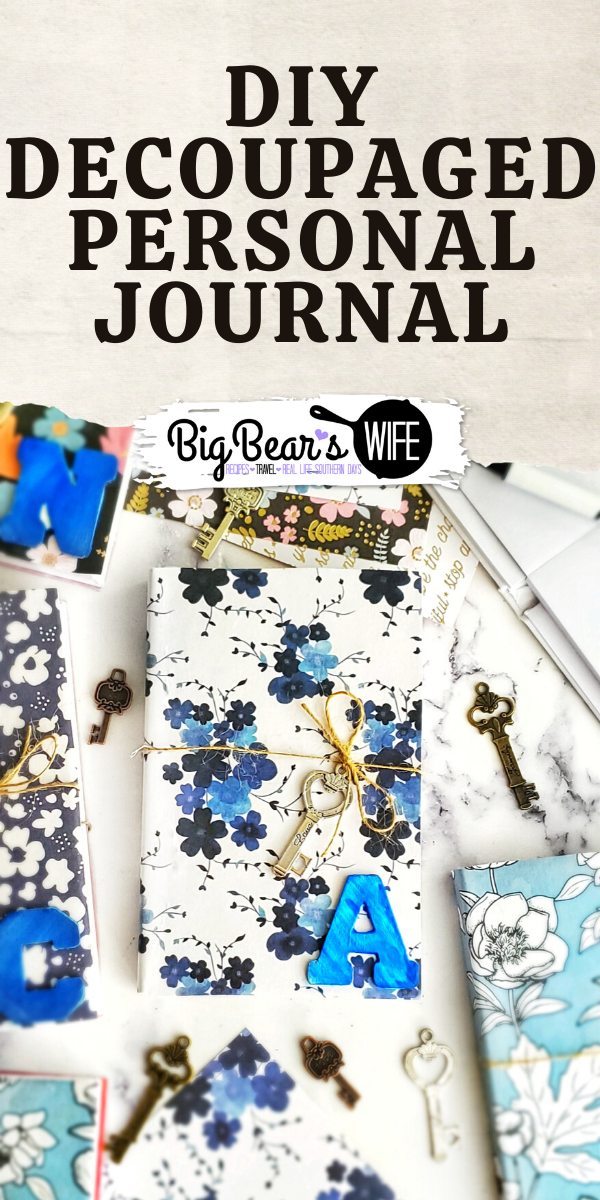

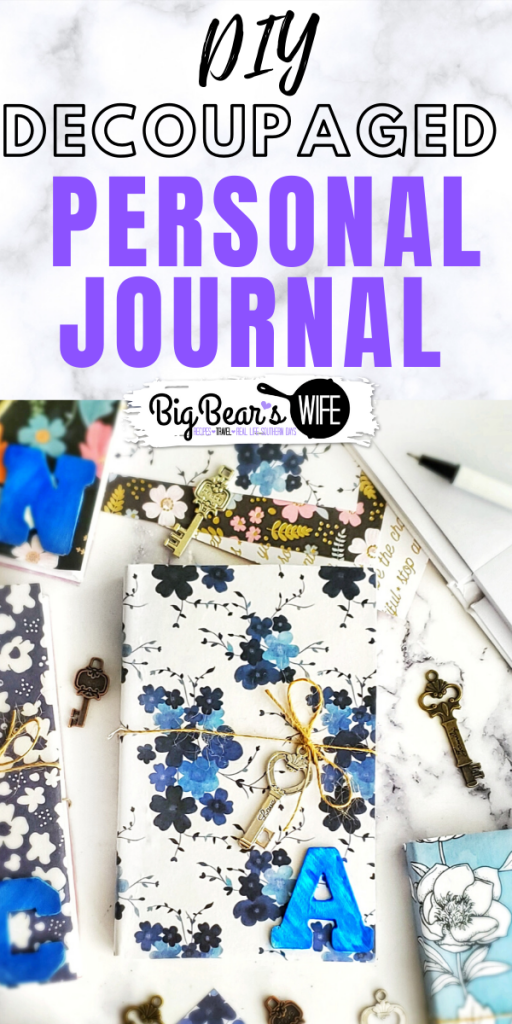
Throwing your emotions onto the pages of a journal can really help relieve stress and creating your own journal to fit your own personal style makes it even better! Here are step by step directions for creating your own DIY Decoupaged Personal Journal.
I did receive these items from Oriental Trading Company but they were just for an Instagram post, I decided to do this blog post on my own; opinions and words are 100% mine as always.
Want recipes delivered right to your inbox? Sign up here! Sometimes I even send out free e-cookbooks and free recipe cards too!
LOVE IT? PIN IT!
We’re living in a crazy kind of world right now. Everything is up in the air as far as plans for anything, stress levels are on the rise and anxiety can sometimes be over powering. Oriental Trading Company reached out to myself and some other bloggers to come up with some different ideas for relieve stress at home during this time and this was my contribution.
One thing that really helps me when I’m stressed is journalist and creating; both hobbies that I’ve been doing since I was a kid. So, this post is all about how to create a DIY Decoupaged Personal Journal to express your creative side and a space to jot down all of your thoughts, fears, dreams and feelings.
What I used to make this DIY Decoupaged Personal Journal:
- White Canvas Journal
- Scrapbook Paper – I used the “Navy Floral Paper Stack” from American Crafts™ Die Cuts with a View®
- Mod Podge® Matte Acrylic Sealer
- Paint Brush
- Scissors
- Natural Jute Cording/Twine
- Skeleton Key Charms
- Unfinished Wood Letters
- Crayola® Blue Washable Paint
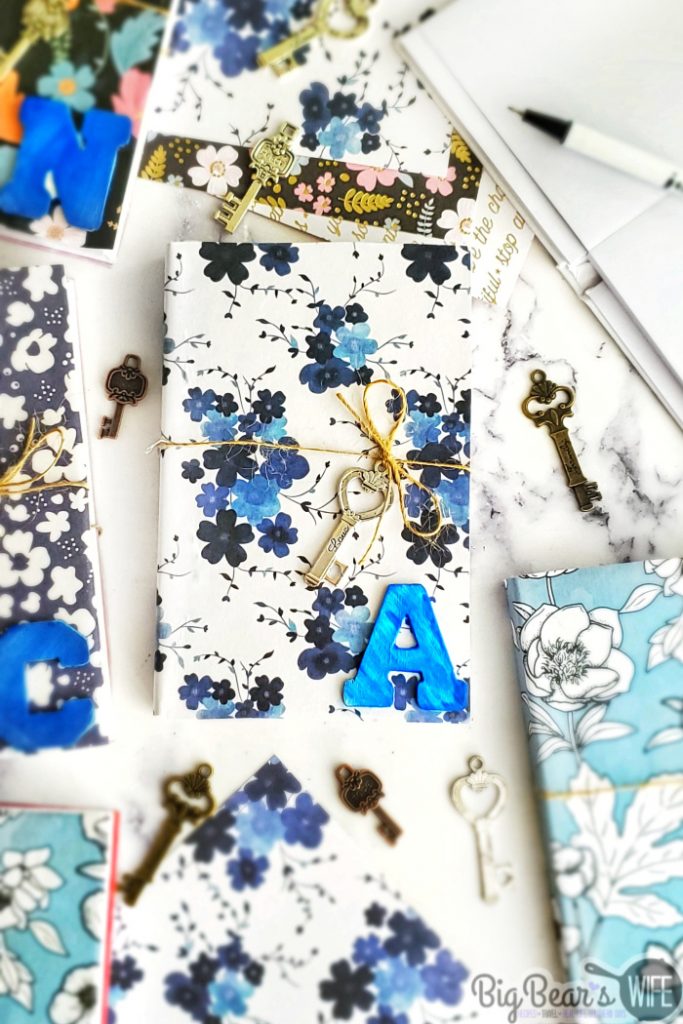
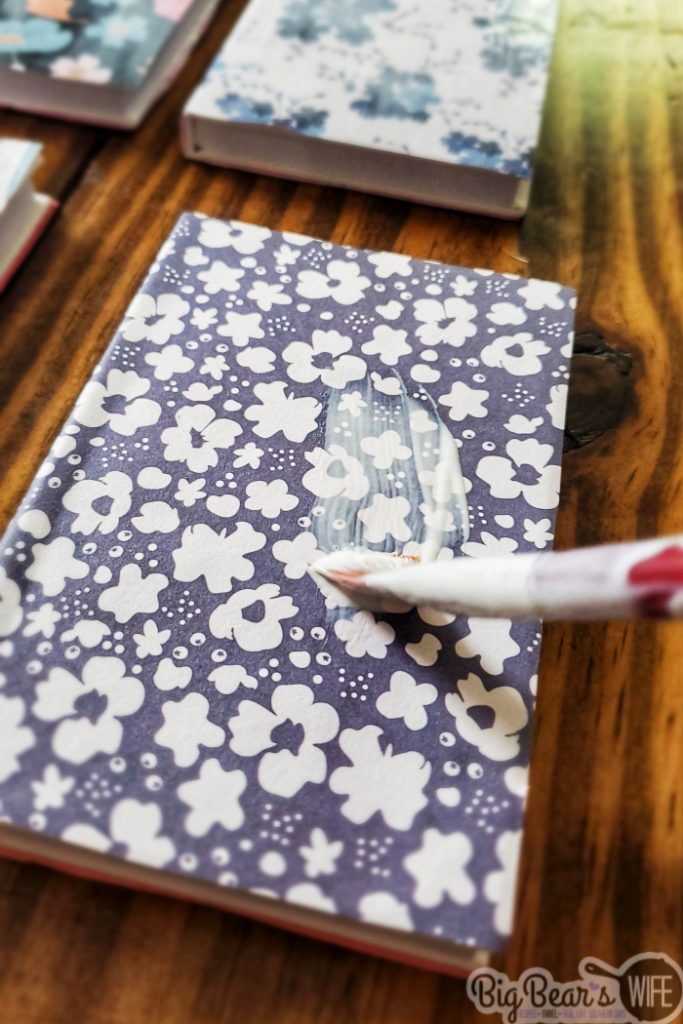
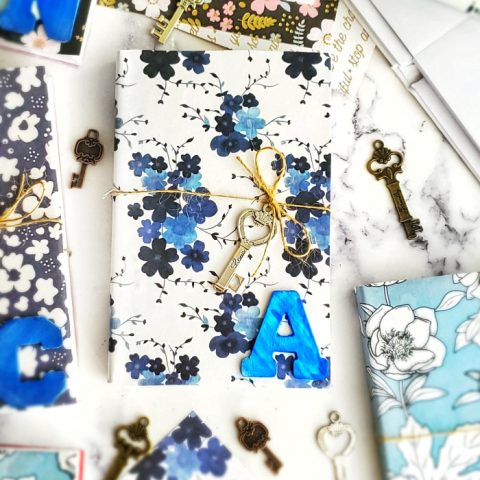
I am absolutely in love with this blue flower pattern. It reminds me of Blue Willow China and Toile Chinoiserie Musee, which I love.
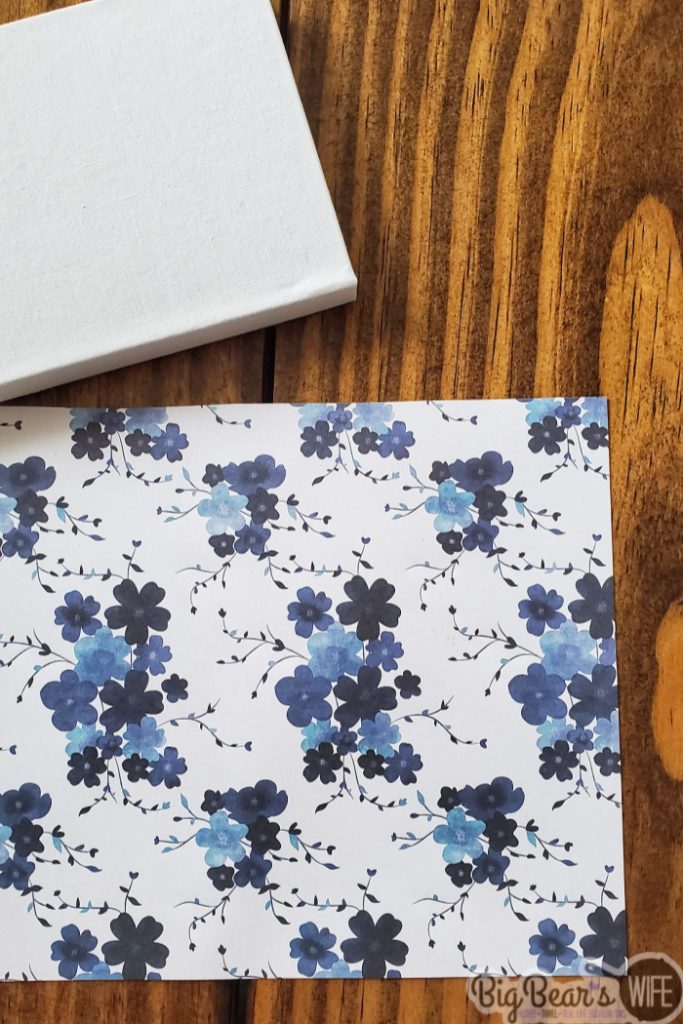
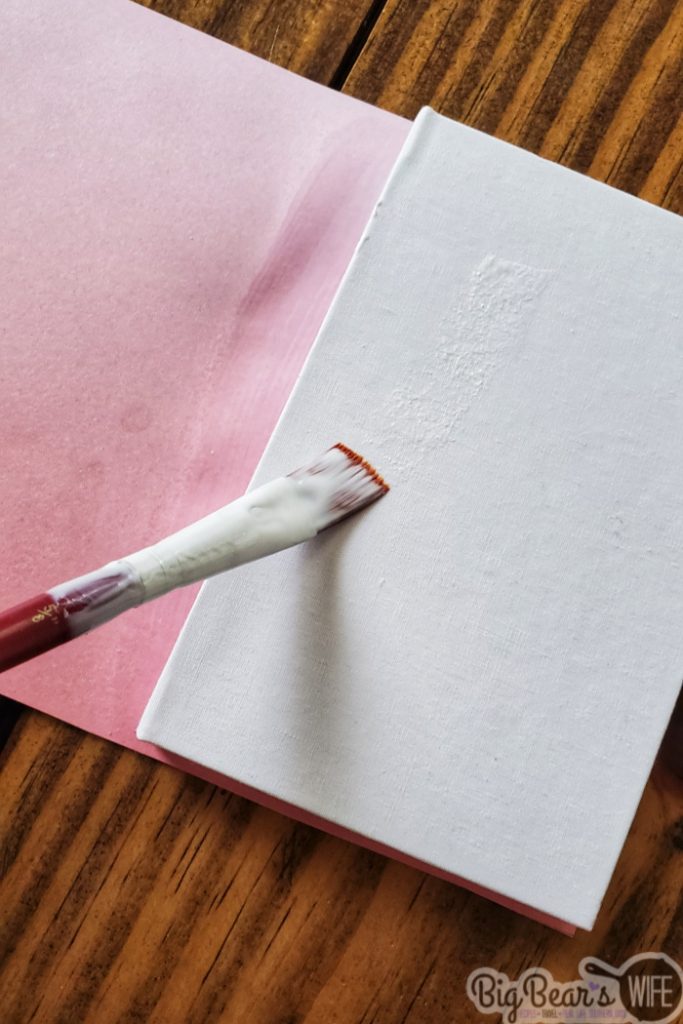
Start with the journal, scrapbook paper and mod podge.
These canvas journals are 3 3/4″ x 5 3/4″ so I cut the scrapbook paper for the cover – 6″ x 9″ to make sure it covered the entire cover.
Take the cut scrapbook paper and wrap it around the journal, use your hand and fingers to crease the scrapbook paper around the spine of the journal.
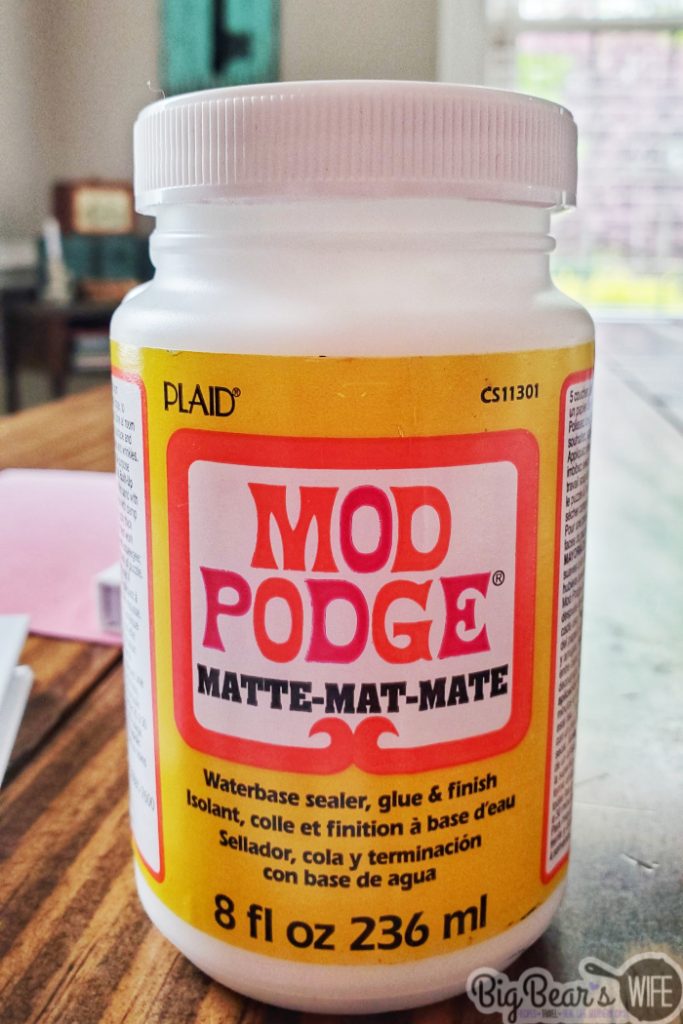
Mod Podge!
The next step is going to be the painting of the mod podge. Use a paint brush and paint a coat of mod podge all over the cover of the journal. The mod podge is going to be our glue for the scrapbook paper.
Then take the cut scrapbook paper and wrap it around the journal, pressing it into the mod podge.

Use another journal or something with a sharp edge to press the scrapbook paper into the spine of the journal. This will help you get a sharp smooth spine covering.
Let the journal dry for about 10 minutes.

After it has dried for a bit, if there is extra scrapbook paper handing past the journal, use scissors to trim the edges of the scrapbook paper so that it is flush with the journal.
Apply a coat of mod podge to the outside of the journal. Start with the front and spine, let that dry for 20 minutes or until it’s not tacky anymore and then apply a coat of mod podge to the back and let that dry.
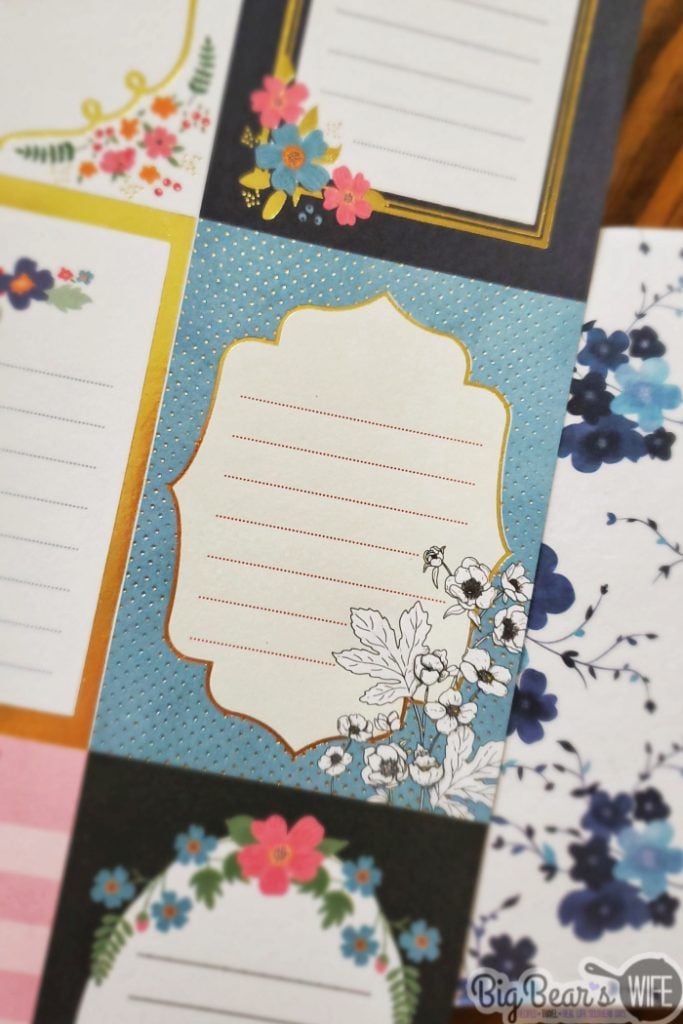
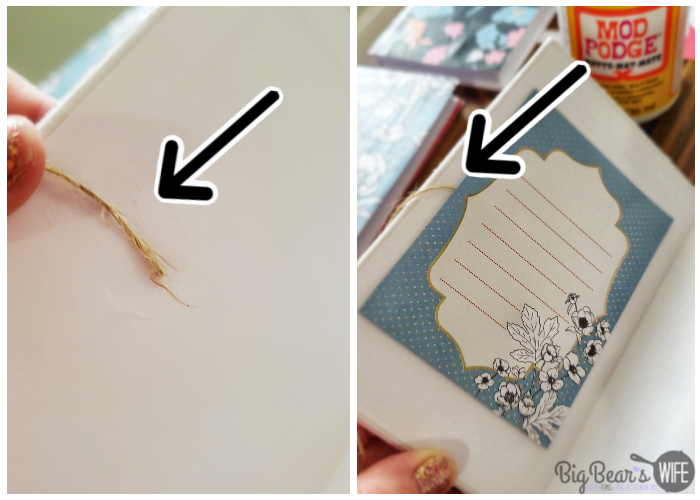
The Navy Floral Paper Stack” from American Crafts™ Die Cuts with a View® packet of scrapbook paper that I used, had these little scrapbook paper labels in the back and they were perfect for the front and back of the journal covers to hide the end of the twine/cord that I “tied” around the journal.
Cut a piece of twine or cording about 12 inches long. Use mod podge to glue one end to the middle of the front inside cover and one end to the inner back cover.
You can leave the string edge showing or use a piece of scrapbook paper to cover it. Just use the mod podge to glue the scrapbook paper piece over the end of the twine.
Embellishments!
Next,
Cut a small piece of twine, loop it through a skeleton key charm and it it to the existing twine on the notebook. This makes it look like you tied a bow around the entire journal, when it is in fact two pieces of string. 🙂
If the charm is a bit heavy, you can use a dot of mod podge to glue it down and old it in place.
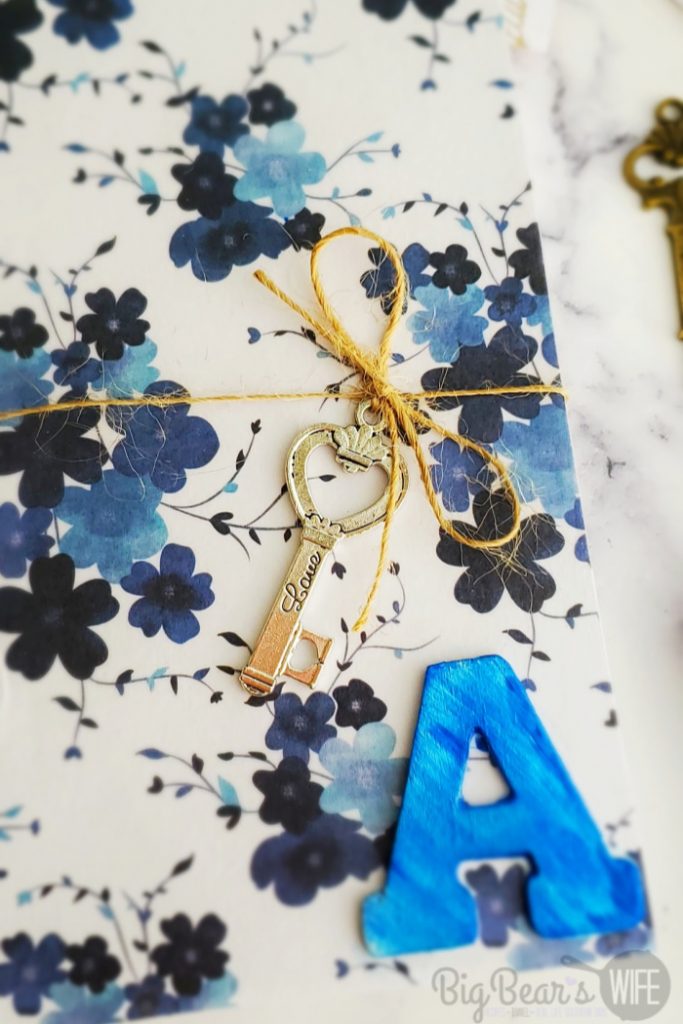
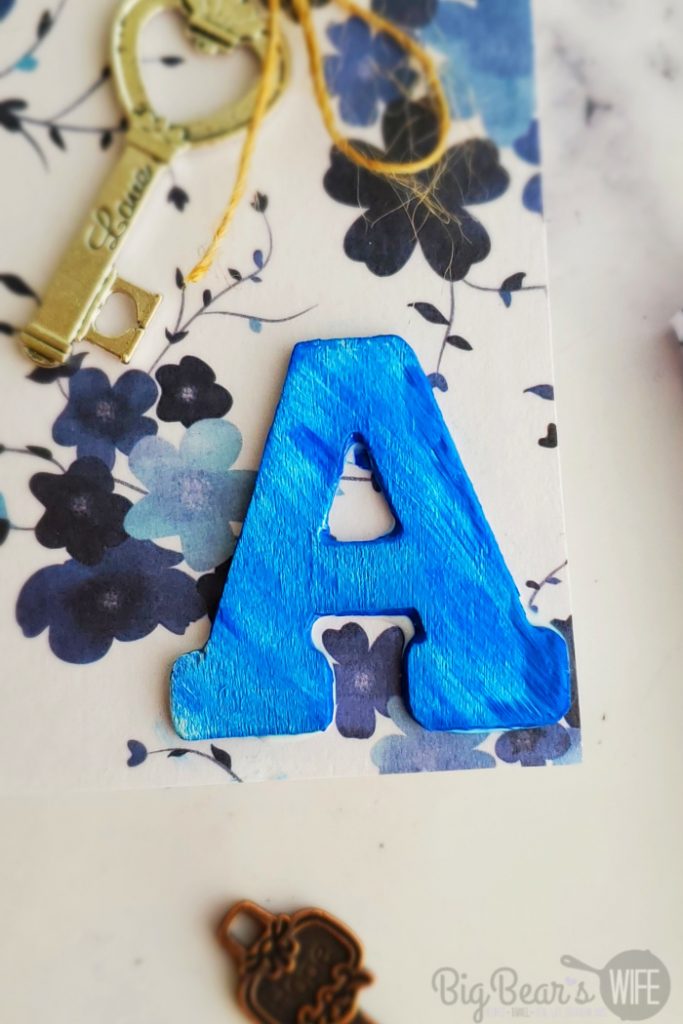
This could be totally optional, but I painted a wooden letter to match the journal and mod podged it in the corner of my journal to make it a little more personalized.
A for Angie 🙂 Or Awesomesauce…. either works haha
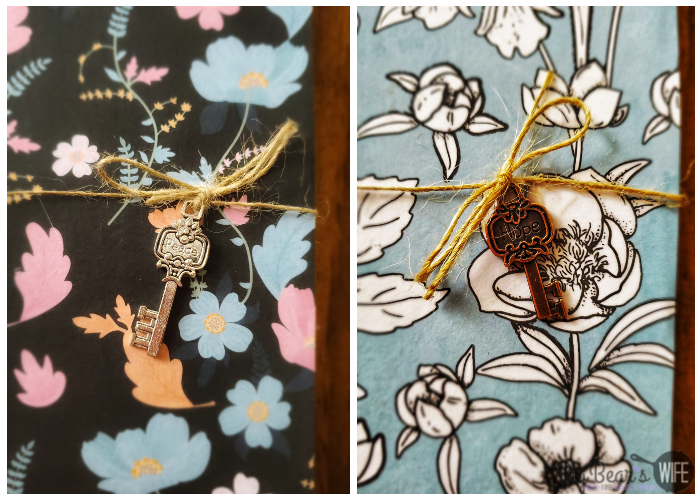
I also made journals for my moms, my sister in law and my best friend. They each got a different scrapbook paper, a different key and their initial on the cover of their journal.
I absolutely love how these turned out and I’ve been using mine every day. I just love it.
So tell me, do you keep a journal or a diary?
I actually have 3!
One for dreams, one for venting anger and one for every day life!
More Crafts that you will love:
- Free Printable Recipe Cards – Vol. 1
- Christmas Stove Top Potpourri – Gift Package Idea and Free Printables
- Free 4th of July Party Planning Printables
Items I used for this DIY Decoupaged Personal Journal
![]()
- White Canvas Journal
- Skeleton Key Charms
- Scrapbook Paper – I used the “Navy Floral Paper Stack” from American Crafts™ Die Cuts with a View®
- Mod Podge® Matte Acrylic Sealer
- Paint Brush
- Scissors
- Natural Jute Cording/Twine
- Unfinished Wood Letters
- Crayola® Blue Washable Paint
DIY Decoupaged Personal Journal
Throwing your emotions onto the pages of a journal can really help relieve stress and creating your own journal to fit your own personal style makes it even better! Here are step by step directions for creating your own DIY Decoupaged Personal Journal.
Materials
- White Canvas Journal
- Scrapbook Paper
- Mod Podge® Matte Acrylic Sealer
- Natural Jute Cording/Twine
- Skeleton Key Charms
- Unfinished Wood Letters
- Crayola® Blue Washable Paint
Tools
- Paint Brush
- Scissors
Instructions
- Start with the journal, scrapbook paper and mod podge.
- These canvas journals are 3 3/4″ x 5 3/4″ so I cut the scrapbook paper for the cover – 6″ x 9″ to make sure it covered the entire cover.
- Take the cut scrapbook paper and wrap it around the journal, use your hand and fingers to crease the scrapbook paper around the spine of the journal.
- The next step is going to be the painting of the mod podge. Use a paint brush and paint a coat of mod podge all over the cover of the journal. The mod podge is going to be our glue for the scrapbook paper.
- Then take the cut scrapbook paper and wrap it around the journal, pressing it into the mod podge.
- Use another journal or something with a sharp edge to press the scrapbook paper into the spine of the journal. This will help you get a sharp smooth spine covering.
- Let the journal dry for about 10 minutes.
- After it has dried for a bit, if there is extra scrapbook paper handing past the journal, use scissors to trim the edges of the scrapbook paper so that it is flush with the journal.
- Apply a coat of mod podge to the outside of the journal. Start with the front and spine, let that dry for 20 minutes or until it’s not tacky anymore and then apply a coat of mod podge to the back and let that dry.
- The Navy Floral Paper Stack” from American Crafts™ Die Cuts with a View® packet of scrapbook paper that I used, had these little scrapbook paper labels in the back and they were perfect for the front and back of the journal covers to hide the end of the twine/cord that I “tied” around the journal.
- Cut a piece of twine or cording about 12 inches long. Use mod podge to glue one end to the middle of the front inside cover and one end to the inner back cover.
- You can leave the string edge showing or use a piece of scrapbook paper to cover it. Just use the mod podge to glue the scrapbook paper piece over the end of the twine.
- EMBELLISHMENTS!
- Cut a small piece of twine, loop it through a skeleton key charm and it it to the existing twine on the notebook. This makes it look like you tied a bow around the entire journal, when it is in fact two pieces of string. 🙂
- If the charm is a bit heavy, you can use a dot of mod podge to glue it down and old it in place.
- This could be totally optional, but I painted a wooden letter to match the journal and mod podged it in the corner of my journal to make it a little more personalized.
If you make this, snap a picture and share it on Instagram, Facebook or Twitter with the hashtag #bigbearswife —
I love to see what your making from the blog!
Love it? Pin it!
Leave a Comment