
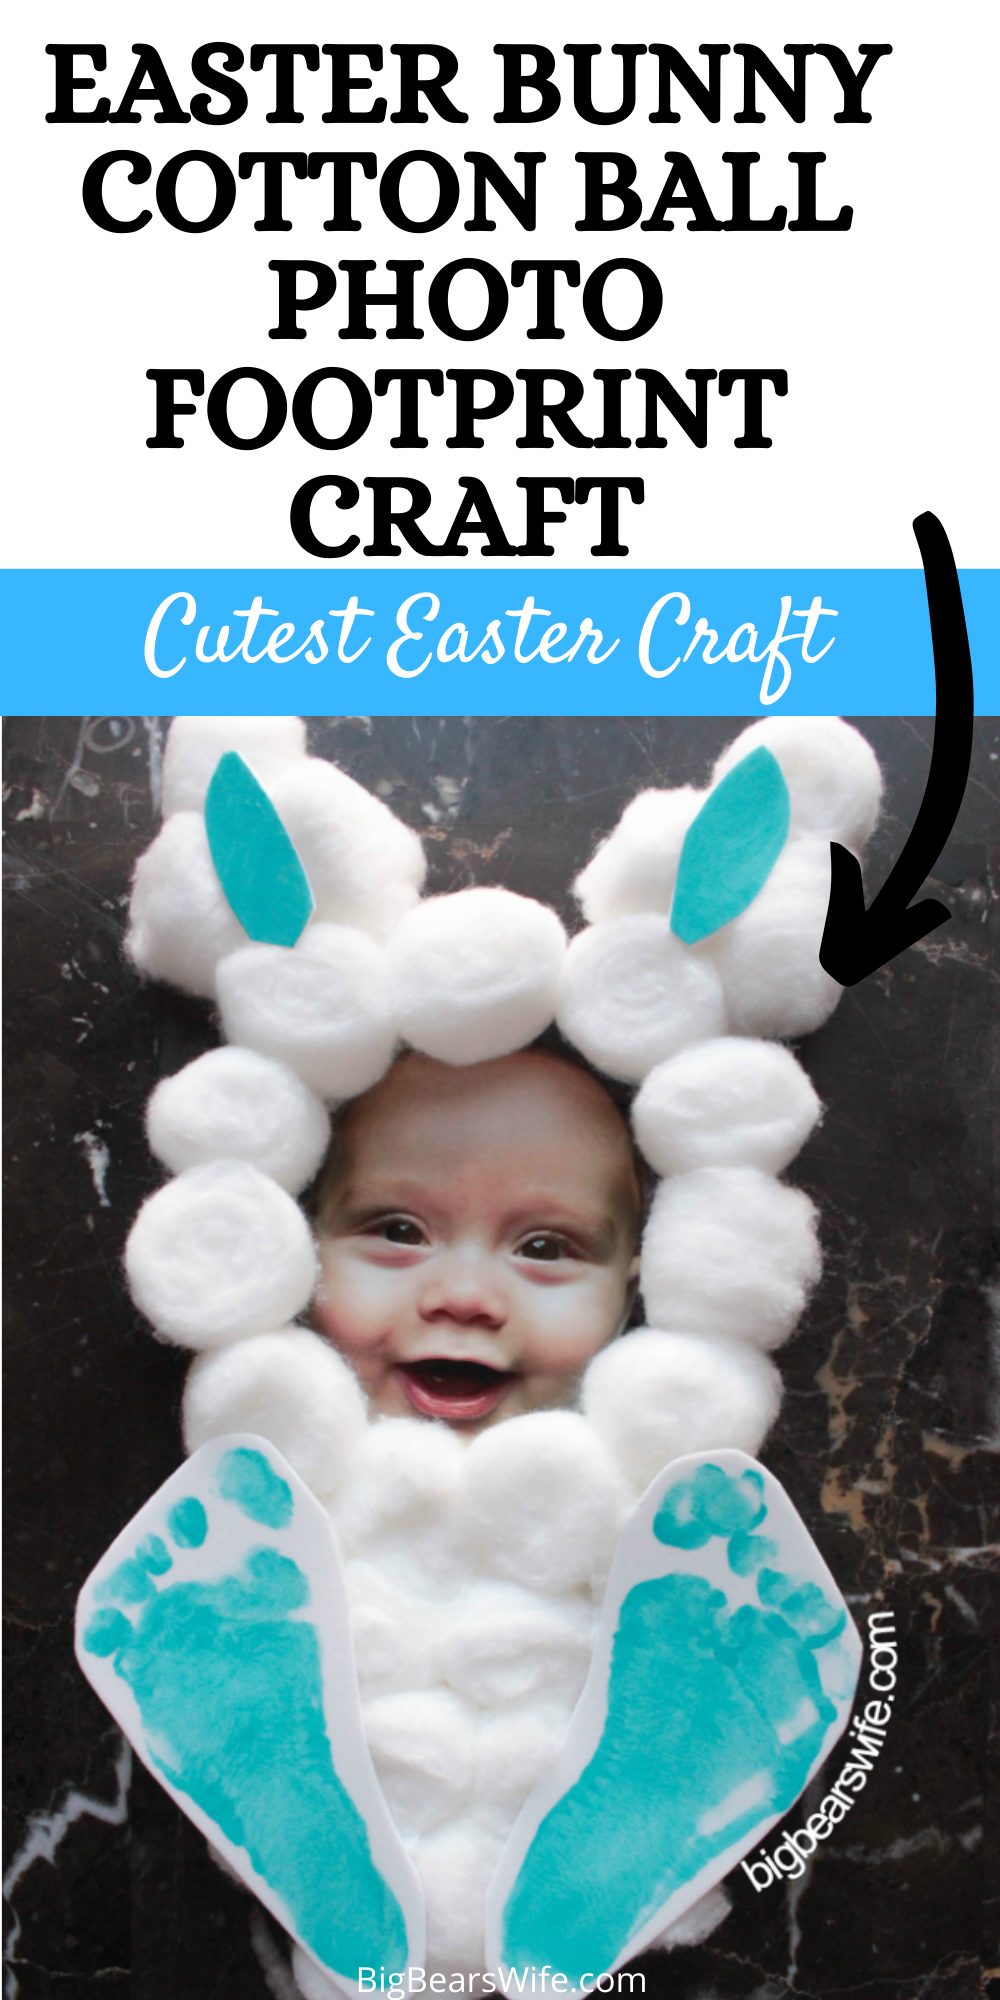
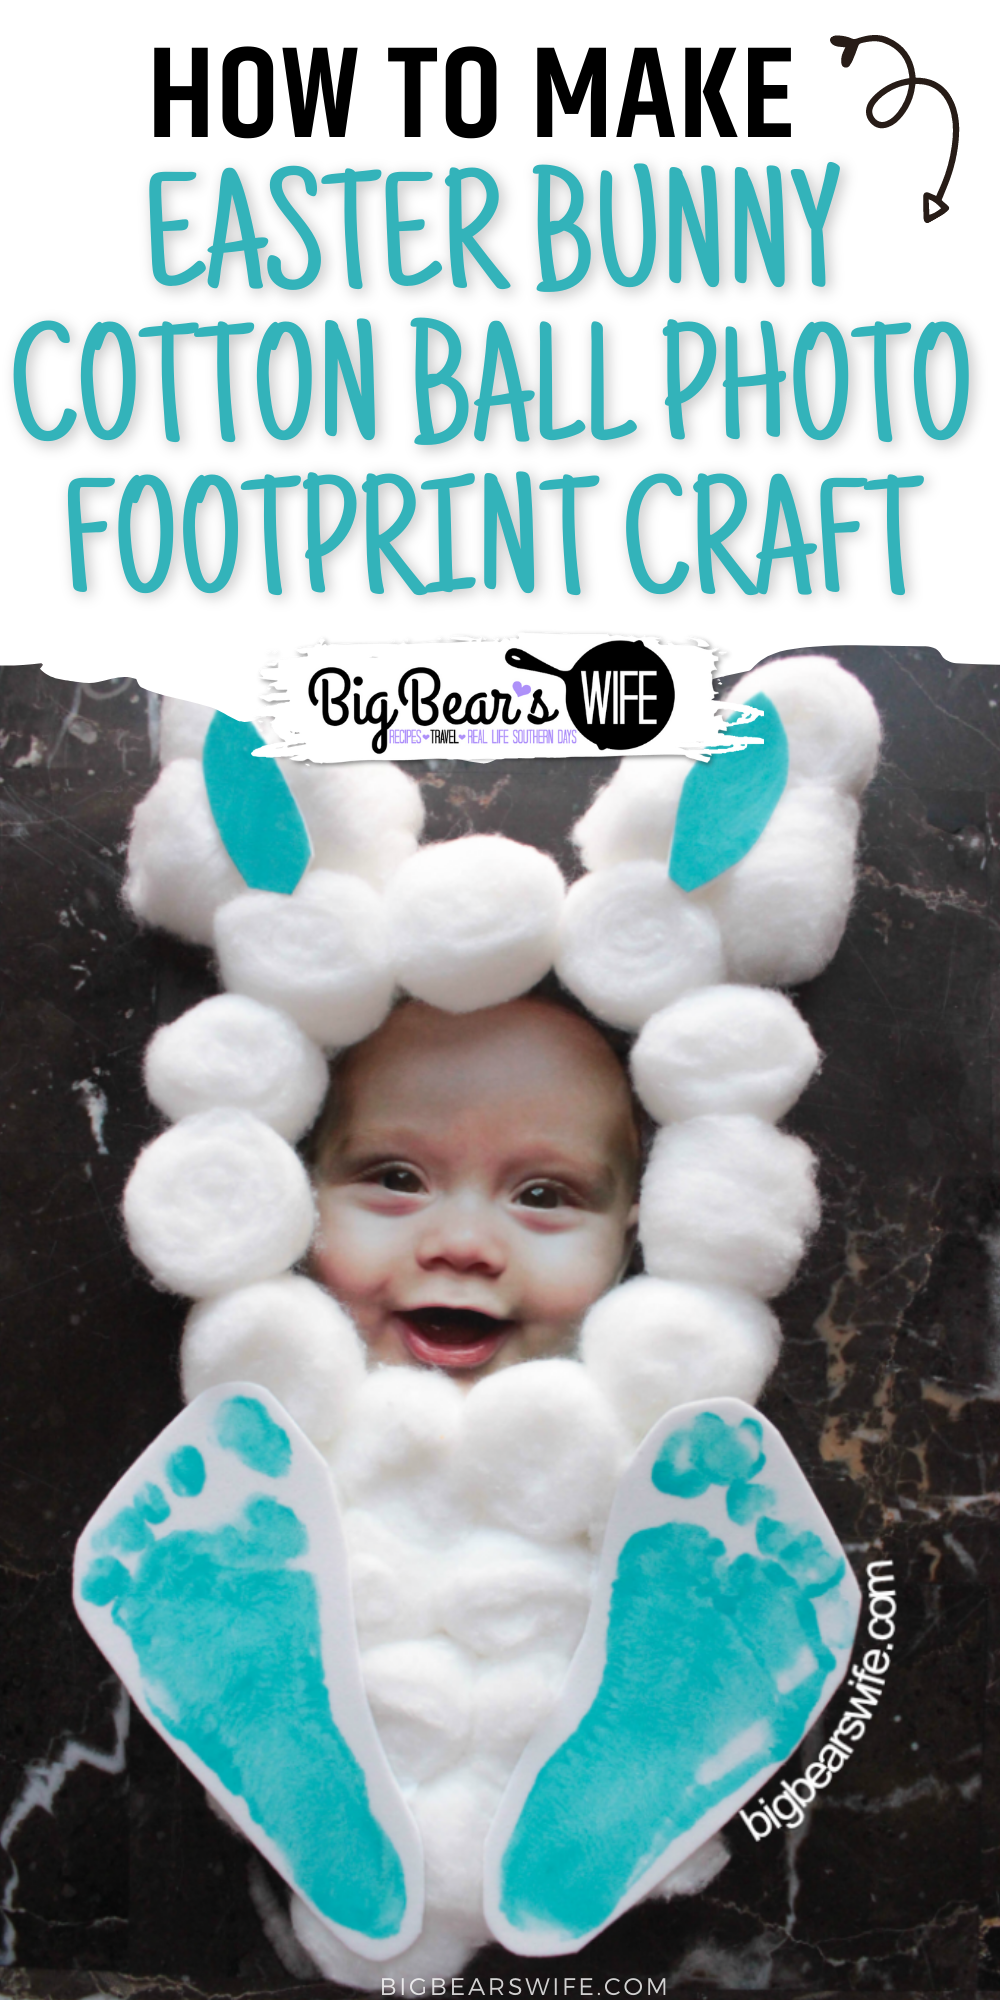

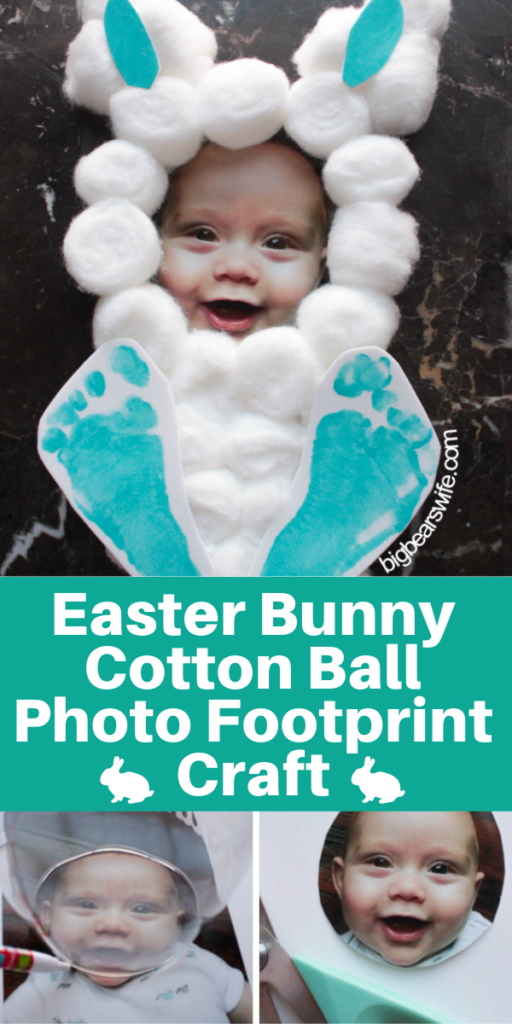
This adorable Easter Bunny Cotton Ball Photo Footprint Craft turns your little one into the cutest Easter bunny on the block! It takes just a few items from the craft store, a picture and about 10 minutes to create.

This little Easter Bunny Photo Footprint Craft DIY of Jackson is from his first Easter (last year) and I still have it hanging on my fridge because I love it so much. It was so quick to make and just turned out darling!
I even made one for my sister in law and my mom!
I originally just saw this idea on Facebook and it just had a photos with no directions so I just kind of had to figure it out. But it looks like a few other bloggers have made this kind of craft too (like Making thing Awesome & Thriving Home ) so I’m not exactly sure who to credit the idea to or where it originally came from.
It reminds me of a craft we made in either pre-school when I was little.
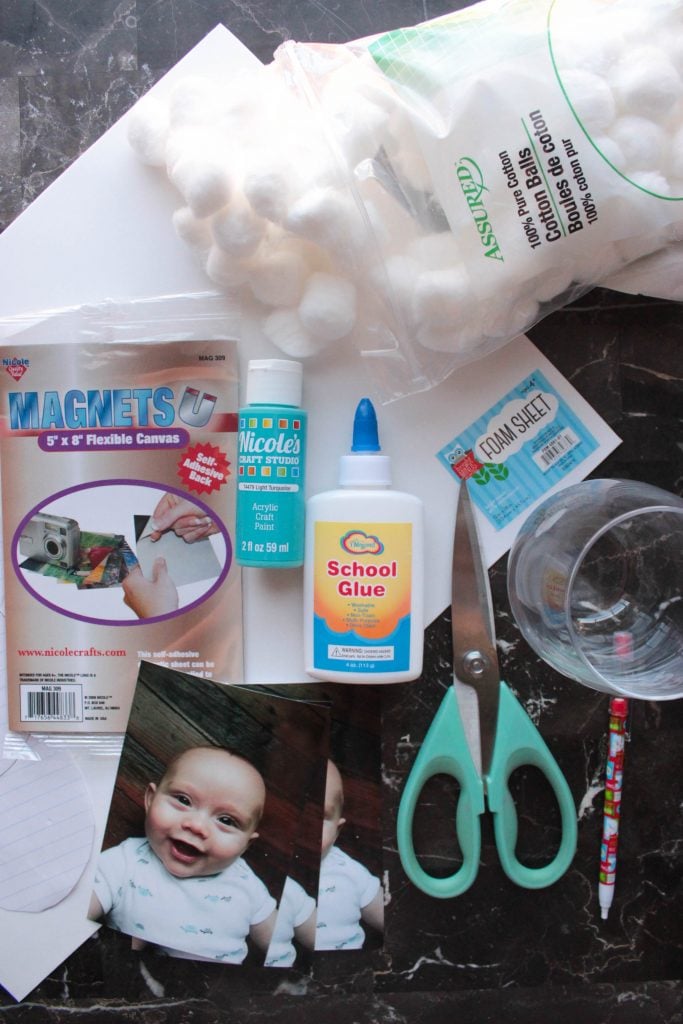
What you’ll need:
- Cotton Balls
- White Foam Sheets (2)
- Craft Paint
- White glue
- A photo of your child
- Scissors
- Pencil and Paper
- A glass to trace to cut out the face
- Stick on Magnets
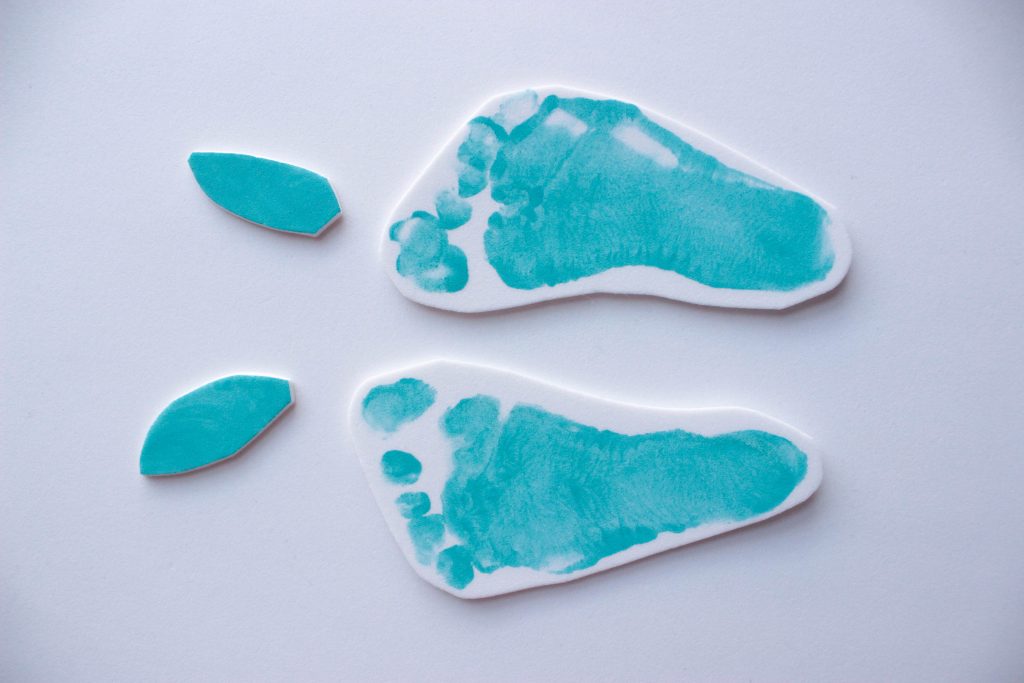
Step One – Painting Feet:
Use the paint to paint the bottom of child’s feet. Use a paint brush or a cotton ball.
While paint is wet, press each foot onto 1 piece of white foam.
Also paint two small patches on the foam for the ears.
Let dry.
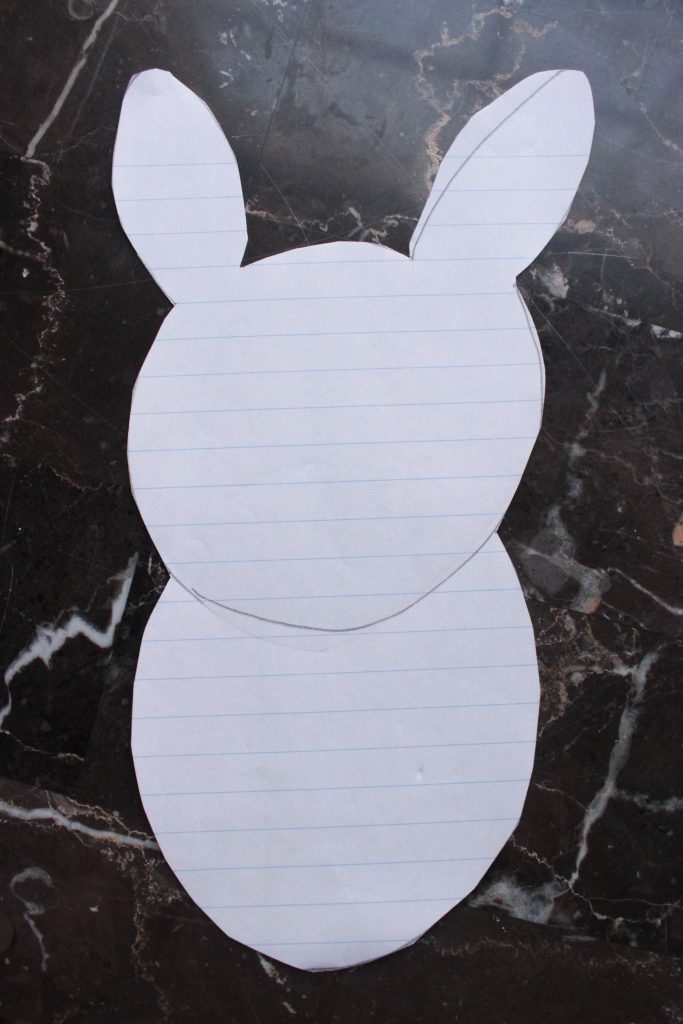
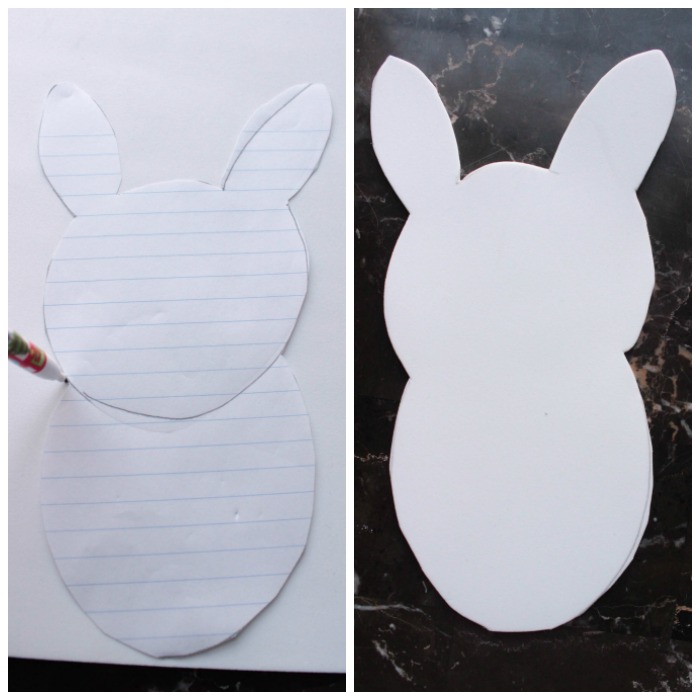
Draw the bunny:
No need for this bunny to be perfect.
On a piece of notebook paper draw a circle for the head, an oval for the body and two ears. Use this to trace the bunny onto the 2nd foam sheet.
Like I said, no need for it to be perfect because it is going to be covered with cotton balls anyways.
The Photo:
You’ll need somewhere of a close up shot of your kid for this project. I just snapped a new photos of Jackson with my phone, uploaded them to Walgreens and had them so the 1-hour photo printing when I made these.
Target, CVS and Walmart also normally have 1 hour photo printing too.
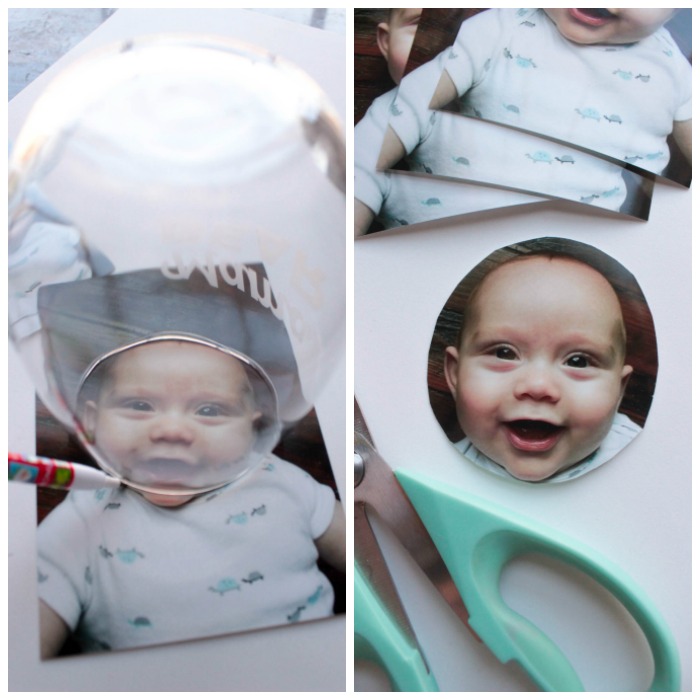
Just cut out the face.
I used a glass as a guide so it would be a circle.
Then glue the face onto the face of the bunny.
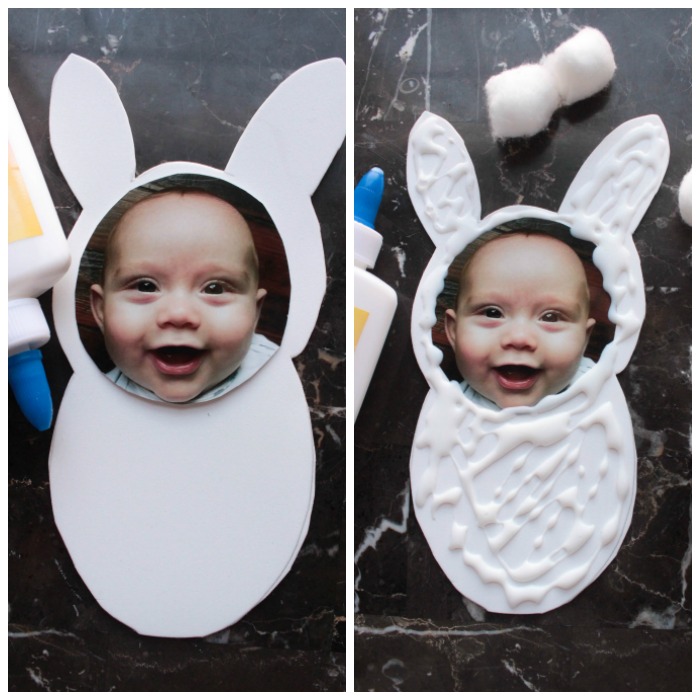
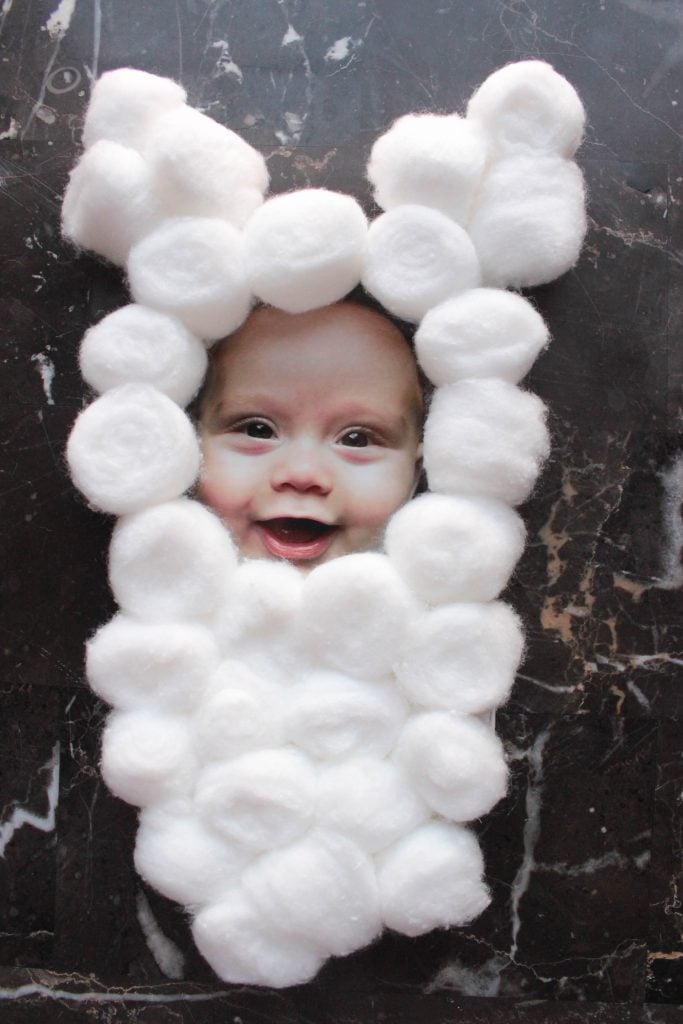
The Cotton balls!
Apply a layer of white glue all over the foam and start sticking on the cotton balls. Cover the entire bunny with cotton balls.
Ears and Feet:
Some of the tutorials I found this year get you to use feet for the ears too but I thought that was just too much. So I just cut out little pieces of painted foam to go inside of the cotton ball ears on Jackson’ bunny and then I glued his feet to the bunny as it’s feet.
Then you’re done! OR if you want to you can add sticky magnets to the back to make this into a magnet for the fridge which it what I did. I love it so much!
Easter Bunny Cotton Ball Photo Footprint Craft
![]()
If you make this bunny craft, snap a picture and share it on Instagram, Facebook or Twitter with the and hashtag #bigbearswife —
I love to see what your making from the blog!
Love it? Pin it!
Leave a Comment