
I am not a cake person. I also feel like I start every cake post out with that disclaimer haha. It’s not that I don’t love beautiful, detailed cakes…..it’s just that I don’t have the patience for them. Oh how I wish I could decorate cakes like the ones on Ace of Cakes and some of the other cake competition shows! I so wish I could decorate 3 or 4 tier cakes with fondant and sculptures and whatnot. But my patience doesn’t stretch that far.
One day when I have ample amounts of free time (which will be never haha) I’ll sit down and work on teaching myself how to do that but until then, everyone I love is going to have to just deal with homemade Angie cakes. Hopefully they’ll be ok with that 😉
I have tried my hand at carving cakes and I can normal do a simple shaped cake but sometimes I just want a little more detail in my cakes. That’s where frozen buttercream transfers come into play. I can literally put whatever I want to on a cake! Plus they’re pretty easy! If you can trace and color you can make one of these cakes. Really, because that’s all there is to it.
Recently when I was shopping at Dollar General, I fell in love with all of their Christmas candy (as I do each year)! Of course I just can’t eat it, I have to make something creative with it haha.
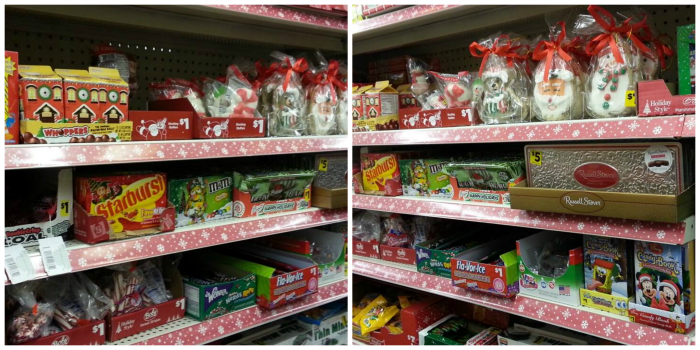
I literally went back and forth for like 30 minutes in the Dollar General Holiday section between Santa candy and snowman treats for inspiration haha. I’m pretty sure the people in there thought I was crazy haha. With the great prices I ended up just getting a ton of candy and went home to work on my creation!
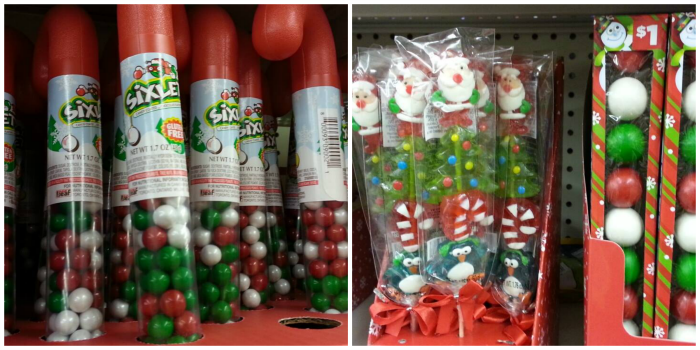
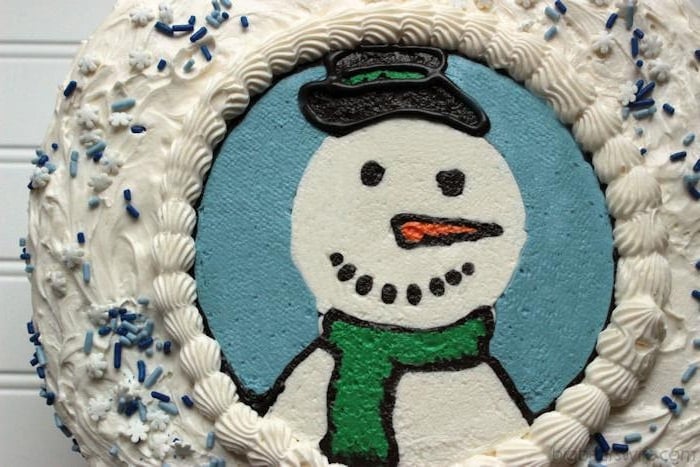
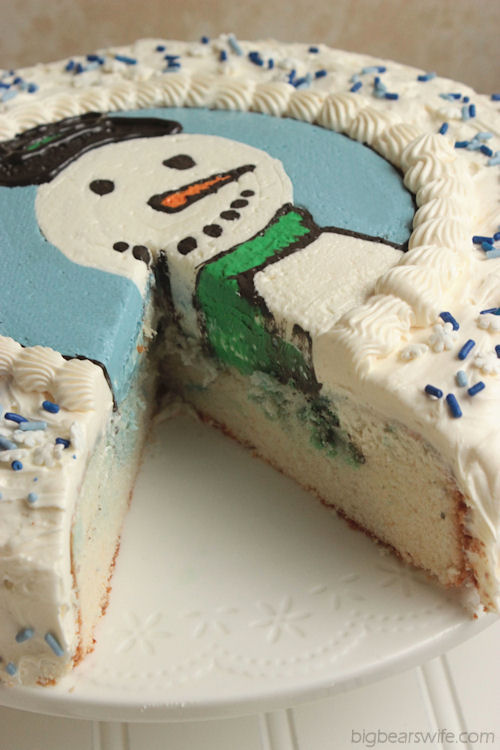
I went over a few different options, themes and candy but in the end, after a little inspiration from some super cute snowman suckers and snowflake sprinkles, I decided that a snowman cake needed to happen. So that night, this Frozen Buttercream Transfer Snowman was brought to life.
I made my first Frozen Buttercream Transfer cake back in July for Kendra’s birthday and fell in love with how easy it was. The hardest part was figuring out what design I wanted and waiting for the transfer to freeze 🙂
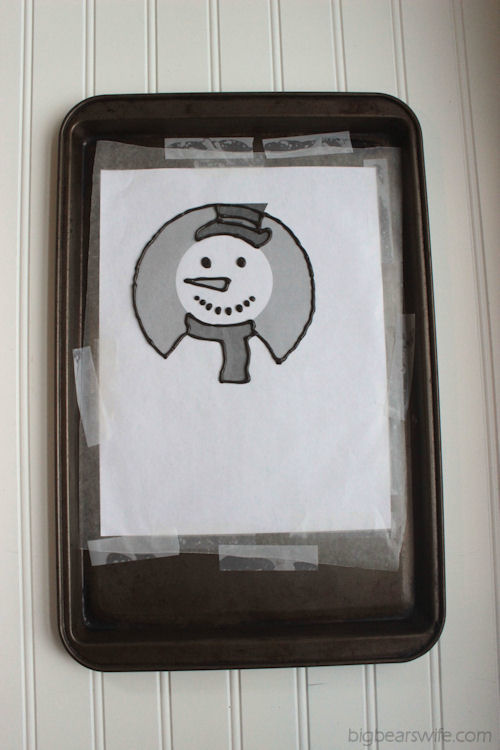
I made a basic snowman shape in paintshop for this one and then used the snowman details from PicMonkey to complete his look. Then all I did was print it out to use as my guide to trace.


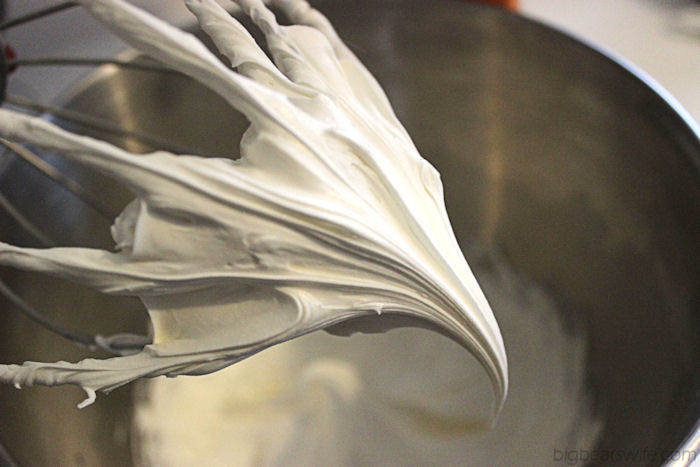
Scoop the icing into the bowl of a mixer. Whip on high for about 4 minutes. This will add air to the frosting which will increase the volume and make the icing whiter!

Perfect! Better color and better texture than what it was straight from the can!
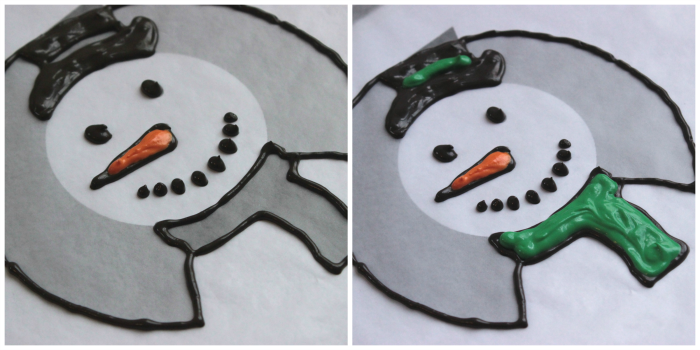
Using the piping bag of black icing, carefully trace the outline of the snowman. (I forgot to do around his face!)


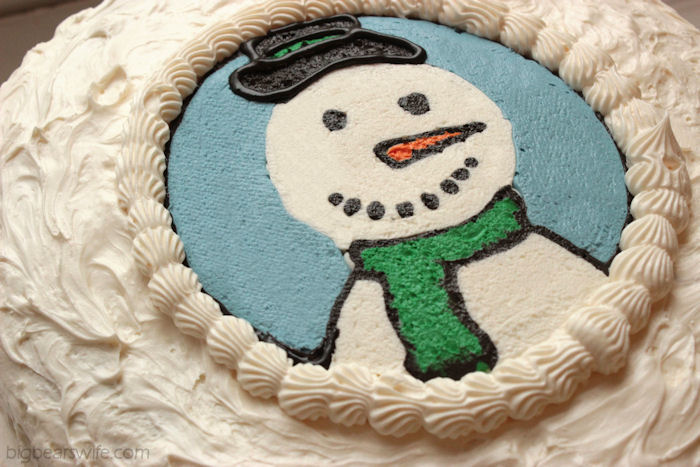
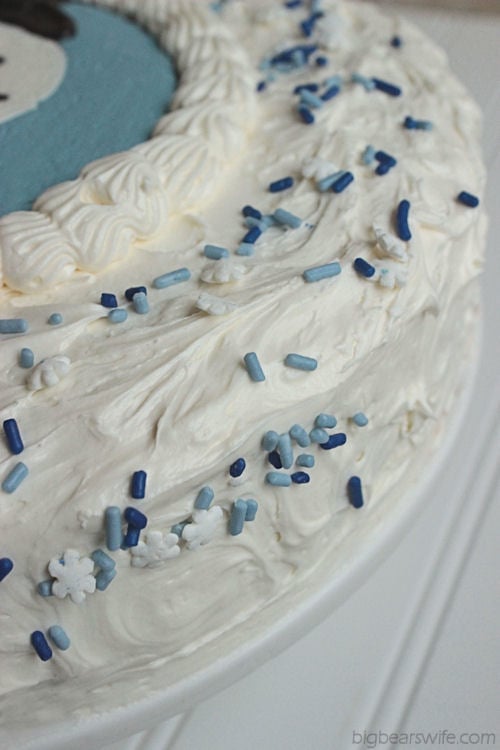
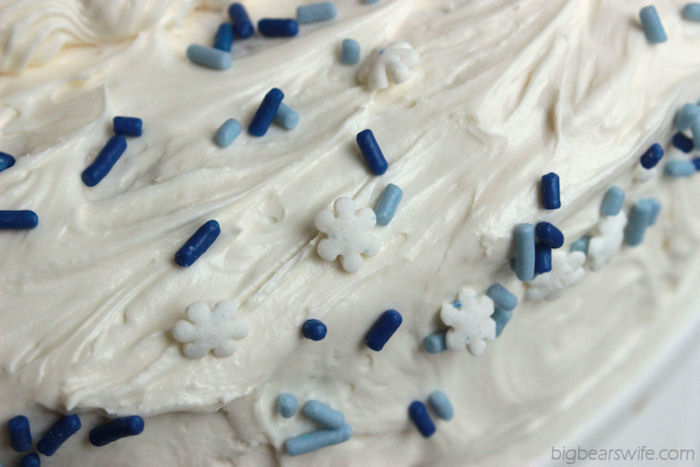
Moving quickly so that the buttercream doesn’t thaw, flip the butter cream transfer over onto the cake. Peel the wax paper off! Decorate with sprinkles and icing borders.
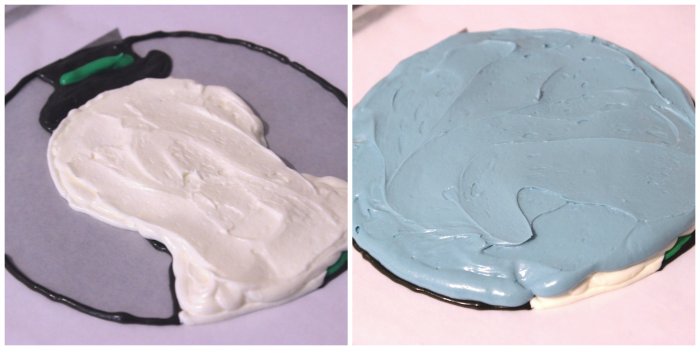
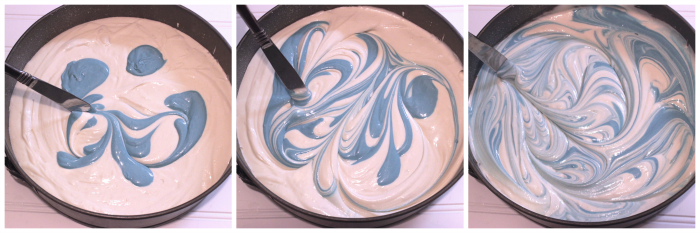
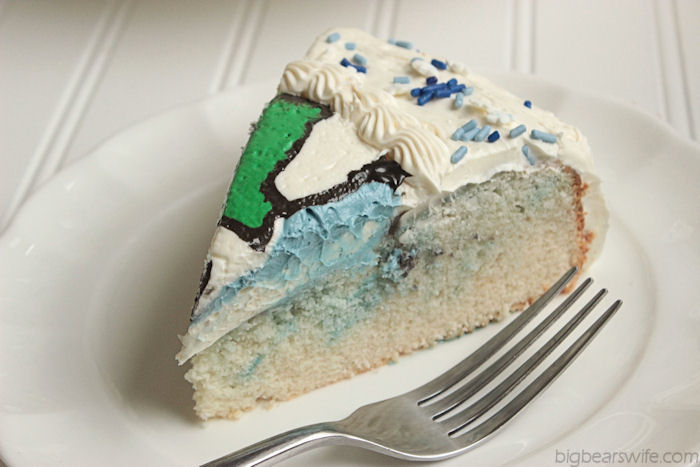
And that’s pretty much it. The blue batter swirls were kind of light, I suppose I should have made the blue batter darker so that it would show up in the cake, oops. But I still loved it!

I wish you were here to share this cake with us! My favorite cake recipe, my favorite cream cheese icing and a cute snowman! I may not be the best cake decorator but I think he looks pretty darn cute if I do say so myself haha. 🙂
Do you ever decorate cakes? Do you go all out on them or do you just bake and frost?
. .
For the Snowman Frozen ButterCream Transfer:
(You’ll need to make this about 24 hours in advance)
What you’ll need for the transfer:
2 cans cream cheese white frosting (or 2 cups homemade frosting)
Red & Yellow Food Coloring (for orange)
Black Food Coloring
Green Food Coloring
Blue Food Coloring
Piping tips and piping bags
Wax paper
Tape
Print out of the Image
(I made a snowman image in paintshop and used picmonkey.com to make the features)
Cookie sheet
What you’ll need for the cake:
1 box white cake mix
1 cups all-purpose flour
1 cups granulated sugar
1 teaspoons salt
4 egg whites
3/4 cups water
2 tablespoons vegetable oil
1 cup sour cream (8 oz container)
2 teaspoons vanilla
*Sprinkles
What you’ll need for the frosting:
1 cup butter
8 cups powdered sugar
2 teaspoons vanilla
8 oz Cream cheese, softened
4 tablespoons heavy cream
What to do for the transfer:
Scoop the icing into the bowl of a mixer. Whip on high for about 4 minutes. This will add air to the frosting which will increase the volume and make the icing whiter!
Separate the icing into 5 bowls.
Mix one bowl of icing with blue food coloring.
Mix one bowl of icing with black food coloring.
Mix one bowl of icing with green food coloring.
Mix one bowl of icing with red and yellow food coloring to make orange.
Leave one bowl of icing white. (You’ll only need a tiny bit of orange and green)
Fill 5 piping bags fitted with piping tips with the 5 icing colors.
Using the piping bag of black icing, carefully trace the outline of the snowman.
Place the cookie sheet into the freezer and let freeze for 15 minutes.
Remove from the freezer and fill in all of the areas that need to be black with the black icing.
Place the cookie sheet into the freezer and let freeze for 15 minutes.
Remove from the freezer and fill in the orange nose and green scarf.
Place the cookie sheet into the freezer and let freeze for 15 minutes.
Remove from the freezer and fill in all of the white.
Place the cookie sheet into the freezer and let freeze for 15 minutes.
Remove from the freezer and fill in everything with the blue.
Press a piece of wax paper onto the back of the transfer and lightly smooth out.
Place in the freezer. Let freeze for about 24 hours.
To make the cake:
Pre-heat oven to 350F.
In a large bowl, mix together cake mix, flour, sugar, and salt. In the bowl of a mixer, mix together the egg whites, water, and vanilla.
Mix on low for about 20 seconds. Slowly add the dry mix a little at a time, mixing on low until everything is combined.
Add sour cream and mix well.
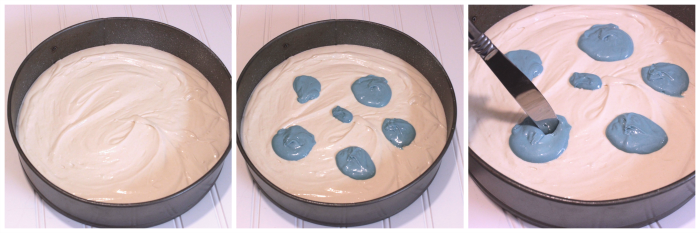
Add color now if desired. (I swirled a bit of batter that I tinted blue into the white for a marble affect)
Pour into cake pan and bake for 30 minutes or until done.
Remove from oven and cool.
What to do for the frosting:
Cream butter in the bowl of a stand mixer.
Add cream cheese and mix well.
Slowly add powdered sugar while mixing.
Add vanilla and heavy cream and mix until combined.
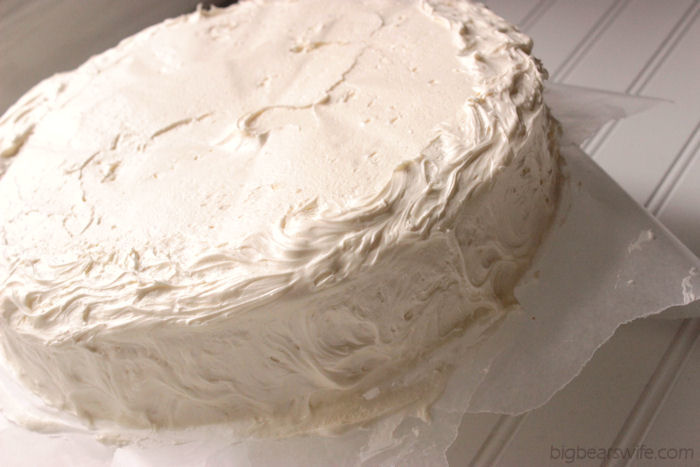
Once the cake is cooled, frost the cake with a crumb coat and place into the fridge for 1 hour.
Remove cake from fridge.
Finishing frosting the cake.
Once the cake is done, remove the snowman Frozen ButterCream Transfer from the freezer.
Use a sharp knife and carefully cut the wax paper in square around the snowman.
Moving quickly so that the buttercream doesn’t thaw, flip the butter cream transfer over onto the cake.
Peel the wax paper off! Decorate with sprinkles and icing borders.
©BigBearsWife.com Please don’t steal this recipe for your own gain. But share it by directing people to this post with a link. If you’d like to re-print it or copy it, please e-mail me or re-write the recipe in your own words. Thank you! 🙂 Always remember to link back to your source.


Your cake and snowman came out wonderfully. I’ve never done transfers with buttercream and your tutorial was really informative.
Thanks! Hope you get to give it a try!
sooo pretty pretty preeeetttyyyy!
Thank you, Thank you!
snowman is soooo cute! maybe I’ll try the transfer sometime!
Thanks! You totally should. It’s so easy to do
My kids would love this cake! You did a great job on this Angie! So fun for Christmas.
Thank you so much!
LOVE this cake!
Thank you, Stephanie!!
I love everything about this cake! Great job–it looks like it came straight from a bakery!