
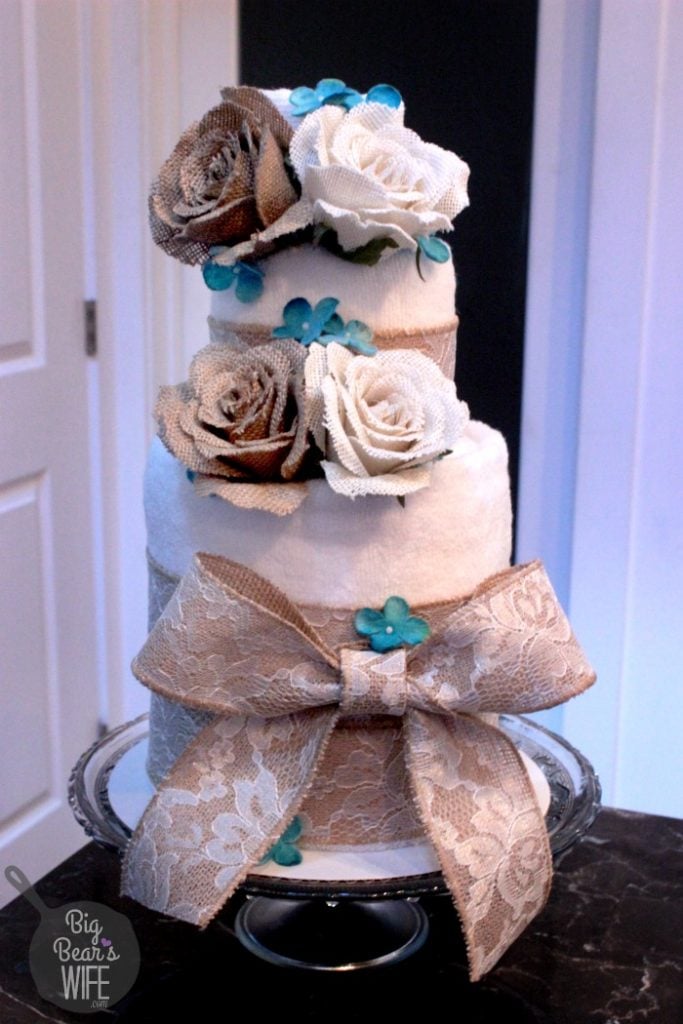
Ready to make the sweetest bridal shower gift? I’ve got the directions and step by step photos for you here! This towel cake is a great gift for a Future Mr. & Mrs, plus is looks adorable on the gift table at a Bridal Shower!
Single Digits, y’all! Single Digits!
You read that right, we’re into the Single Digit count down for my brother’s wedding. In less than 5 days, my baby brother is going to become a husband and I’m going to have a super awesome sister in law!
So since the big day is almost here, let’s keep on track with the wedding post, shall we? Today it’s all wedding cakes, well….towel wedding cakes anyways. haha
My mom found a gorgeous picture of a burlap and lace accented wedding cake on RoseBakes.com so that was our inspiration for this towel cake!
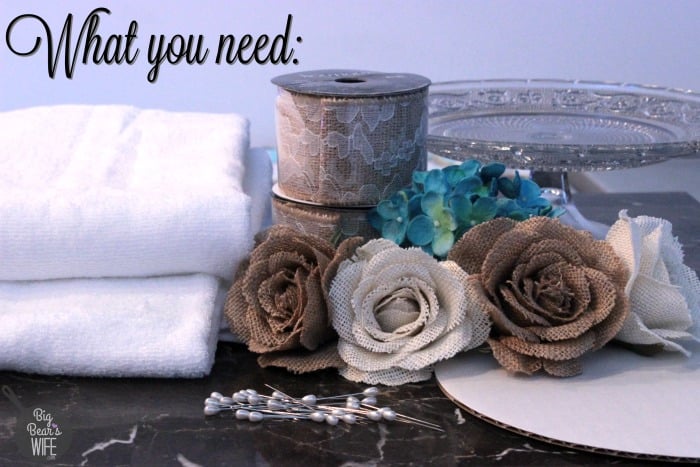
2 large white bath towels
2 medium white hand towels
2 small white washcloths
Burlap Ribbon
2 white burlap flowers
2 brown burlap flowers
small blue flowers
straight pins
cake board
cake stand (optional)
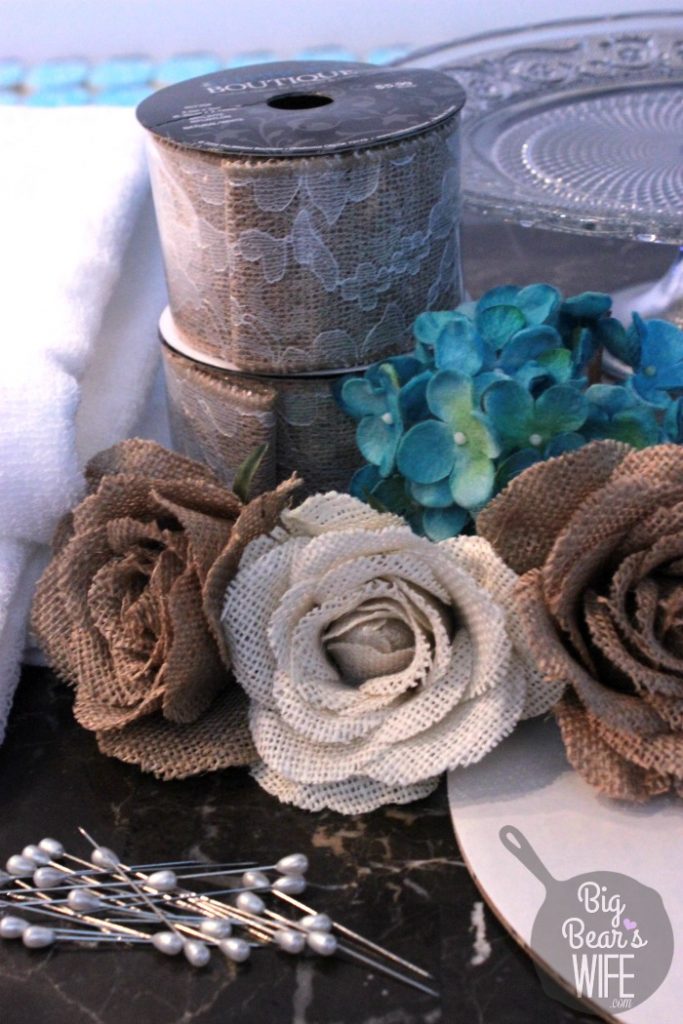
These are the flowers that we used and the pins.
You don’t have to use these fancy pins but we wanted them because they looked like little pearls.
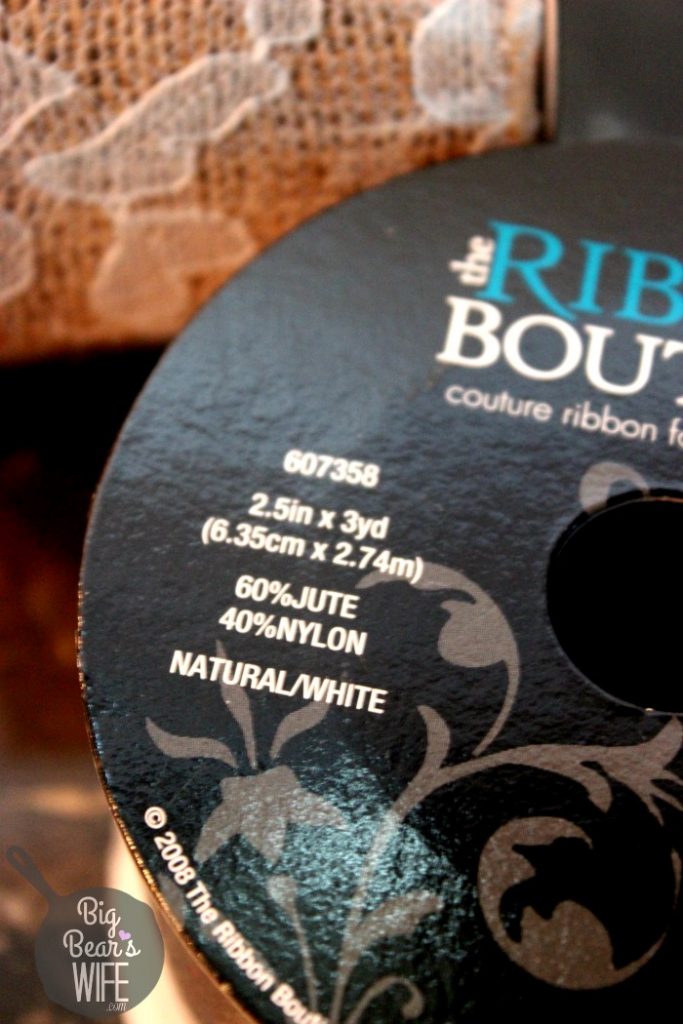
This is the burlap and lace ribbon that we used. It’s 2.5 wide and there’s 3 yards on each roll. I used two rolls between the cake and making the bow.
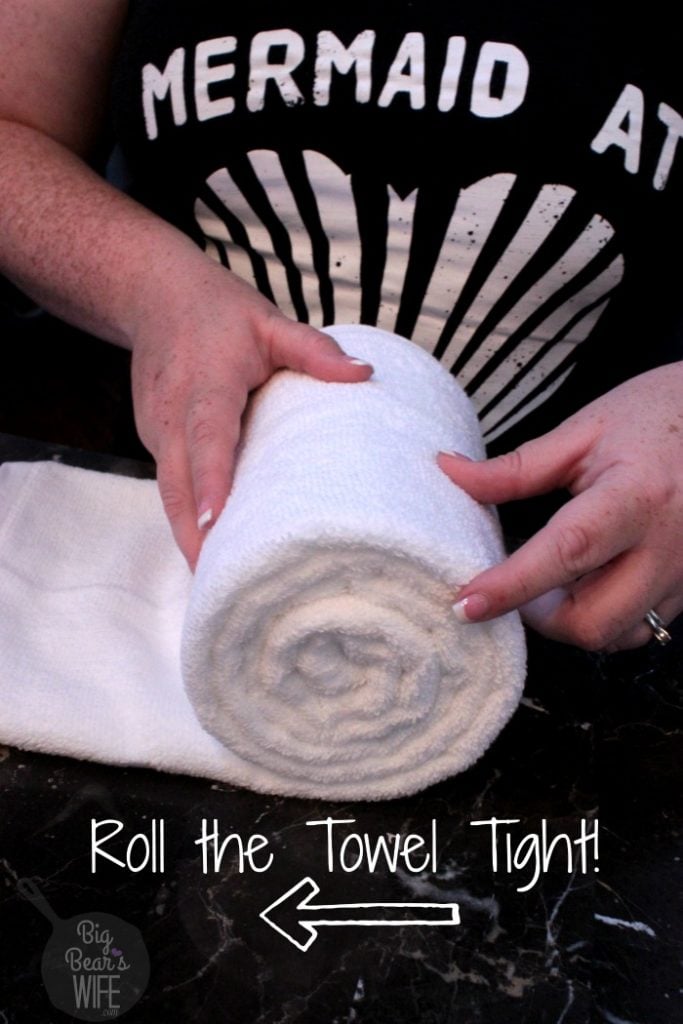
Lay out the first large bath towel on a flat surface. Fold it in half lengthwise, and fold it in half lengthwise again.
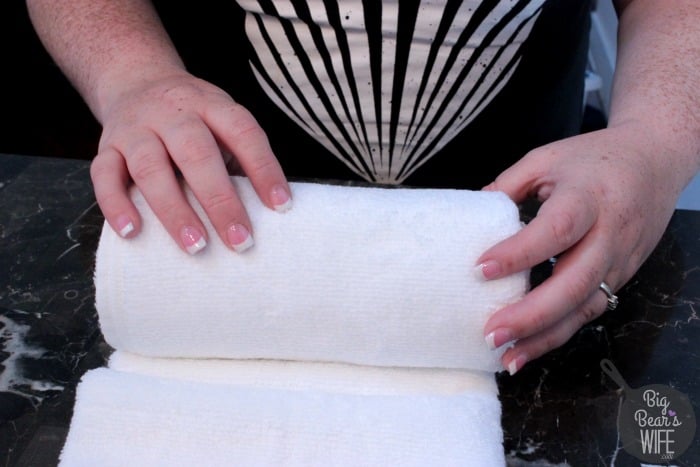
Start at the end closest to you and start rolling the towel.
Keep rolling until you get to the end, making sure to keep the towel tight and neat.
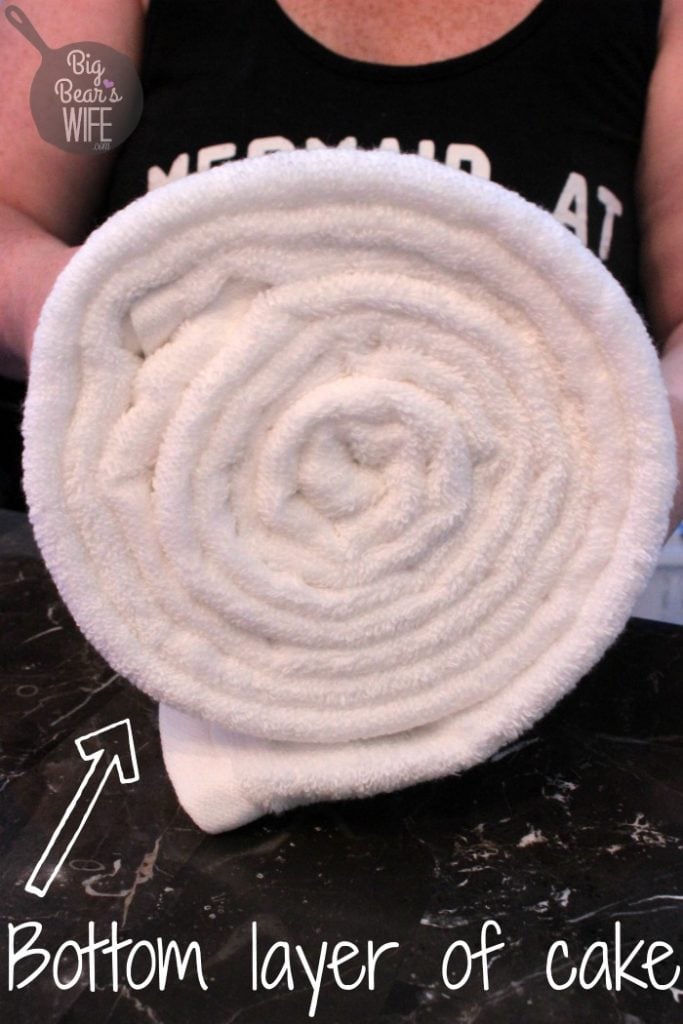
Do the same folding to the second large towel. Lay it end to end with the rolled towel.
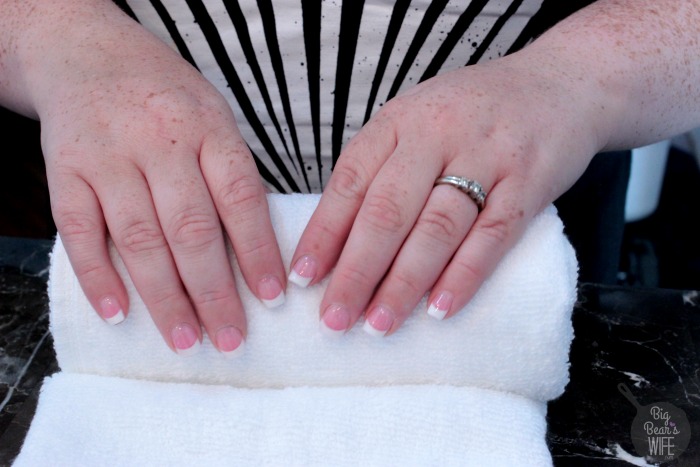
Start rolling the second towel around the first as if it were one super long towel.
Keep rolling until you get to the end of the second towel.
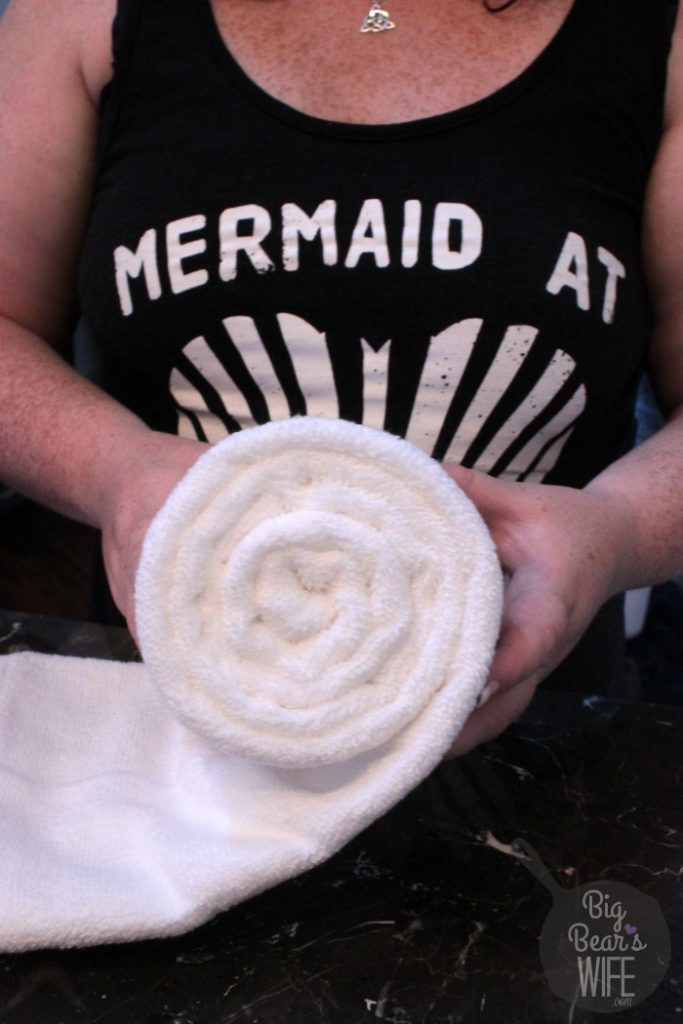
This is going to the be base of your “cake”.
Use the straight pins to secure the towel. I used three pins in the bottom layer, two pins in the middle layer and one pin for the top layer.
Do the same process of folding and rolling with the middle and top layer of the cake.
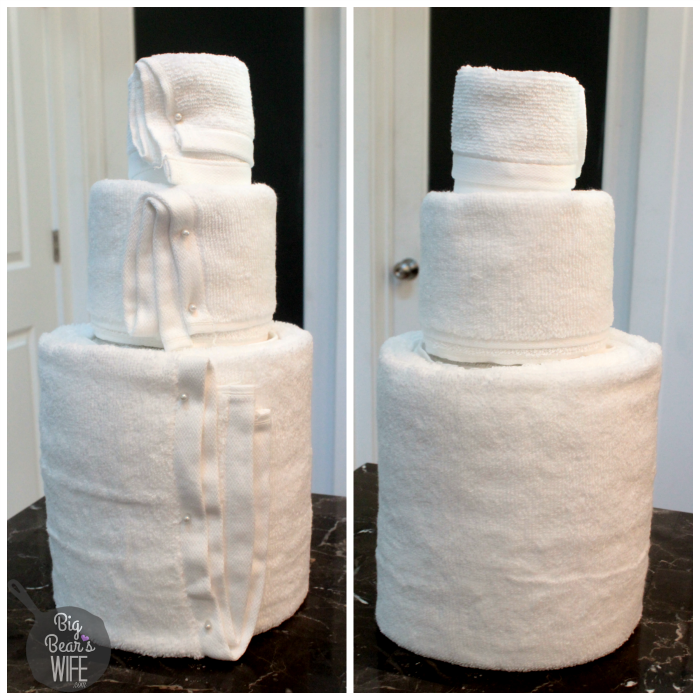
Stack them on top of each other to make the cake. Make sure to lay your cake board down, first.
Now I know at this point you’re going to look at your cake and think, “what the heck is this mess???” but just stick with me. K?
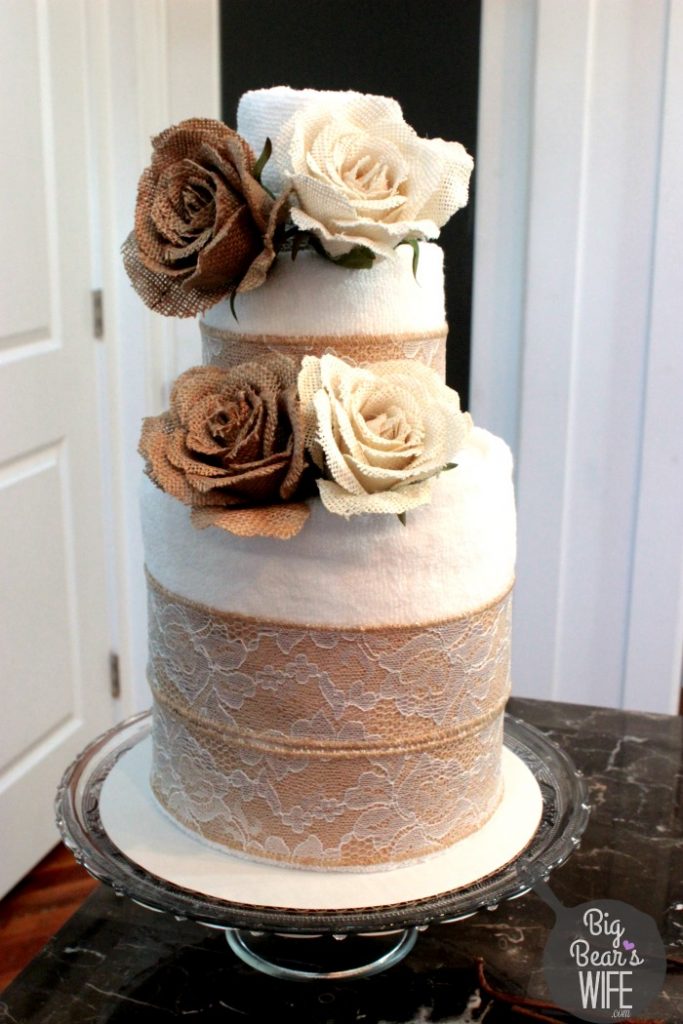
Now, wrap some burlap ribbon around the base of your cake to measure it. Cut the burlap and pin it around the cake with another straight pin. I added 2 strips of burlap ribbon to the bottom layers of our towel cake.
I used on strip of ribbon for the middle layer and then I folded a piece in half for the top layer.
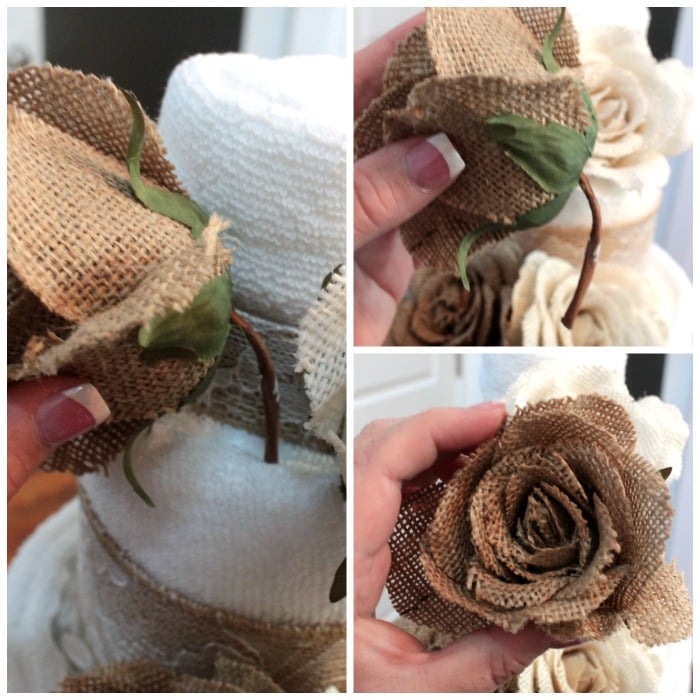
Next, trim up the stems of your burlap flowers and stick them into the “cake”. I just slid them into the towels.
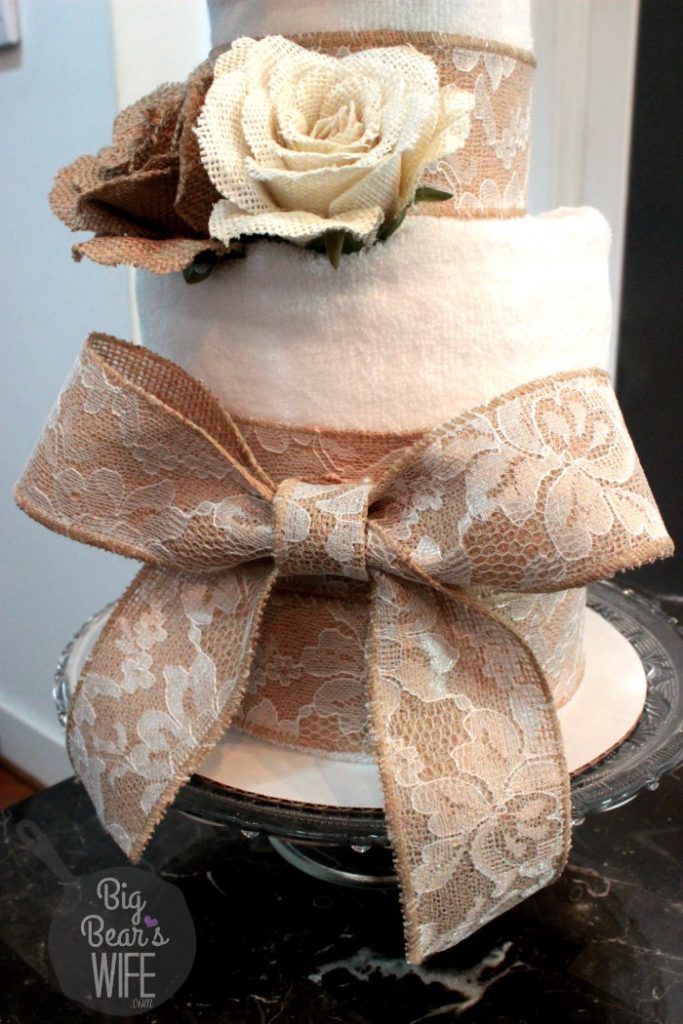
Next you need to make a bow. I’m thinking of doing a little tutorial on how to make burlap bows but until them, you’ll probably want to check out this video or this one on YouTube to get an idea of how to make it.
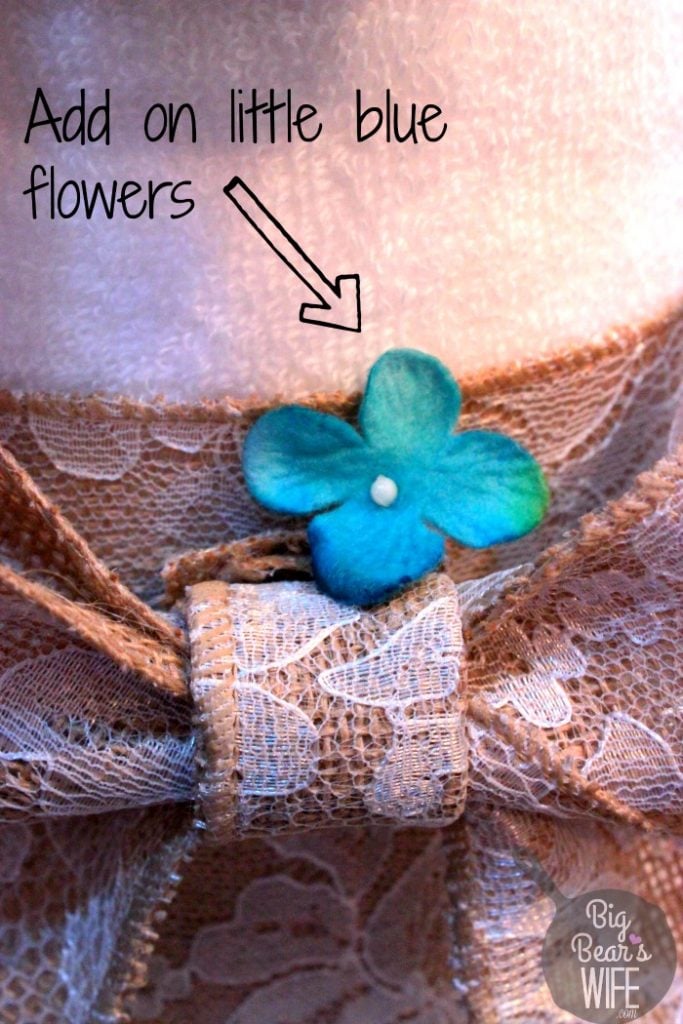
Then just stick a few little blue flowers into the cake. You can hot glue them if you want but I didn’t because I wanted them to be able to use the towels after the party!
I just took the little blue flowers in a baggie and placed the on the towel cake at the party.
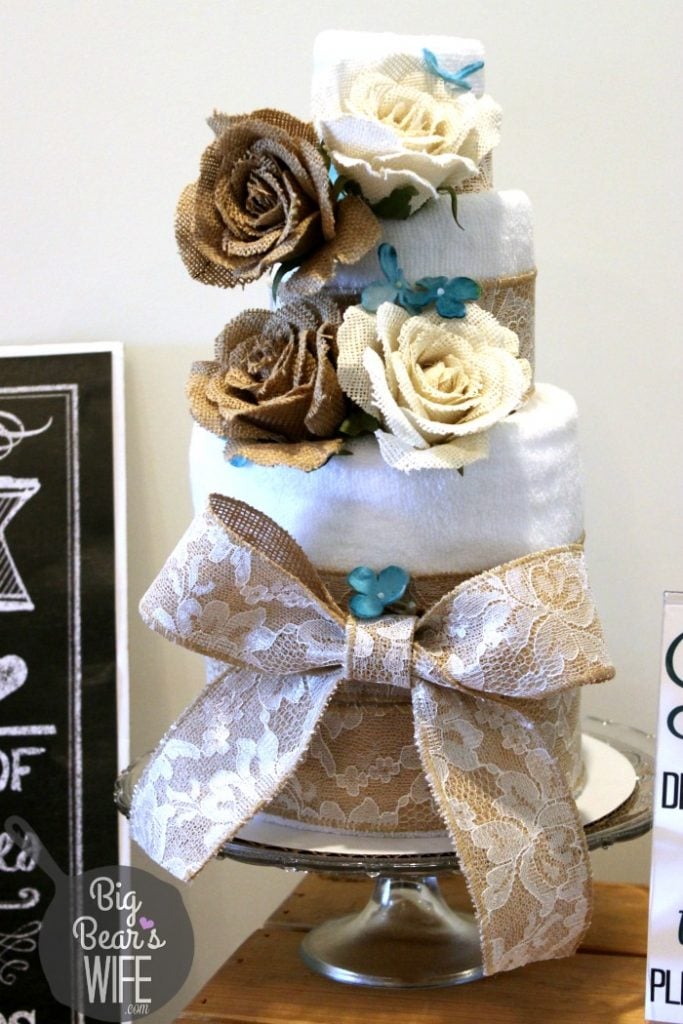
That’s it. That’s all you have to do to make one of these super cute towel cakes!
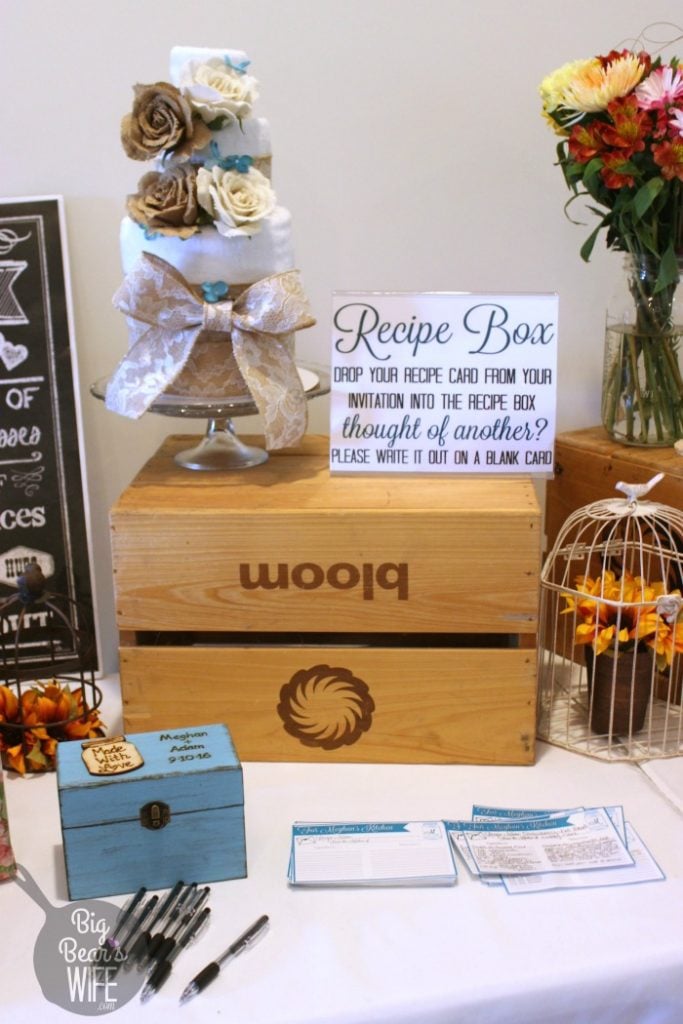
Even though it was a gift for the future bride and groom, we also used it as a center piece for their gift table and for the recipe box table!
Going to make one of these? I’d love to see a picture of it if you do!!
Maybe I did something wrong but these are horrible instructions. The pins do not hold the towels together. There are no clear instructions for the second and third layer, it looks like you need more then what is on the “what you’ll need” list and there is nothing about how to secure the layers together. Epic fail for me!
Heather,
How are they horrible? Dang, I even added step by step photos for you to see how to roll it, pin it and make it. The pins DO hold the towels together. That’s how I held them together so I’m not sure how you can tell me they didn’t. Maybe your pins are just not long enough. The second and third layers are EXACTLY the same as the first layer, they’re just smaller. You use 2 large white bath towels for the first layer, 2 medium white hand towels for the 2nd and 2 small white washcloths for the top..you know…biggest to smallest, just like a real cake. I even wrote “Do the same process of folding and rolling with the middle and top layer of the cake.” after I added directions on how I rolled the biggest layer. Also, I don’t secure the layers together, so that’s why I didn’t add anything about securing them together, because I don’t. That way you can transport it to wherever the party is, and assemble it quickly, they just sit on top of each other.
Thank you for the great ideas. I am doing this for my daughter’s bridal shower in two weeks. Mine won’t be white but I figure I will use white for the trim instead. Going to use the wedding colors since those are the towels she asked for. Keeping my fingers crossed.
Hope it turns out great! Let me know if you have any questions! I’d love to see a picture when it’s done! <3 Congratulations to your daughter! (and you!)
Omg i make these cakes using ur step by step instructions, they turn out beautiful, my family and friends ask me to make them for weddings and baby showers thank you very much.
You’re so welcome!! I’m glad you like the tutorial! Thank you for visiting my blog and taking the time to leave me a comment. That made my day!
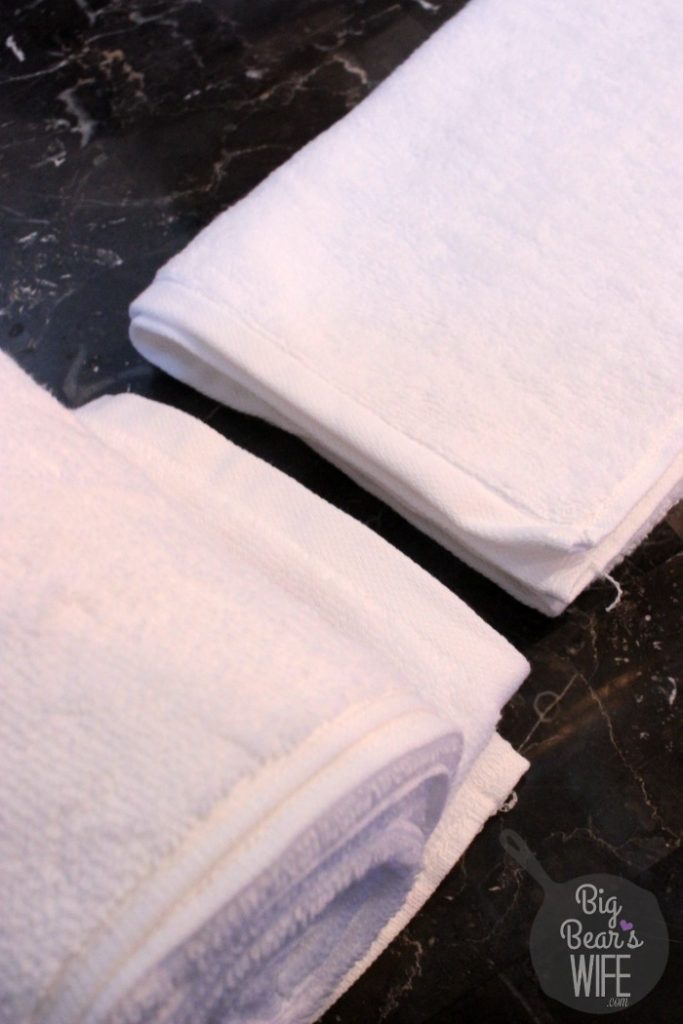
I think your instructions are great! You even included a picture of the back where the edges don’t lie straight so I could stop panicking. I’m making a cake for my niece’s shower this fall. I will send you a picture when it’s done thank you so much for the information
Hello
For Christmas Gifts I made these cakes. But what I found works much better than pins are large wide rubber bands to go around the towel horizontally. I covered then up with wide wired ribbon and then to make all of the towels stay together I used the wire ribbon or mesh ribbon I got from dollar tree along with the silk flow and put the ribbon in a cross on my table , that is two very long pieces of ribbon. I brought them up vertically and make huge decorative bow at the top of the cake. It came out beautiful with the winter flowers. no pins needed. The only thing that was of expense was the big wide rubber bands which you can get a office supply store or maybe wall mark. You could use very long zip ties in their place. I hope I have helped.
Love that idea!
love this tutorial. making for my daughter.
wish I could post completed picture. all in bee theme!!
Ohh I bet that will be so cute!!
Hi, would love to try this, but i need an ice cream cake for a wedding shower. Any suggestion
Are you looking to make one your self or looking for somewhere to buy one?
Iam going to try my hand on making this towel tree for my grand daughter’s bridal shower.
I will embroide them with monogram initials.
Iam excited to start this project, will let you know how successful I will be.
Try wrapping the towels around a paper towel roll or one from saran wrap helps to keep them in place
Good Idea
This is so cute. I received one of these towel cakes for my wedding shower 35 years ago. It was so beautiful I hated to take it apart to use the towels. I will use this tutorial to make a towel cake for my great niece’s wedding shower. Thank you for helping me recall a fond memory. I love the burlap flowers. Where did you get those? Perfect for a fall wedding!
Thank you!
I found the burlap flowers at Hobby Lobby!
For pins, use T pins to secure towel ends if your are too short/not working.
Instructions are easy to follow, visual is great. I used a dowel in the middle and covered it with the towels so they could stay together, I also used big rubber bands and covered them with the ribbon.
Thank you for your very EASY tutorial:
Thank you, this was great! Easy instructions and your photos are so helpful.
Thanks for the great instructions. My cake looks awesome. Daught in law to be will love it!
YAY! So glad that you liked the tutorial! Thank you!!
What size flowers did you use?
They were a little smaller than my hand
I thought your instructions were right on the mark. I have made these before and would love to show you a picture.where can I post the pictures please?
Hi Mary!! I would love to see them! You could post them on my facebook page https://www.facebook.com/bigbearswifeblog or email them too me and I could add them to the post with your permission!
@bigbearswife – This is amazing! Thank you so much for your instructions – they were perfect! I added pins to the sides of the second and third layer around the bottom for extra security so the “cake” wouldn’t fall over. This is a goft I have to transport… not something I am assembling for the bridal shower itself. Anyways, thank you for your help!
Hi Heather! I’m so glad that you liked the instructions for the towel cake! I always think that they look so pretty!
Thank you so much for sharing the ideas! The bride I made the towel cake for is having a barn wedding so the burlap was just what I was looking for! Would love to send you a pic! Is there an email address I can use?
Thanks again!
Sharon
Hi Sharon!! My email is [email protected] I can’t wait to see them!
when I make mine I hand stitch the end of the towels once they are together to secure each layer making sure they will not come apart. I di the same with each layer.
Love the tutorial! I added my sister-in-law’s new last initial????not tech savvy enough to add a picture, but trust…your directions were spot on and my towel cake will be a hit!! Thanks!
Dot
Hi Dot!!! I’m so glad that the tutorial was easy to follow!