
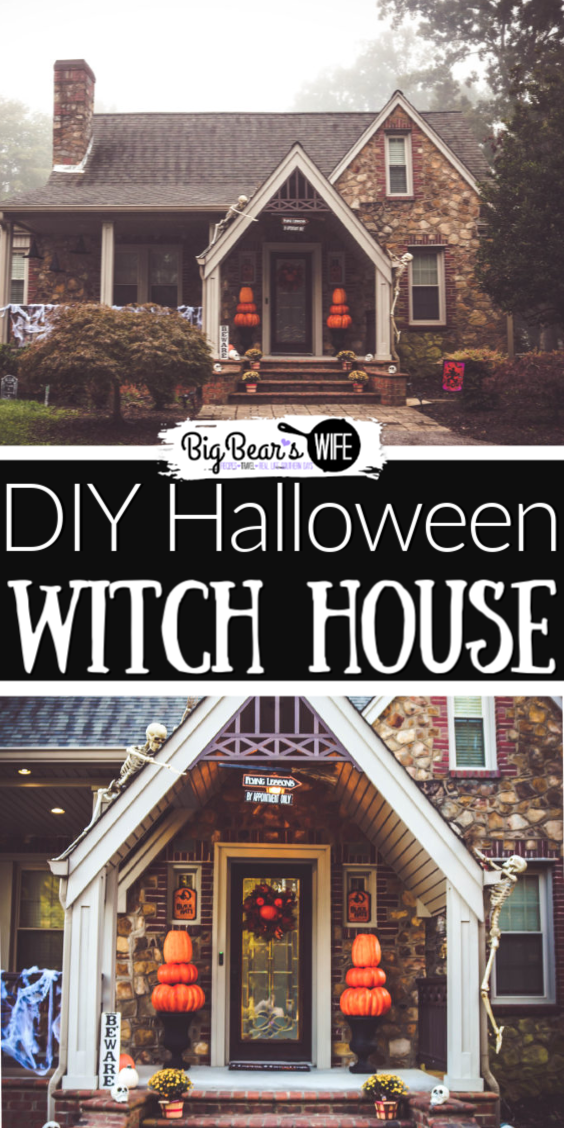
We decorated our new house with a wicked witch cottage theme and we’re here to tell you where we got everything, how to make some of your own DIY Halloween decorations and how to save some money when decorating for Halloween! These are Our 2018 Halloween Decorations – Witch Theme!
Double, double toil and trouble; Fire burn, and caldron bubble.” ― William Shakespeare
Decorating for Halloween has always of my favorite times of the year. We start decorating about October 1st and normally we only decorate the inside of the house. Well, to be honest, there wasn’t a reason to decorate much before.
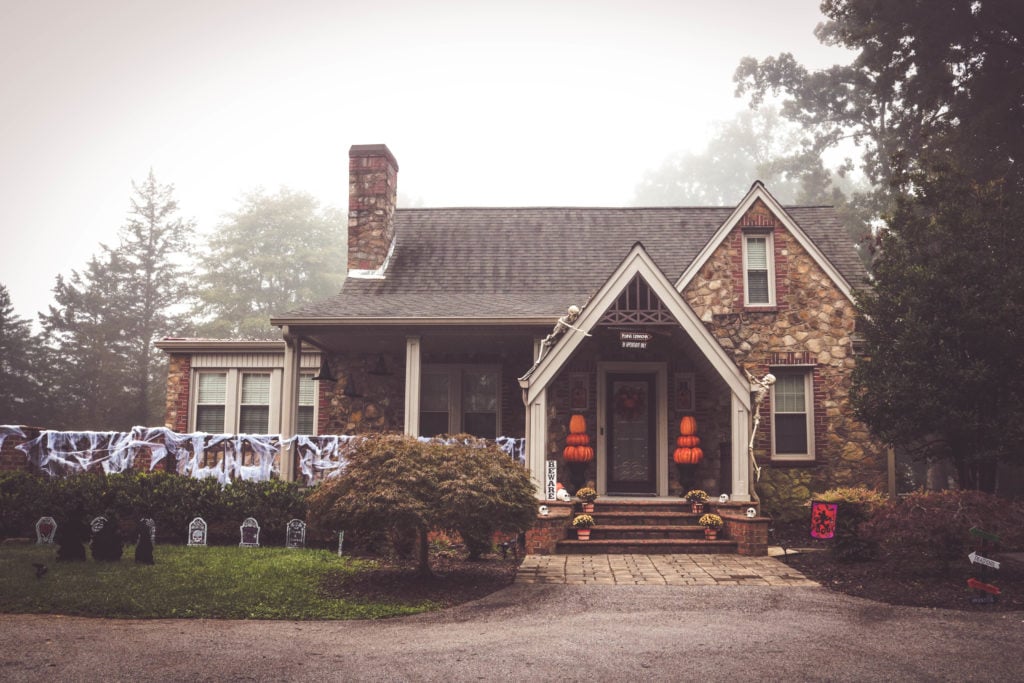
We were always living in rentals out in the country that no one saw or the past couple of years we live in an apartment building downtown so we actually couldn’t decorate outside. I always stuck to decorating the inside of our home. However now, we have the perfect Halloween house and we decided that this year we were going to give our little “witch cottage” a bit of a Halloween makeover for the holiday!
However, as I mentally picked out decorations for our house and looked over websites for what I wanted it seemed like this was going to be way too expensive. I also didn’t want to end up with a bunch of stuff that I liked that wouldn’t get used.
So what I did was, I took a photo of our house and loaded it into PicMonkey (not sponsored by them, I just use that site a lot!) Then I looked through a ton of Halloween decorations on tons of websites and found exactly what I wanted. I took images from the website and added them to the photo of my house. That way I had a base idea of how I wanted everything to be. That way when I was out shopping for things of ordering things I didn’t have to waste any time or money buying things that wouldn’t go well with what I had in mind!
Why did we go with a witch theme this year? Well, we decided on a bit of a witch theme because our house reminded of a witch cottage….kind like a Hansel and Gretal witch cottage. It just needed to happen.
I love all of it so much that I’m not really sure where to start! So let’s start here….
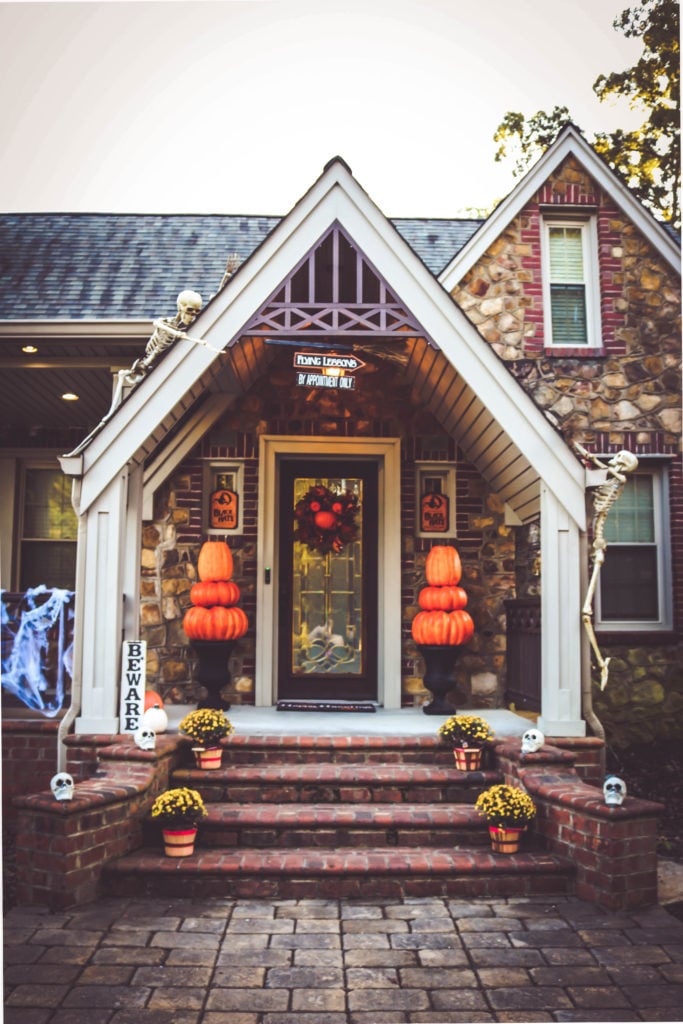
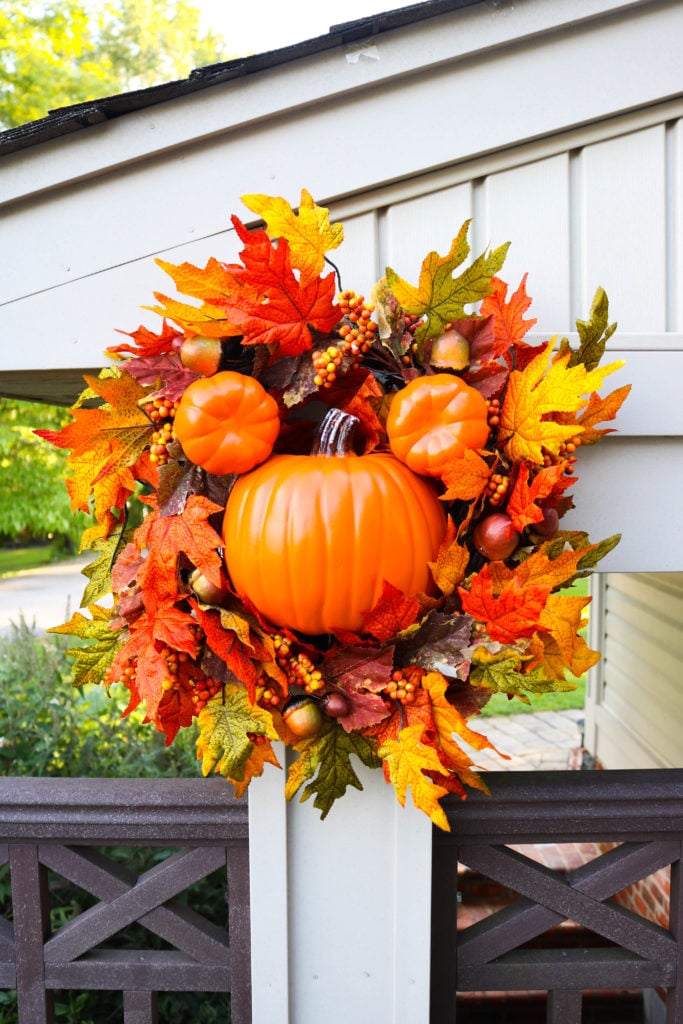
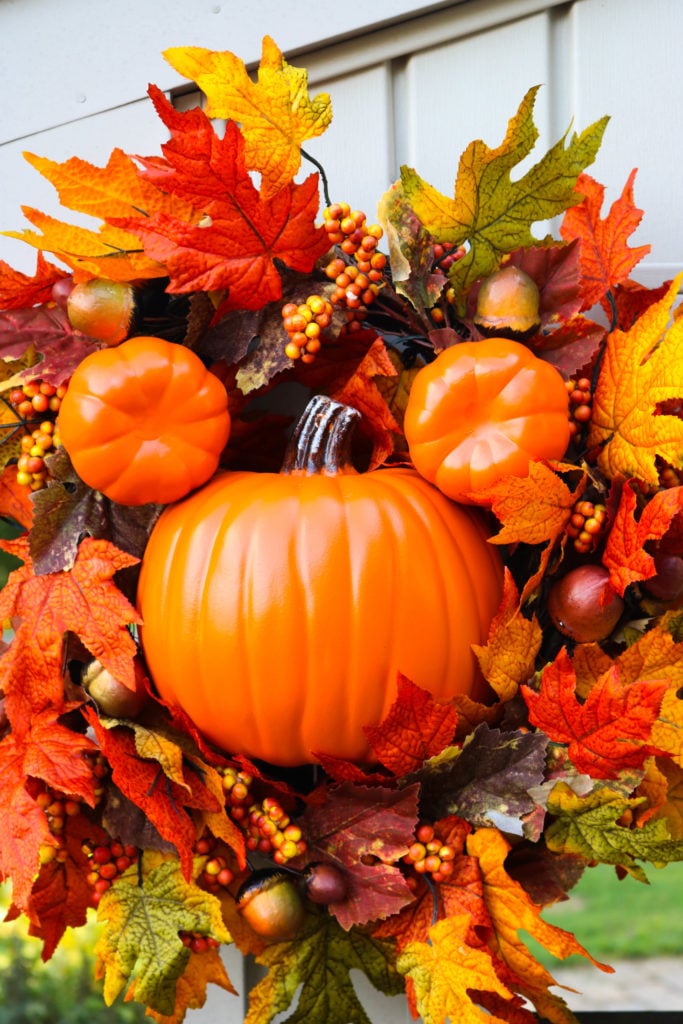
The front area and front door! It’s a Mickey Wreath on the door! A
A Mickey Pumpkin Wreath to be exact.
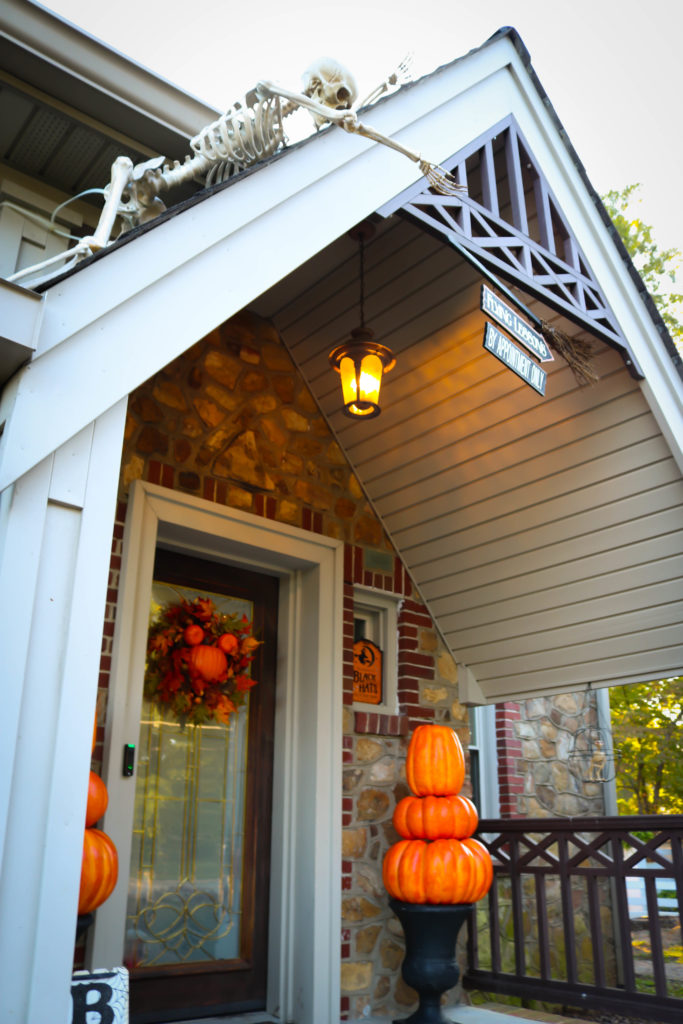
I made a few Mickey Pumpkin wreaths for my son’s first birthday party and I just fell in love with how they turned out so I added one to our front door. I know it’s not a witch theme part of our decorations but y’all… it’s Disney and you KNOW that I love Disney.
When Thomas and I went to Disney World for Halloween the year before we had Jax, I fell in love with the huge Mickey Pumpkin wreaths that were hanging all over the park. I actually had my fingers crossed that they’d have some smaller versions for sale in their shops but I had no luck finding anything similar. The only thing I found that might help me out was a Mickey Trick or Treat bucket but I ended up buying it before the left Disney and deciding not to use it because it had black ears. I wouldn’t have looked a lot like the Mickey Pumpkin Wreaths in the park.
So I set out on a mission to make my own.
I have a tutorial on my blog show you exactly how I made this Mickey Pumpkin Wreath! I posted a photo of my Mickey pumpkin wreath on my Facebook page after I made it and people went crazy over it! A lot of people asked to make them to sell, and I might….I just need to find a way to ship them!
BUT, if you don’t want to wait for that, don’t worry! I’ll show you how to make them yourself this week!
I’ve only seen a few for sale online and they were over $100! Don’t’ worry! This wreath isn’t going cost you anywhere near $100 to make. Be on the lookout for the tutorial.
Isn’t it just the most perfect Pumpkin Mickey Wreath ever? I love it so much!
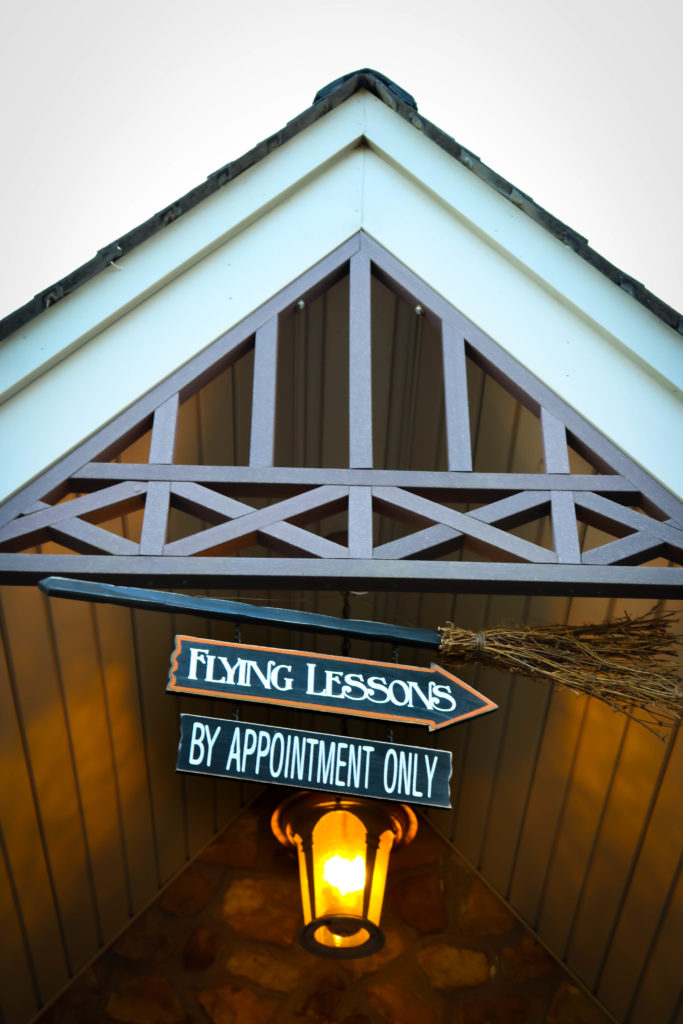
Alright, moving on! This “Flying Lessons by Appointment Only” sign is hanging over our front door! I mean what Black Hat Society Witch cottage would be complete without this fun sign!
I found this sign at the Halloween Spirit store and I think it was about $14.00
I looked on their website and I don’t see it on there but we did buy it this year in the store so maybe they just don’t have it online. If you can’t find it at the Halloween Spirit store and still want one, I found a few of them on Etsy and Amazon. I’m sure you could make one too!
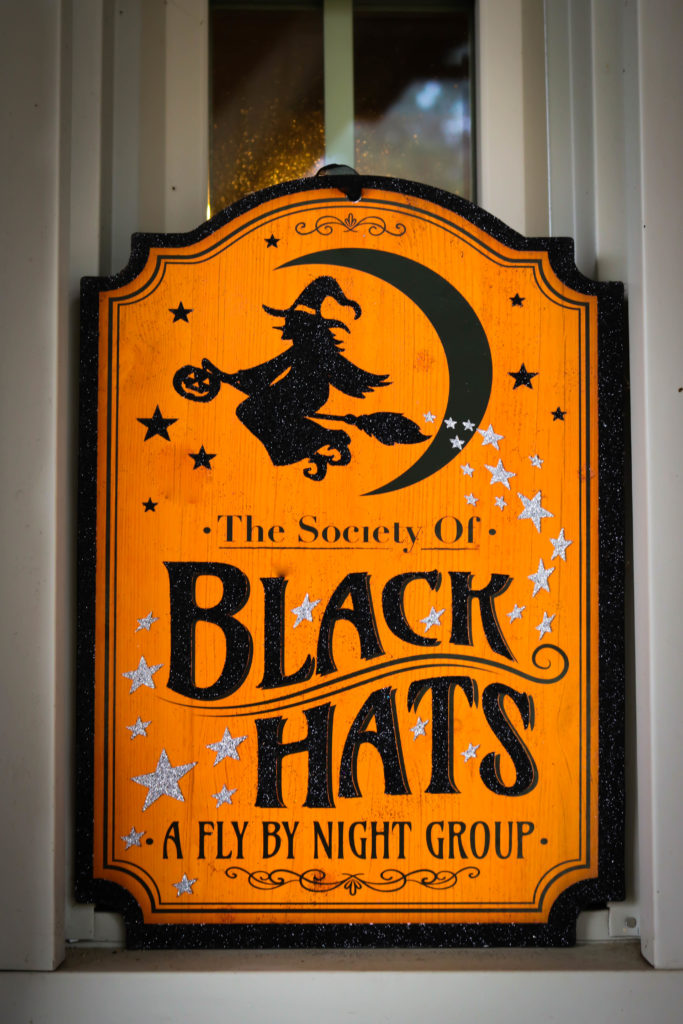
Then we have The Society of Black Hats signs that are in the windows on the front of the porch! I found these at Dollar Tree this year. I actually got a lot of my decorations from Dollar Tree this year which saved me a ton of money because obviously everything there is $1.
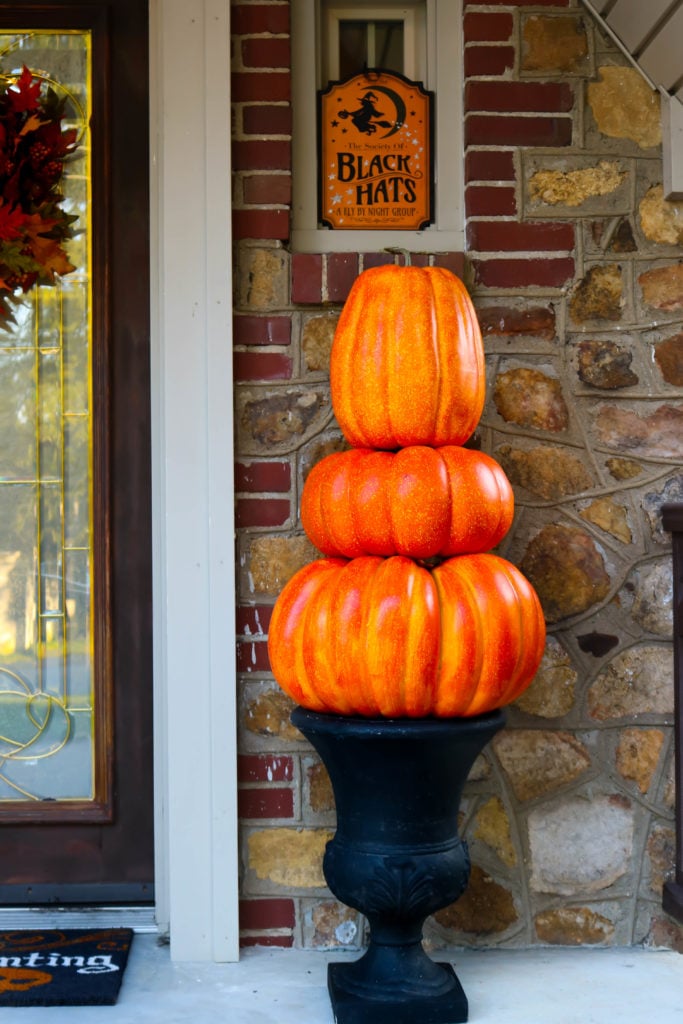
The Society of Black Hats signs fit perfectly in our little windows and they match our big old stacked pumpkins!
The stacked pumpkins were the first decorations that we put out this year. They went out at the beginning of September and I probably won’t put them in storage until Dec. 1st. They’re great because they can be Halloween, Fall and Thanksgiving decorations.
They were probably the most expensive thing I decorated with this year and it took me almost 3 weeks of deciding before I went back and bought them. However even though I did pay way more than I normally would have paid for decorations, I plan on using these beauties for quite a few years.
The pumpkins just came as the three pumpkins stacked together. Then we bought an Allen + Roth Black Urn for each set. Thomas drilled a hole into the bottom of the pumpkins and added a rod through the center of the pumpkins. Then he poured play sand into the urn and pushed the rod and pumpkins down into the sand to make sure that they would be sturdy.
I’m in LOVE with how they look!
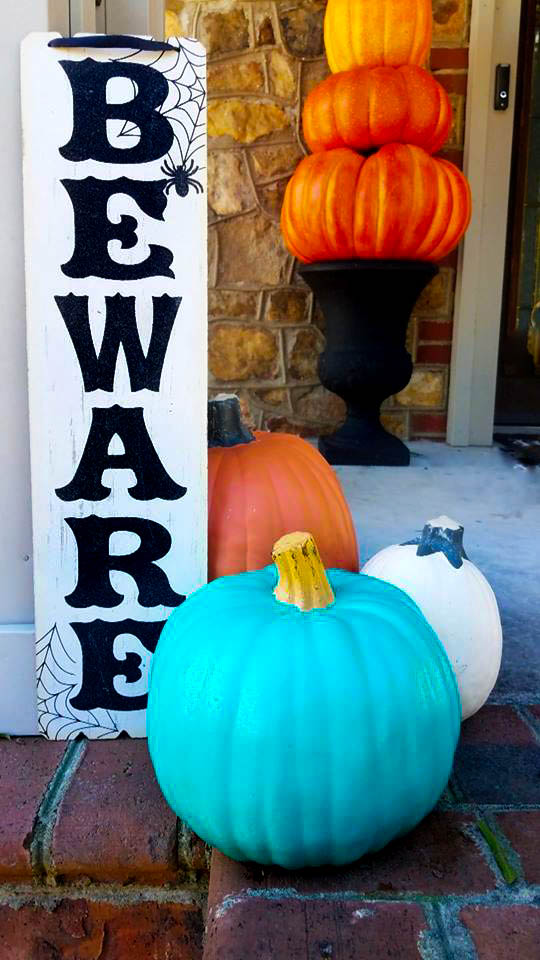
Below the stacked pumpkins we have our little pumpkins and this lovely BEWARE sign!
The BEWARE sign came from Dollar Tree.
The medium orange pumpkin and small white carvable fake pumpkins came from JoAnn’s. They’re pretty expensive on their own but I bought these online in May from their website for about $8 each. They’re like $30 regular price but I guess if you’re going to use them year after year….
You can also find these pumpkins at Hobby Lobby. They’re normally on sale for 40% off at Hobby Lobby.
The Teal Pumpkin came from Target. It’s part of the #TealPumpkinProject which we’re participating in this year. I don’t know how many little ones around here will be interested in the little toys we bought but I thought we’d try it out.
The #TealPumpkinProject is all about raising awareness of food allergies and promoting inclusion of all trick-or-treaters throughout the Halloween season.
Our little one doesn’t have any food allergies but I know that if he did, I would be so sad for him to not be able to Trick or Treat. Plus, Jax doesn’t have any allergies that we know of but my husband does and my best friend does have some so we know what it’s like to search menus, read labels and ask 100 questions about foods.
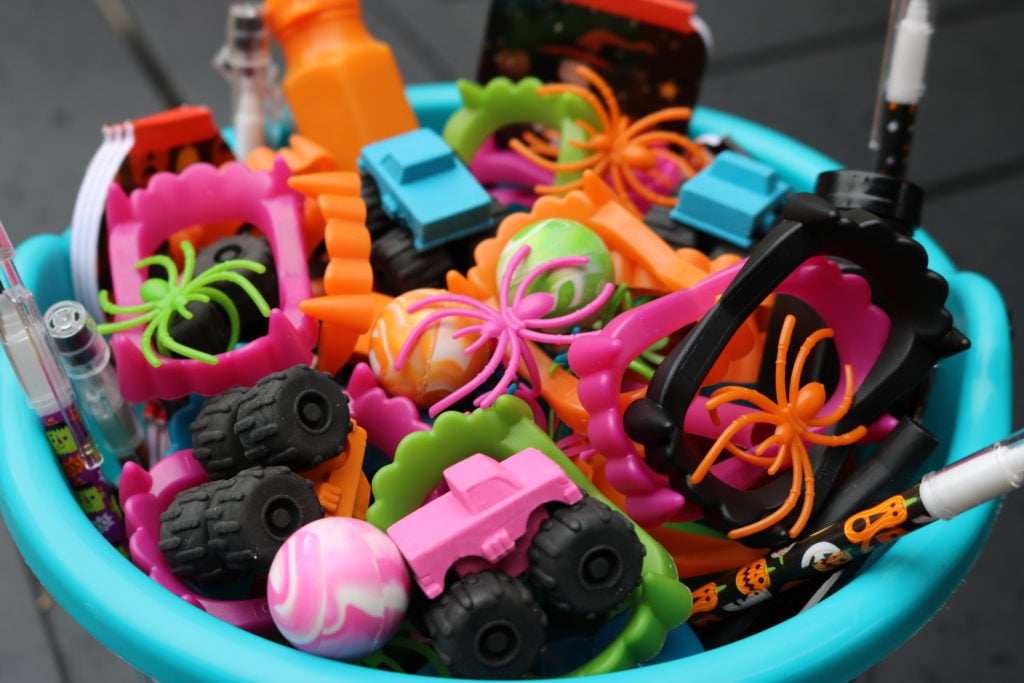
We did buy some candy which I’ll have in an orange bucket and I bought some little non-edible Halloween toys and treats to go in our #TealPumpkinProject treat bucket that we got at Target. Also, again, this is in no way sponsored. I just love the idea and wanted to give it a try this year.
The teal pumpkin on your porch is supposed to indicate that you have non-food treats available for little trick or treaters! I’m going to do another post on what all we put in our teal pumpkin for everyone! If you want to learn more you can visit the Teal Pumpkin Website!
Sorry, I got a bit off topic!
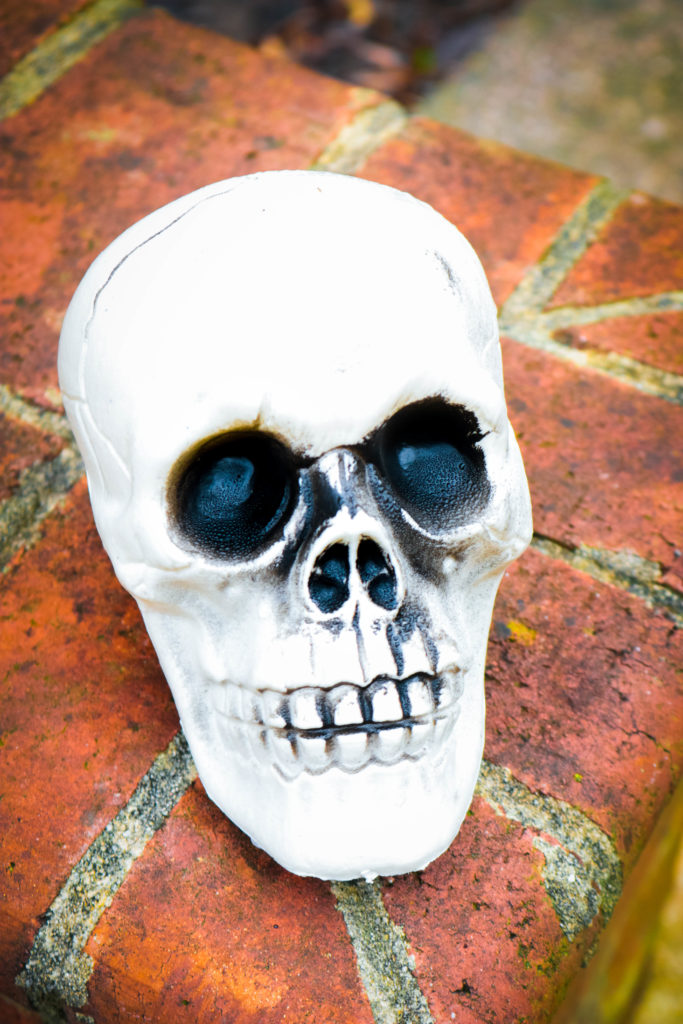
On the steps of our house, we have orange mums and these little plastic skulls. The skulls are from Dollar Tree and are super lightweight. We originally just sat them on the sides of the steps but the wind was taking them away. So we just used some duct tape we had at the house to stick them to the brick and they’ve been staying on pretty good.
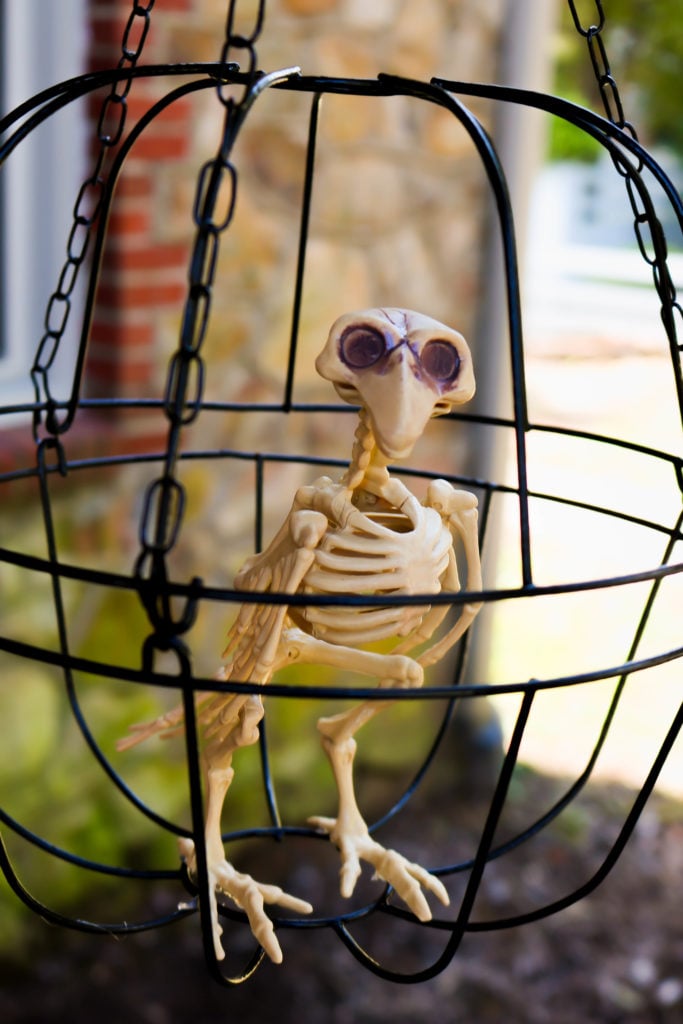
On the side of the porch, we have our witch’s little pet, the Skeleton Bird.
He needs a name but I haven’t come up with it yet. He is a DIY Halloween project!
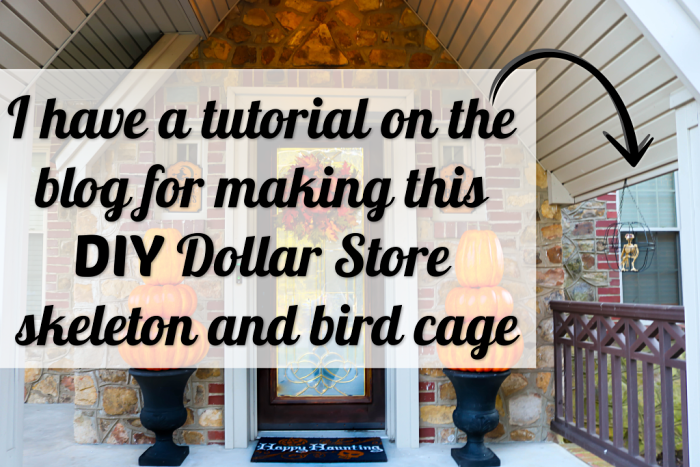
If you want to learn how to make this DIY Dollar Store Skelton Bird and bird cage, I have a tutorial on the blog for it! It pretty must cost about $3 to make and I love how it turned out!
He is holding up super good too! He was outside hanging on the porch when hurricane Michael came through and made it through the storm!
I mention this in the DIY Dollar Store Skelton Bird and bird cage tutorial post that I wrote but these little skeletons like the bird in the birdcage can be found at Dollar Tree. Last time I was there they had skeleton rats, bats, birds, and small pups skeletons. I’ve seen these little skeletons like this at other stores from anywhere from $5-$25! That’s crazy!
Y’all, when you’re looking for Halloween decorations do some research before you go out and pay a ton of money for something. Why pay $10 for a plastic skeleton when you can get for it $1.
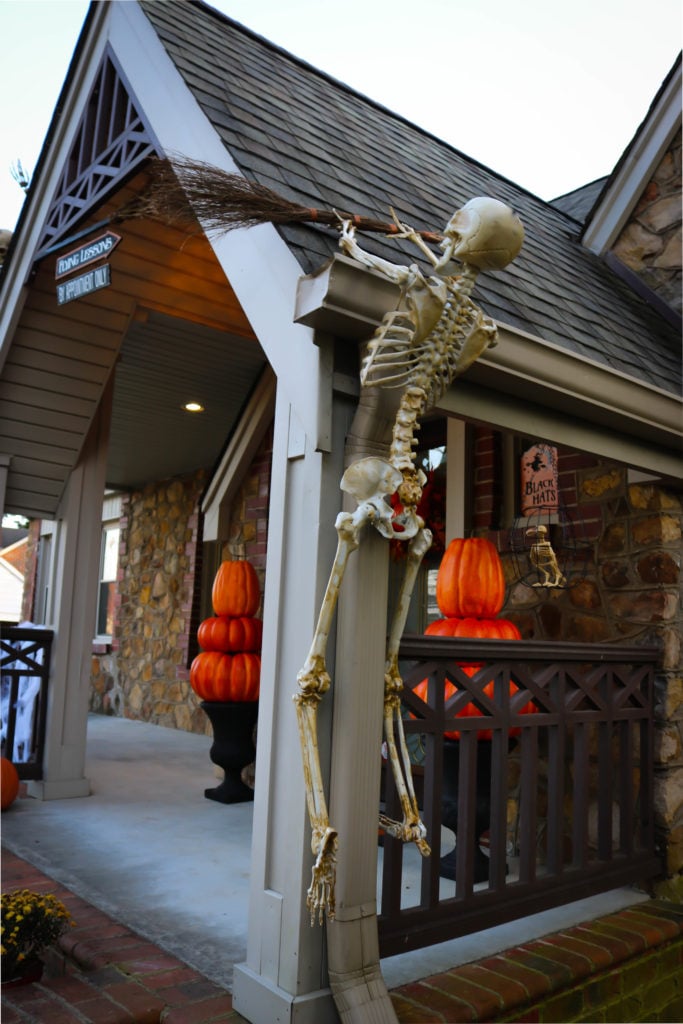
The two big skeletons, that are climbing the house to help the resident witch decorate her house, came from Lowes! He’s about 5 feet tall and he was $35 when I bought him but it looks like they’re on sale right now! We secured our skeletons to our house with some zip ties and they’re holding up really good!
Big Skeleton from Lowes –$35 – $27
There are also some big skeletons at there stores:
- Party City $24
- Home Depot $42
- OrientalTrading.com $40
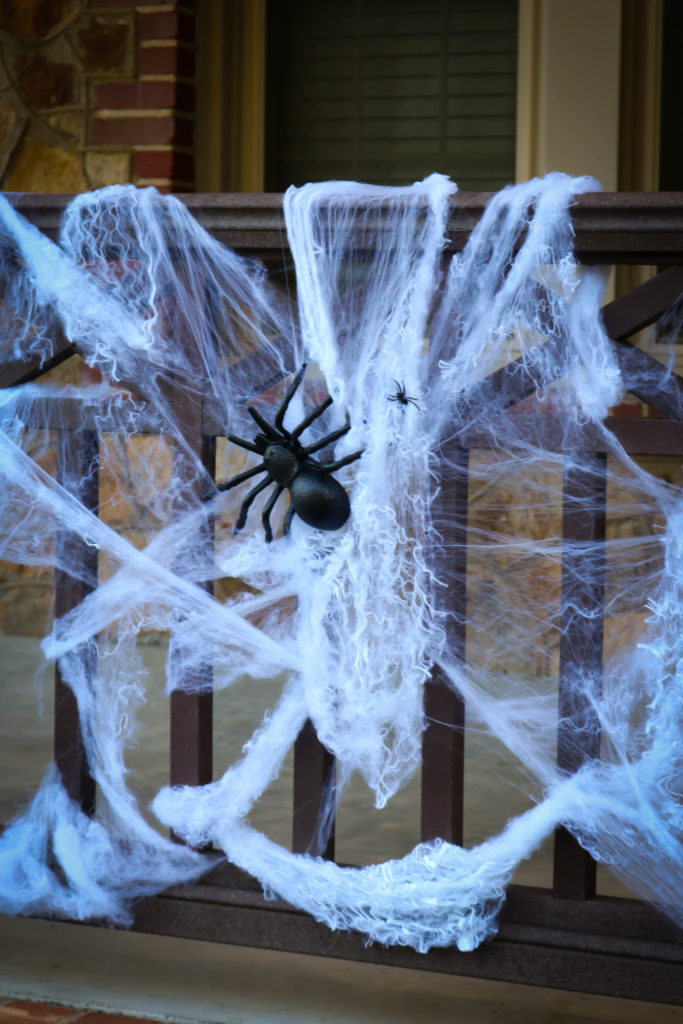
Then we spread the dollar store spider webs on the banisters on the porch. I used 4 packets of spider webs from Dollar Tree for our porch. Each one came with 4 little spider rings but you can’t really see them. So I bought a few of these giant spiders from the dollar store.
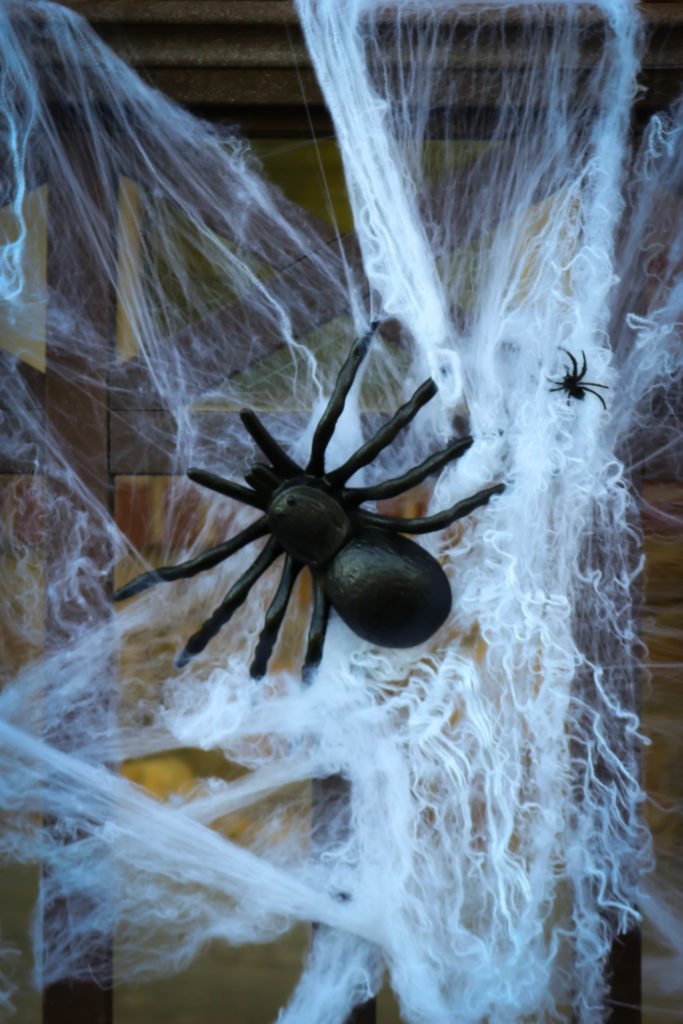
They literally just stick in there. Also, the spider webs just stick on there too. I’m sure they’ll be a pain the the butt to get off but they’re great right now haha.
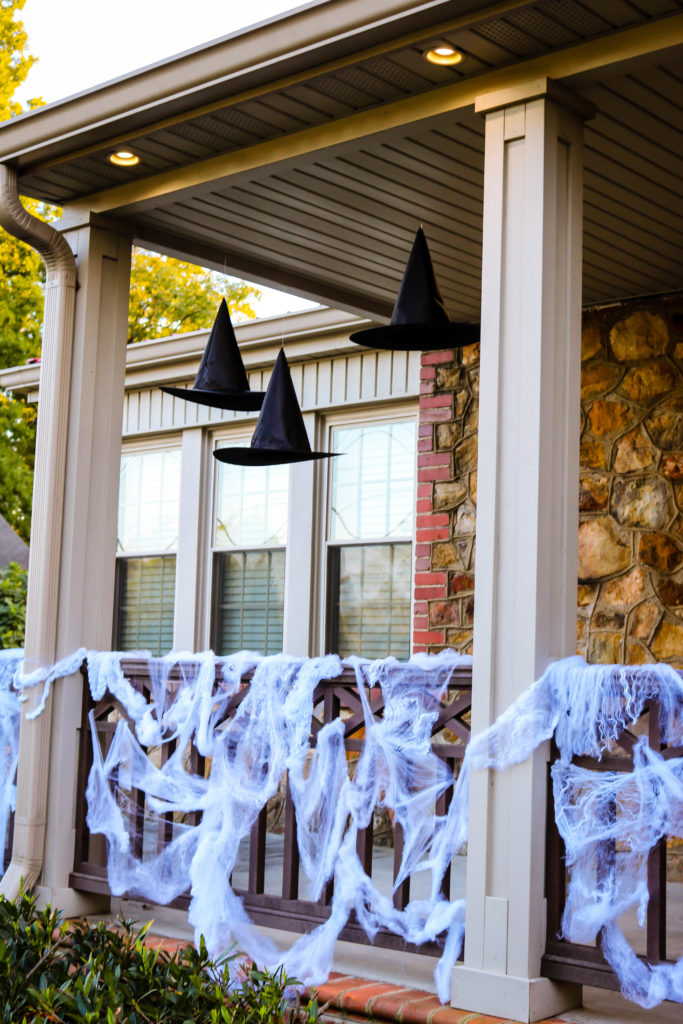
Then we have the floating witch hats! These, oh my how I love these floating witch hats. I have a post that you can check out HERE showing y’all how I made them. They look go neat from the yard!
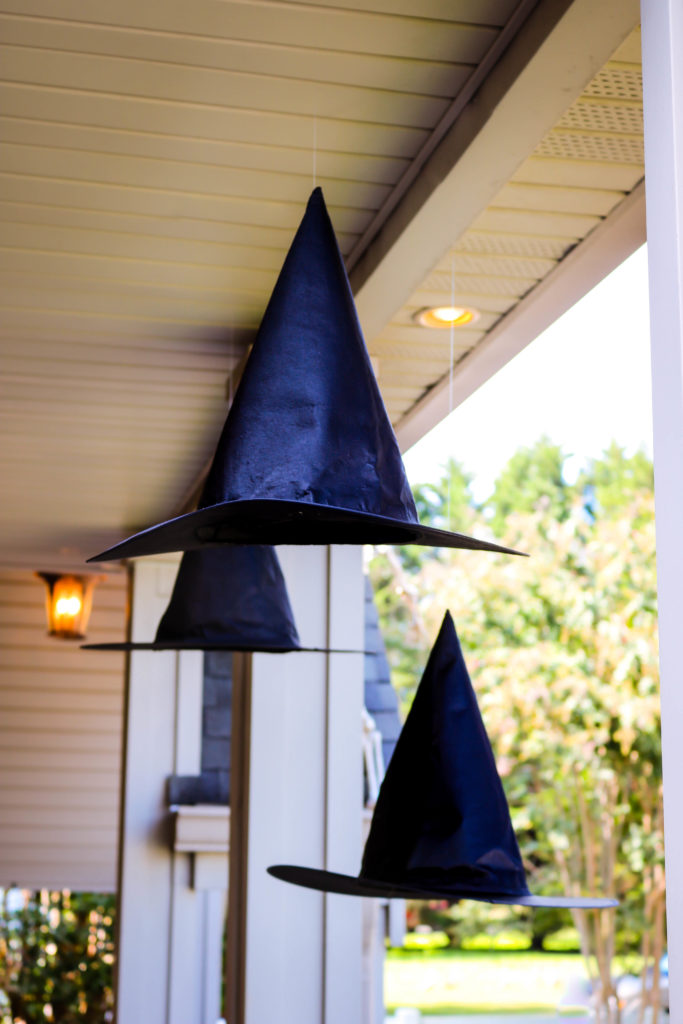
I mean a witch house needs floating witch hats!

Also, every witch house out there needs a few witches hanging out in the yard as they conjure up a spell or two! I found this set at OrientalTrading.com!
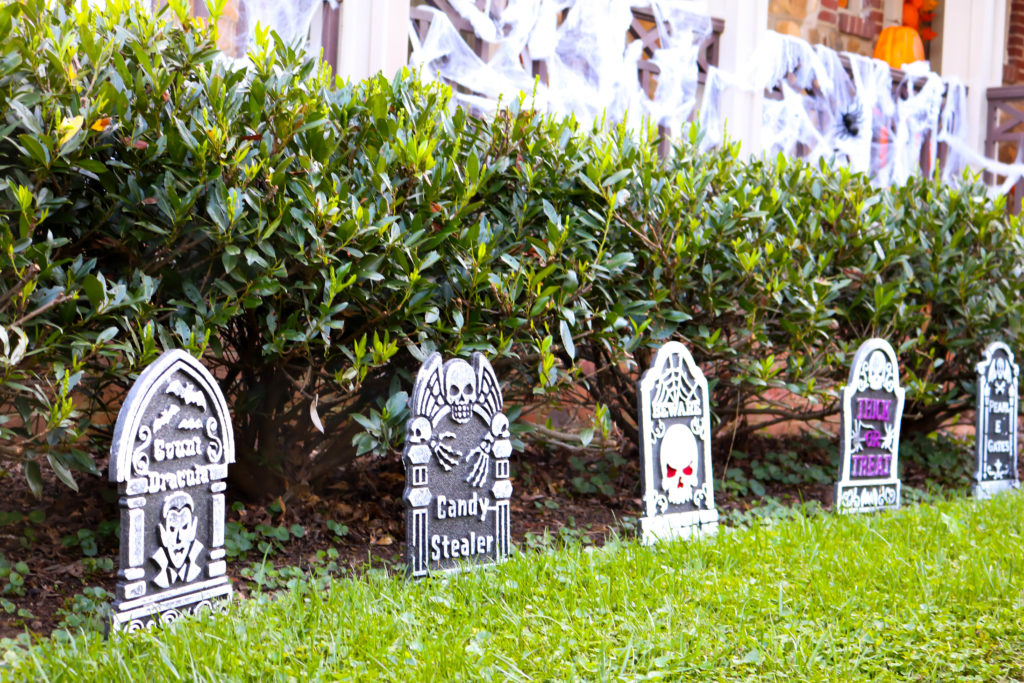
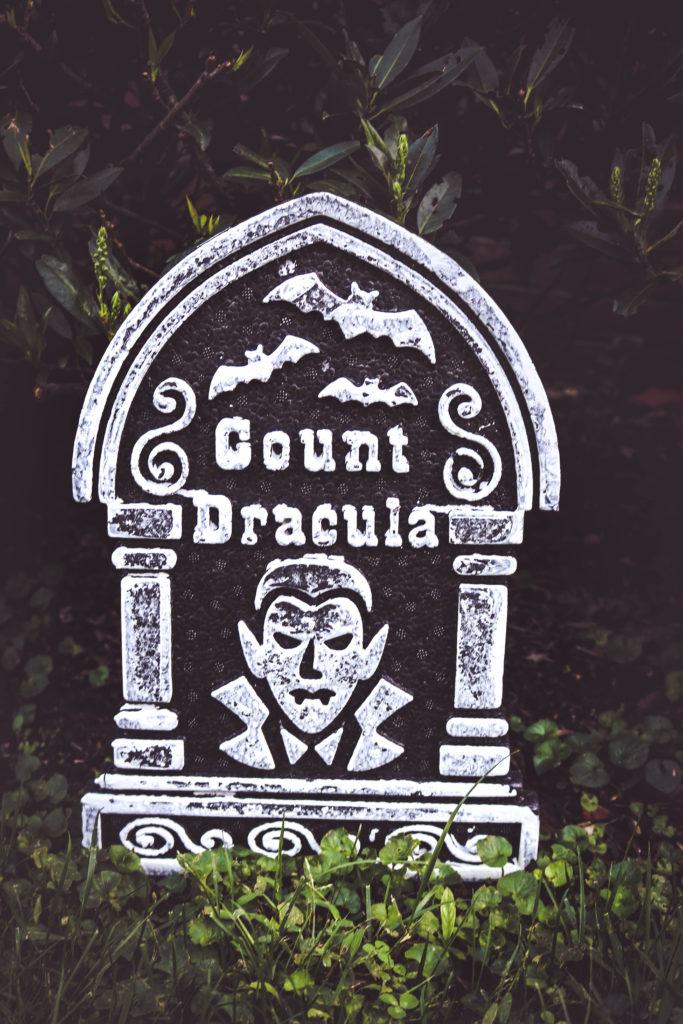
Behind our witches, you’ll see our graveyard! Let’s talk about this graveyard.
These tombstones came from Dollar Tree! The I’ve done a graveyard in our yard once before when we lived at a different house and I loved how it looks so I knew it had to create a little cemetery here at the new place. The hedges in front of the house were the perfect backdrop too.
Now the Dollar Store tombstones come with little stakes to put them in the group with but those little things are awful. So we just got a pack of wooden skewers from the grocery store and stuck 2 of them into the bottom of each one and stabbed them into the ground. One or two of them did get damaged when Hurricane Michael came through but other than that, they’re doing good!
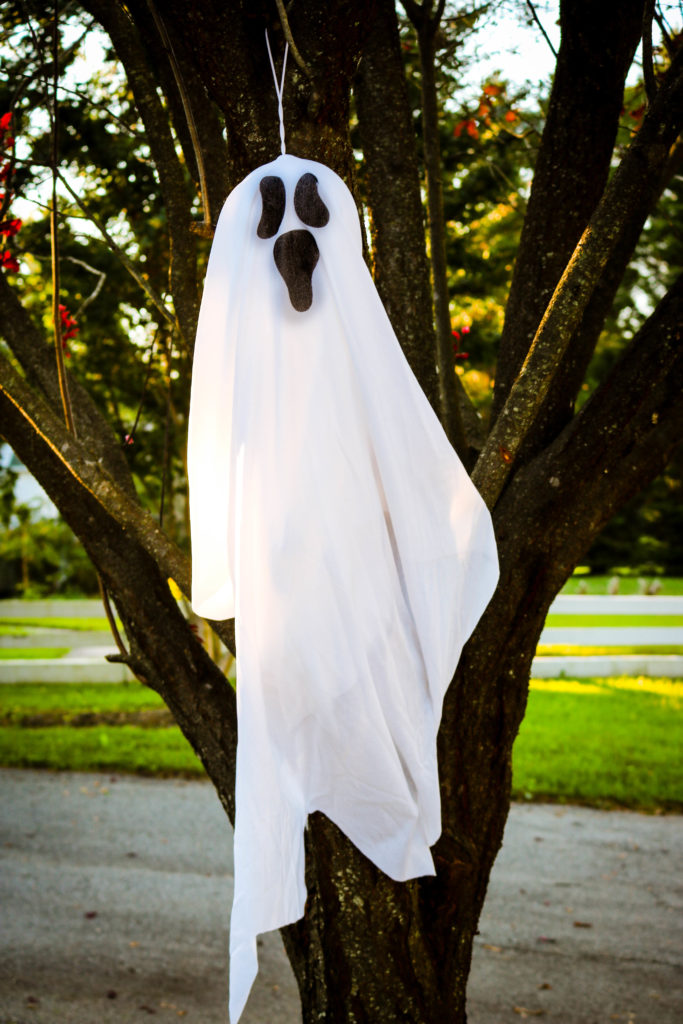
Our ghosts and bats welcome everyone that walks down the street and those that come to visit. The ghosts and bats also came from………THE DOLLAR STORE haha.
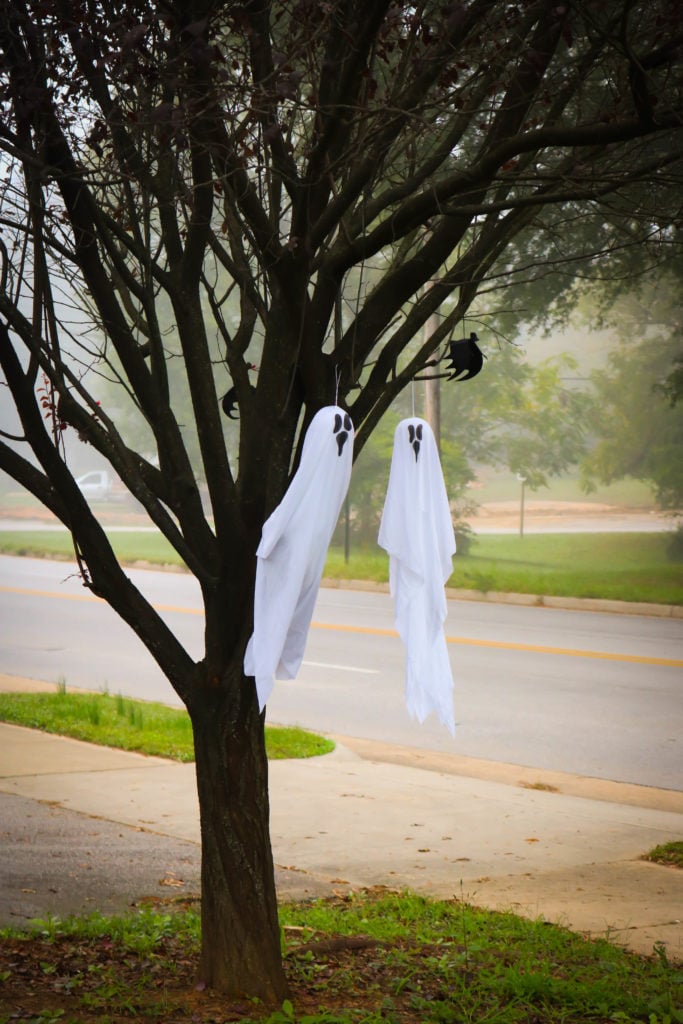
I’ve seen craft tutorials online that teach you hot to make these little ghosts. Those tutorials are GREAT but let me tell ya, I couldn’t pass up these ghosts for $1. They just spend their days swinging away in our trees out front.
They are of course joined by their little bat friends.
Super easy decorations!
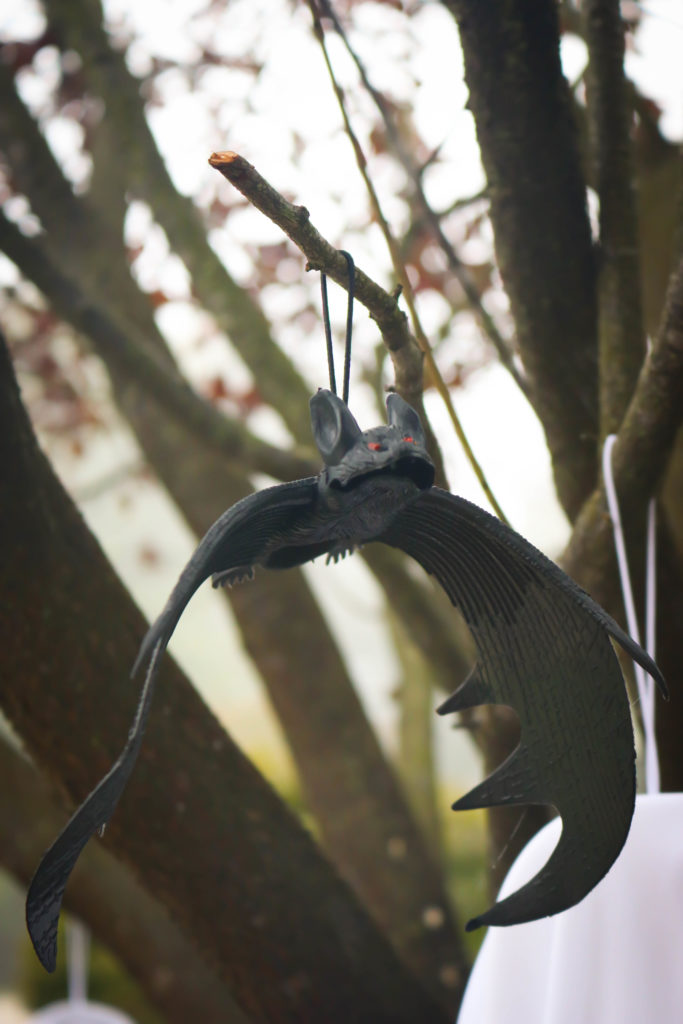
Last but not least, this Happy Hauntings mat welcomes everyone to the witch’s cottage! (It also came from Lowes!)
Happy Hauntings, Y’all! I hope you liked the tour and got some ideas for Halloween and some ideas on how to save some money!!
Happy Halloween!!
Love it? Pin it!

I’ve been MIA from the blog world for a bit so I missed that you bought a house and that your son is 1 already, wow! Congrats on your cottage, it looks awesome all decked out for Halloween! Love the Mickey wreath, such a cute idea!
Hello! I know this post is several years old, but would you happen to remember where you bought those stacked pumpkins? I’ve been looking everywhere and haven’t seen any that I like half as much as these! They are beautiful!
Hi Gina! We got the pumpkins at Lowes a few years ago. We bought the planters separate and my husband drilled a large hole in the middle of the pumpkins and put a rod through them to put them on top of the planters.