
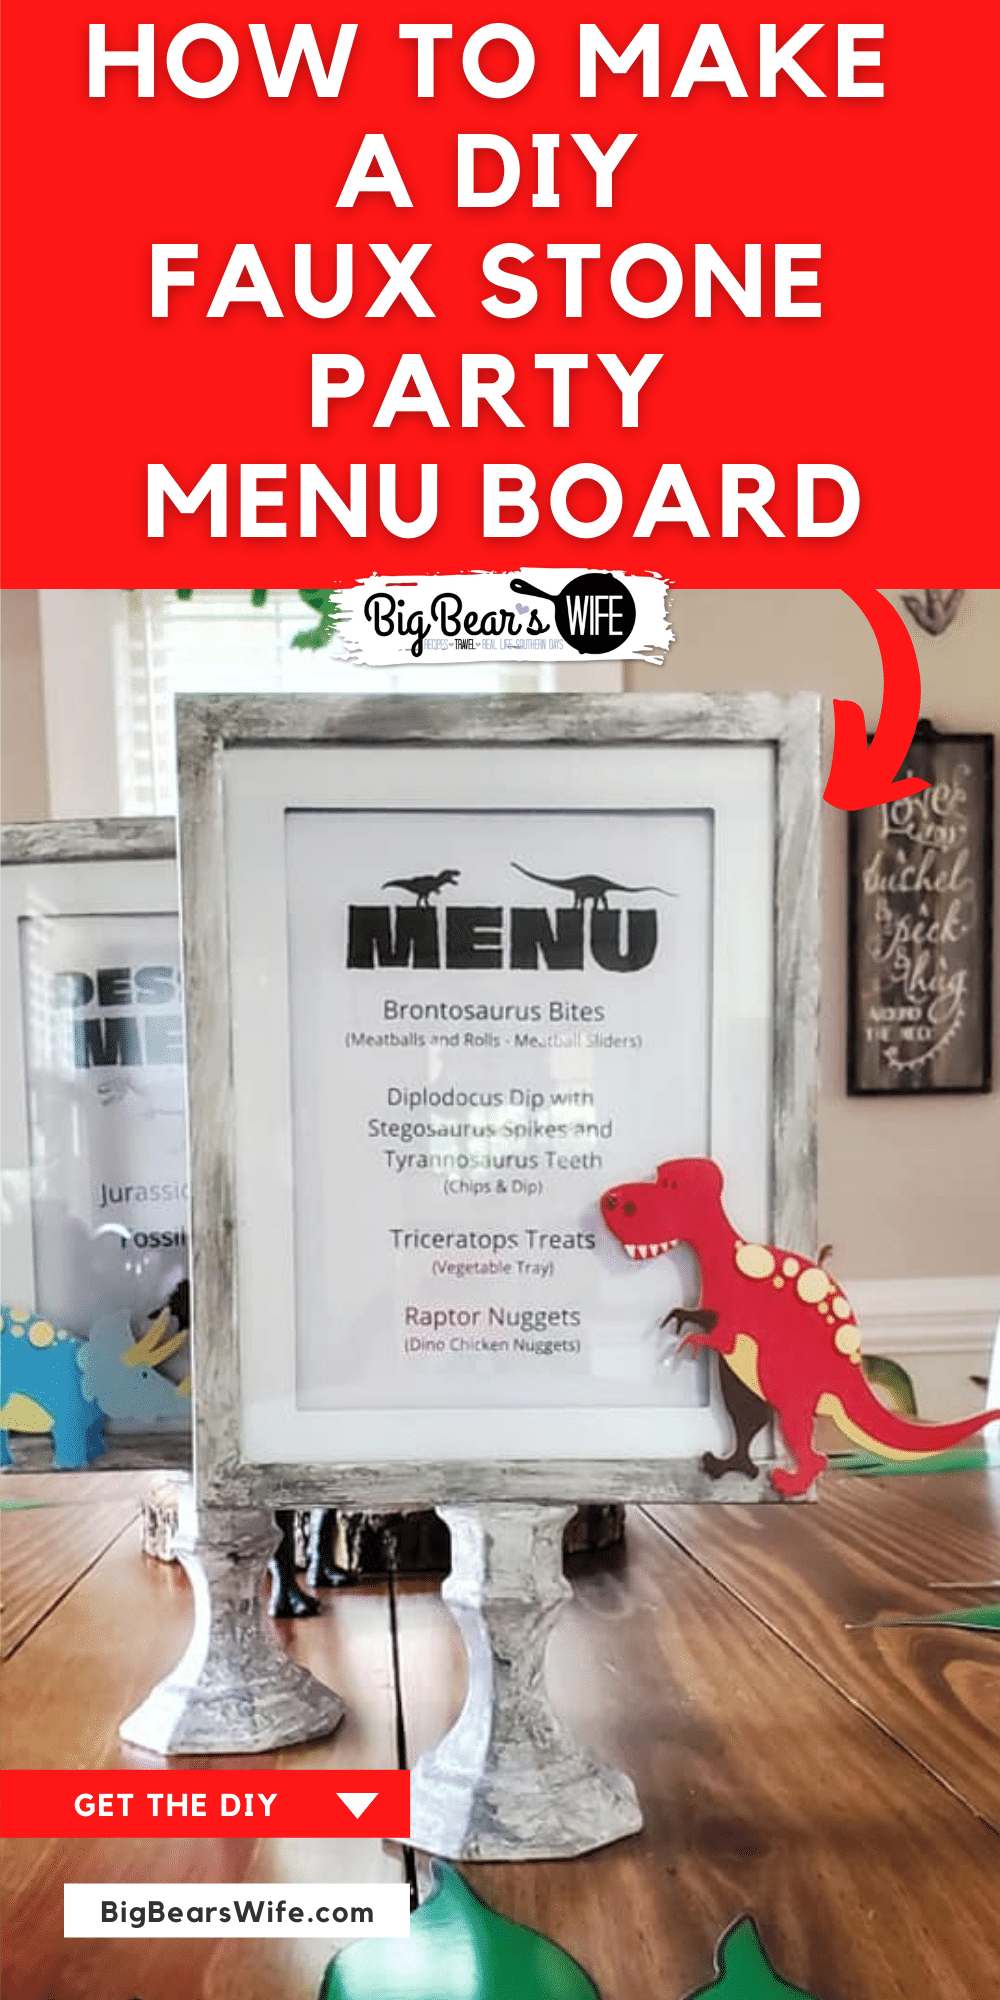

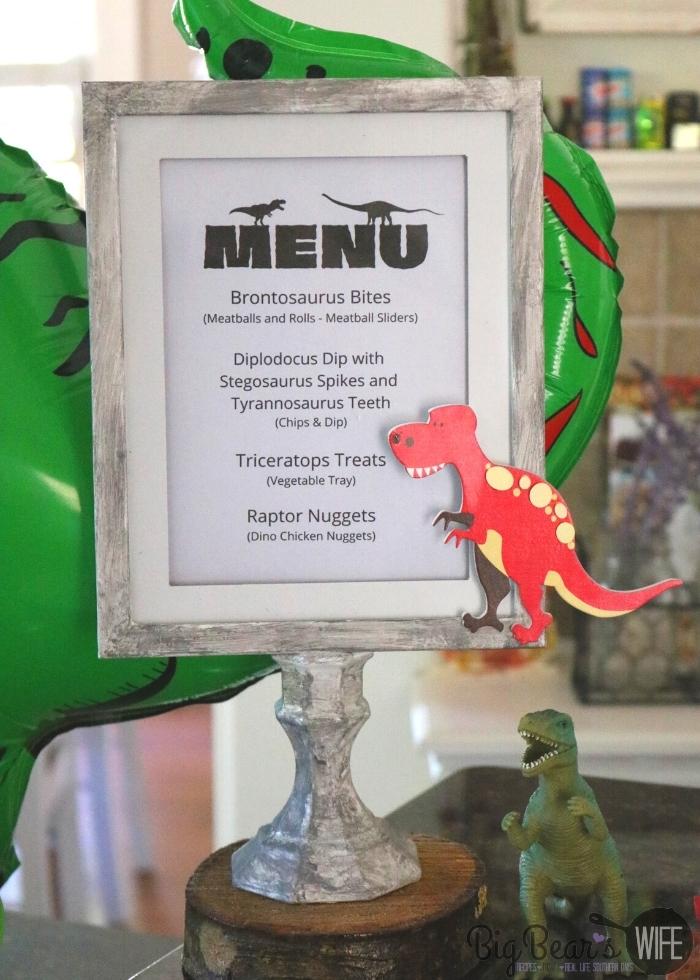
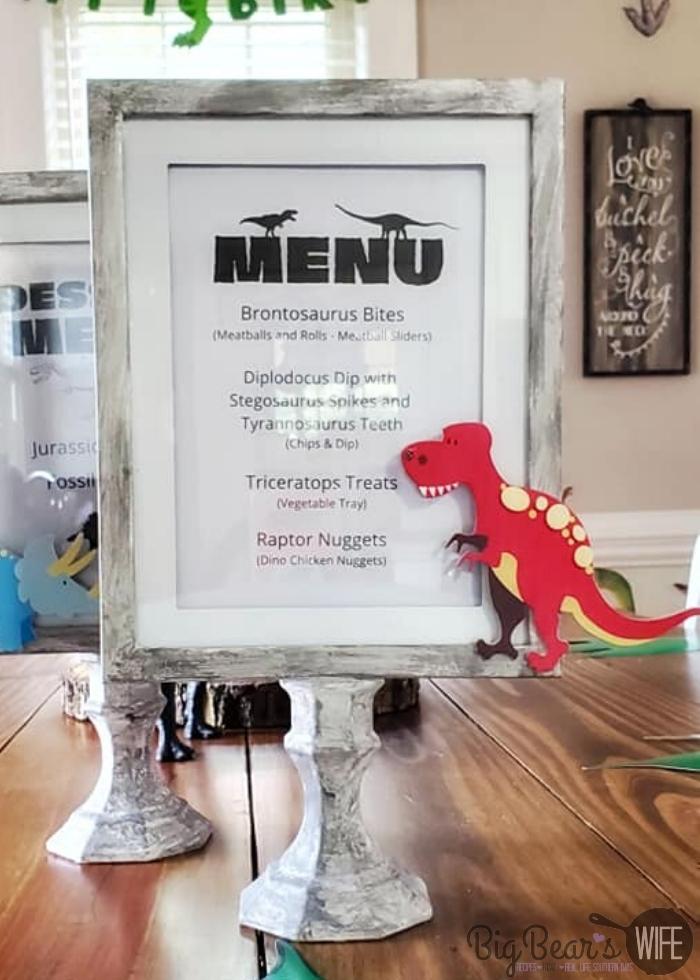
Throwing a party and in need of an awesome menu board? Let me show you How to make a DIY Faux Stone Party Menu Board for just a few dollars! We made these to match a dinosaur theme for a birthday party!
CRAFT IS BELOW IN PRINTABLE DIRECTION CARD BUT BLOG POST IS FULL OF “HOW TO MAKE IT”, TIPS, INFORMATION AND FAQ
I love making details for parties because I think they’re one of the BEST parts of a party (other than the reason for the celebration haha).
For Jackson’s 3rd birthday, we threw him a Dinosaur themed birthday party and I decided to make a few DIY party items for the celebration!
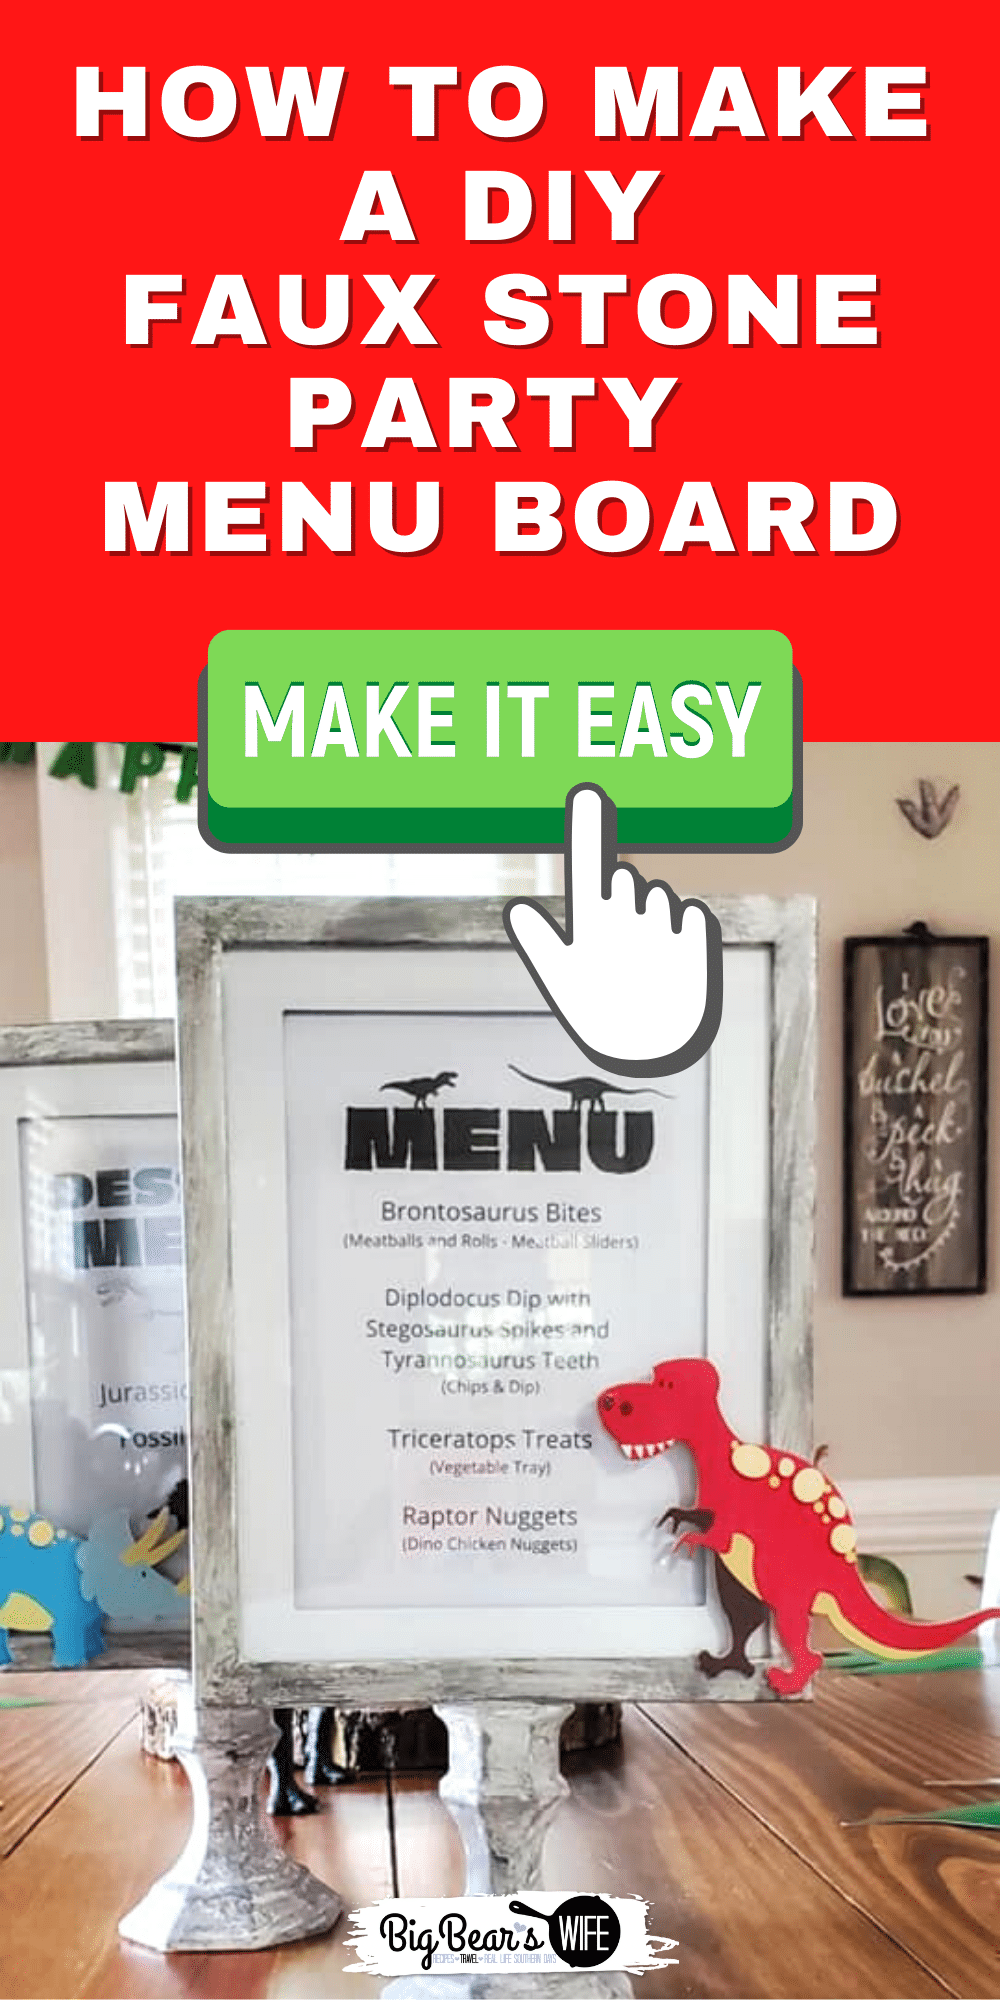
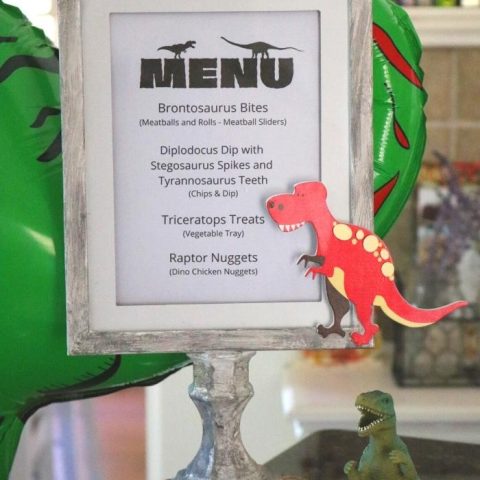
These DIY Faux Stone Party Menu Boards were super easy to make and I love that they looks like stone with dino details to go along with the theme.
Where to use a DIY Faux Stone Party Menu Board…
- Birthday Party Menus
- Bridal Shower Menus (glue on silk flowers instead)
QUICK GLANCE AT MATERIALS for a Picture Frame Faux Stone Party Menu Board:
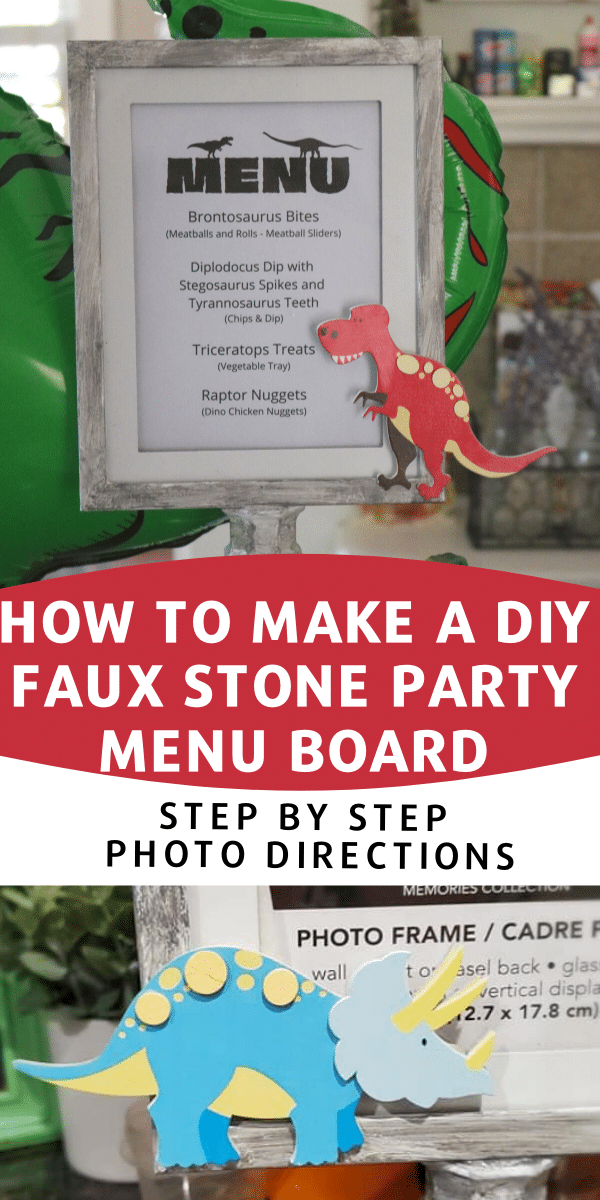
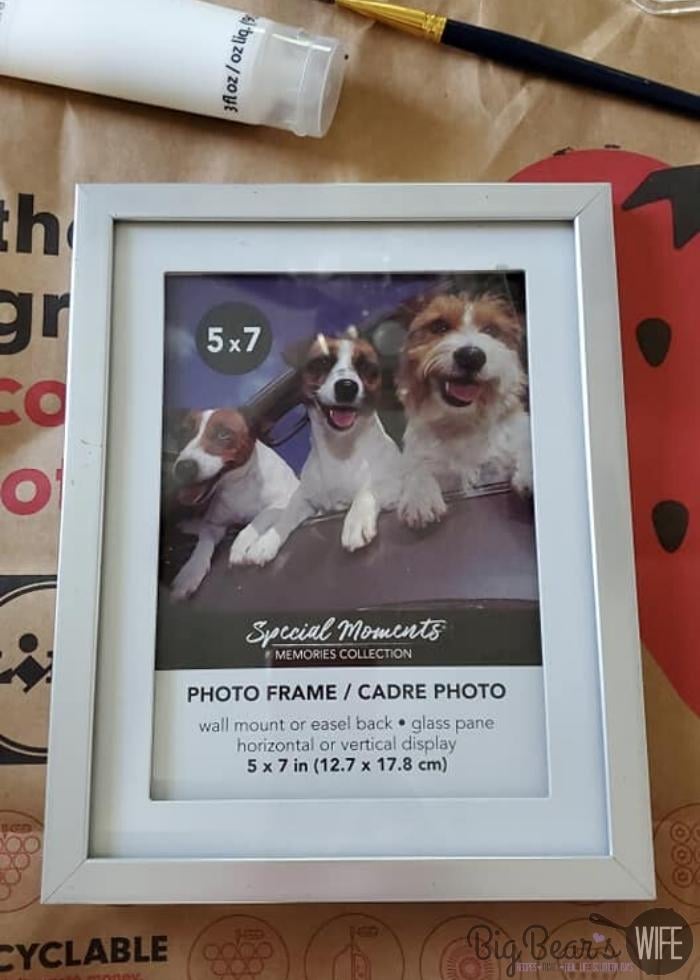
- Photo Frame (I used 5×7 frame from Dollar Tree)
- Glass Candle Holder (from Dollar Tree)
- White Acrylic Paint
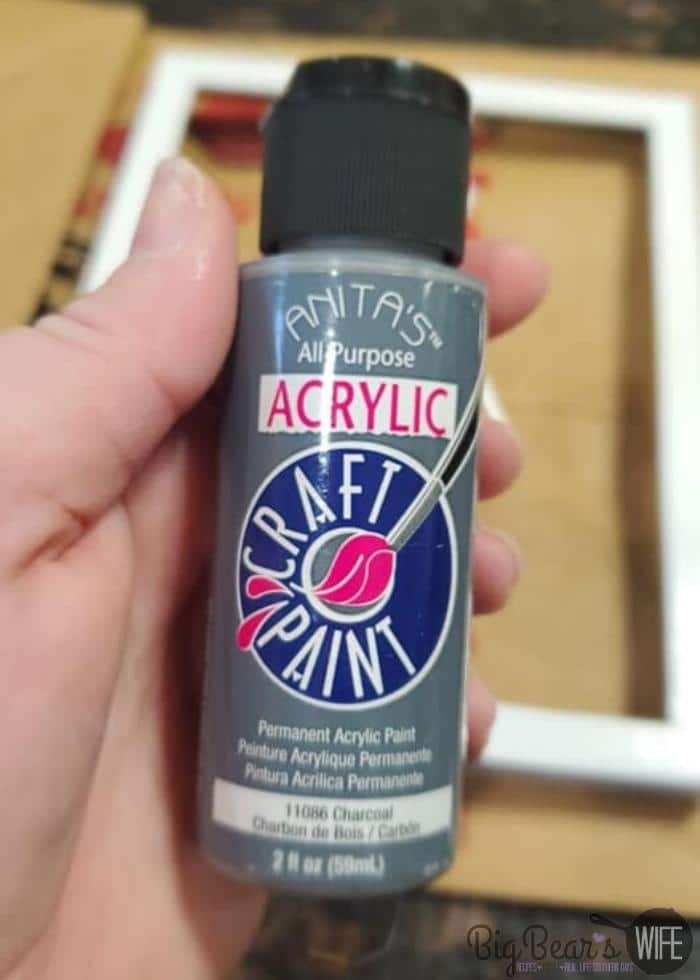
- Grey Acrylic Paint
- Paint Brush
- E6000 Glue
- Painted Wood Shapes – I used Dinosaurs (Found mine at Hobby Lobby)
(AMOUNTS IN RECIPE CARD BELOW)
How to make a DIY Faux Stone Party Menu Board:
- Starting with the frame
Start with the frame and remove the glass, back and paper. Place it onto a working surface.
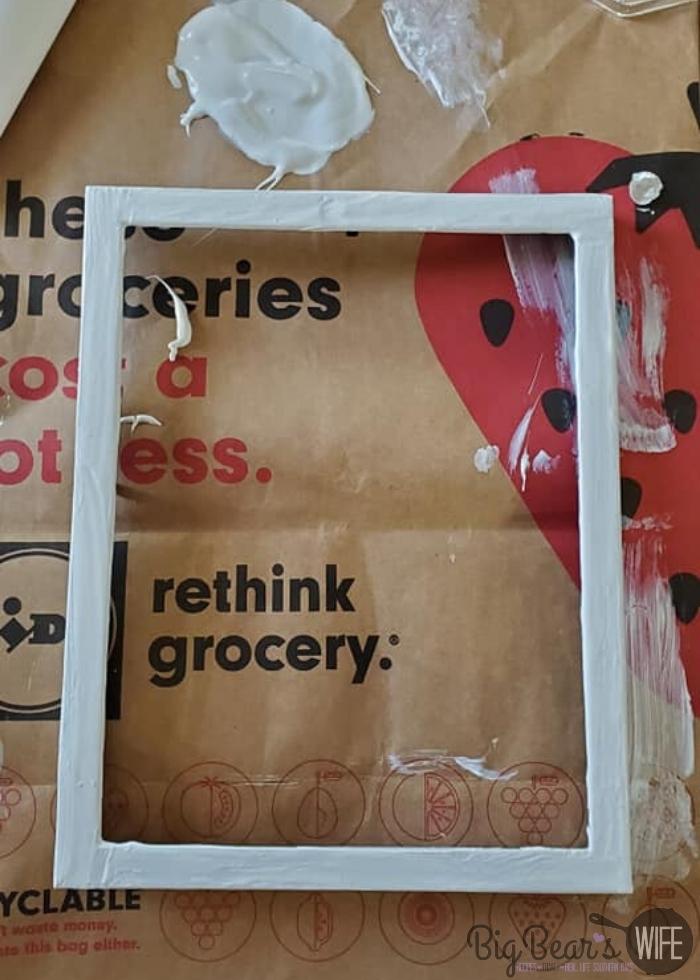
- Paint the frame.
Using the white paint, paint the entire frame white and set it aside to dry. You may need to do two coats depending on the color of the original frame.
- Add stone detail.
Once the frame is dry, we’re going to use grey paint to give it a fake stone look.
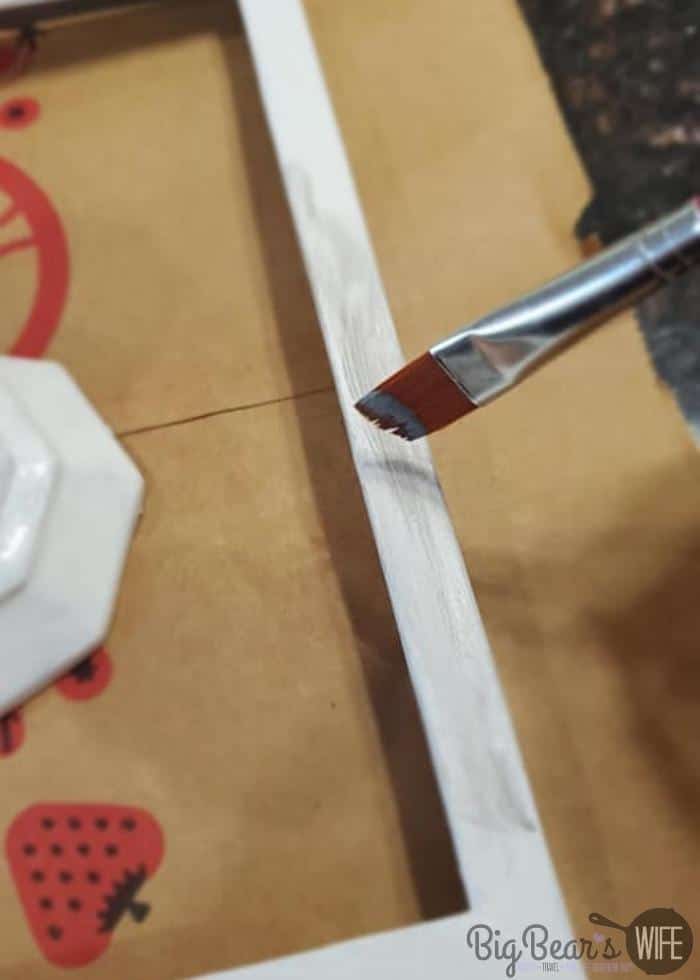
- Dry brush the detail
With a dry paint brush and a small amount of paint, dry brush some gray onto the dry white frame. You don’t want a lot of paint on the brush, just enough to add a bit of color to the frame.
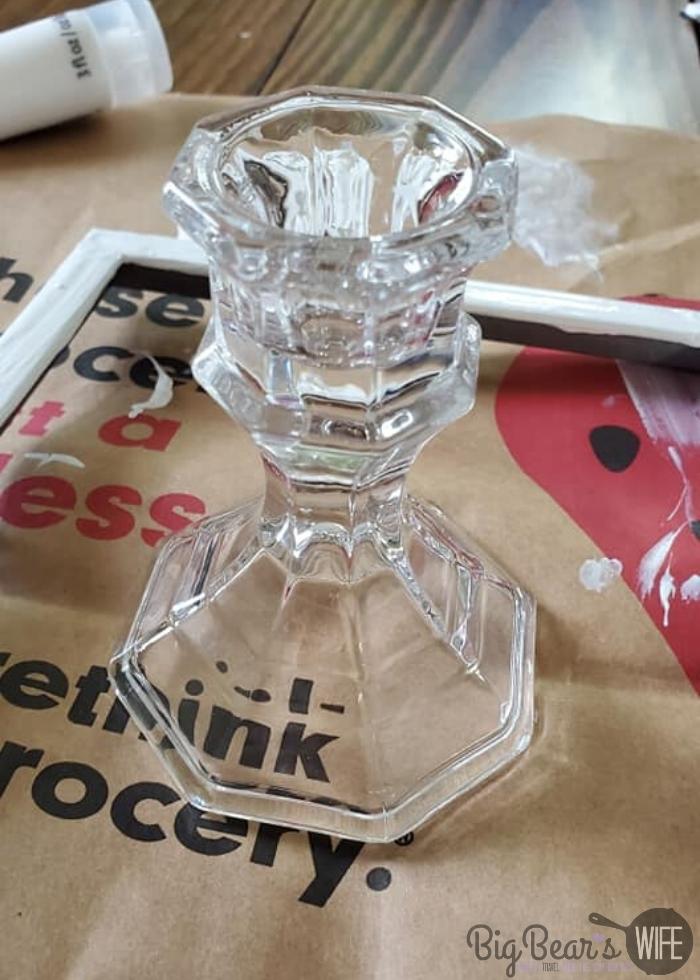
- Paint the candle holder
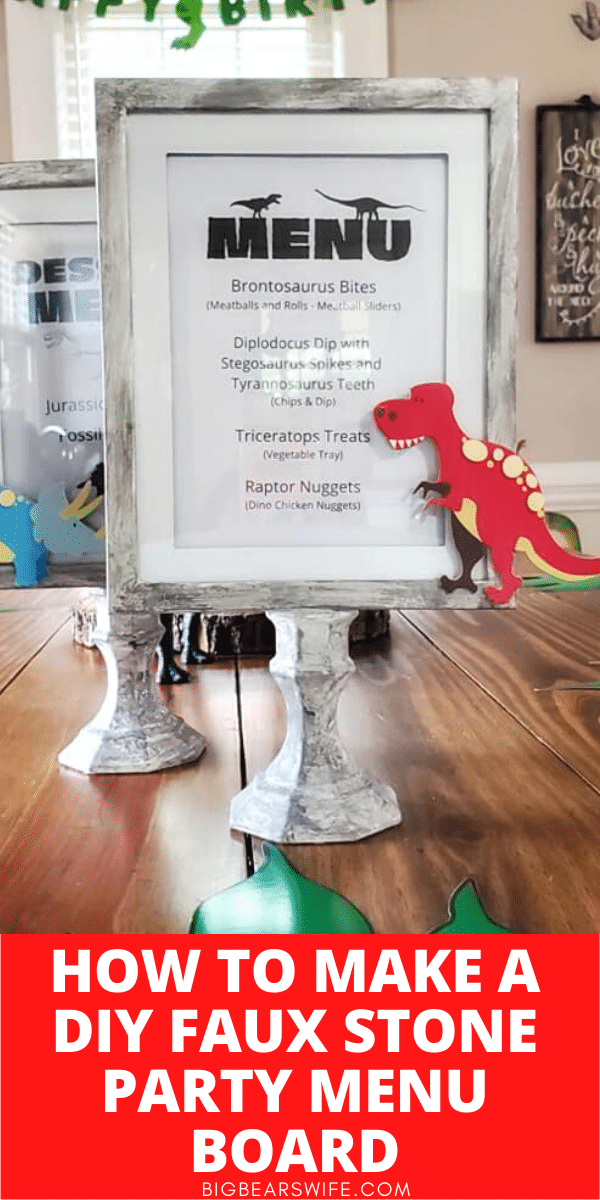
You’ll also need to paint the glass candle holder. The candle holder is going to be the base of the menu holder.
- Paint it white
Paint the candle holder white.

- Add the stone detail.
Just like with the frame, let the white paint dry and then use a paint brush to dry brush some grey onto the candle stick holder to create a stone look.

- Let them dry
Let them dry completely.
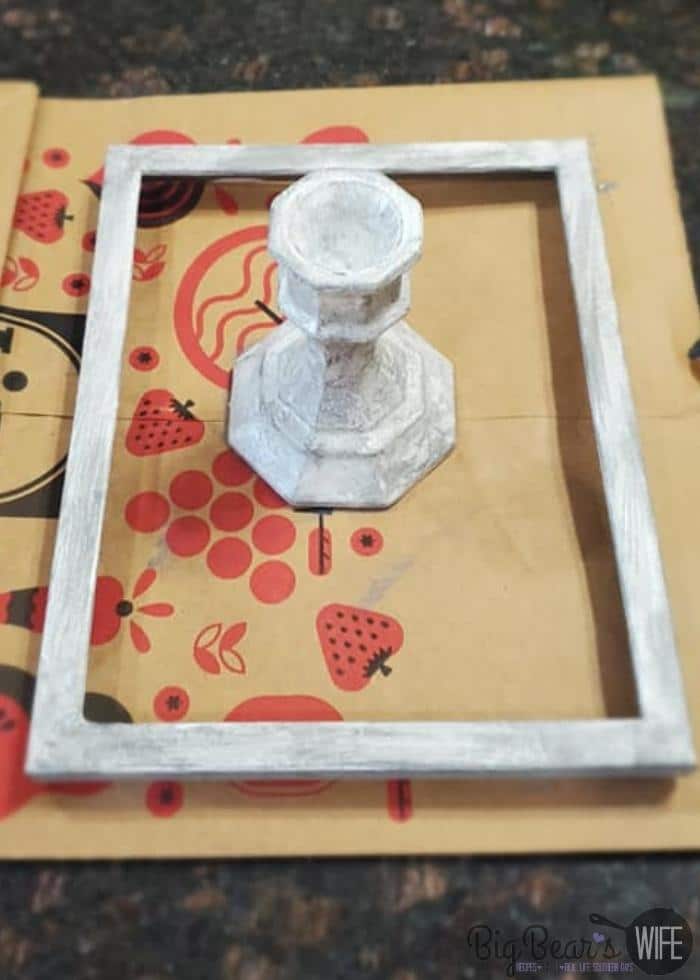
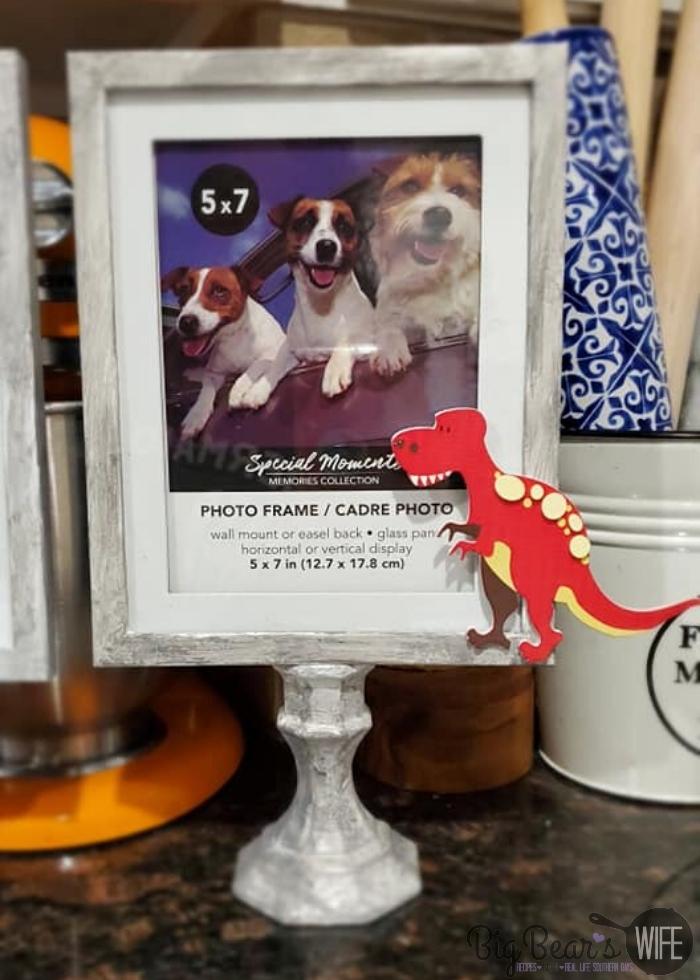
- Attach them together.
Once they’re dry, use a very strong adhesive like E6000 craft glue to glue the frame onto the top of the candle holder.
Let it sit, undisturbed, for about 12 hours to dry.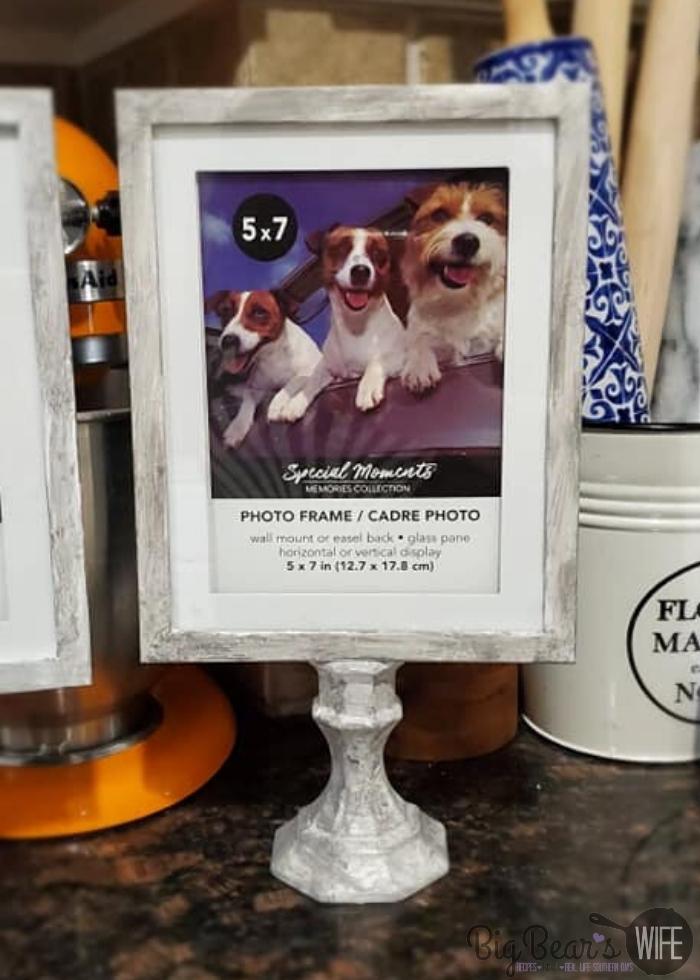
- Add your theme detail.
Now it’s time to add your detail for your theme.
I made these for my son’s dinosaur birthday so we went with dinosaurs.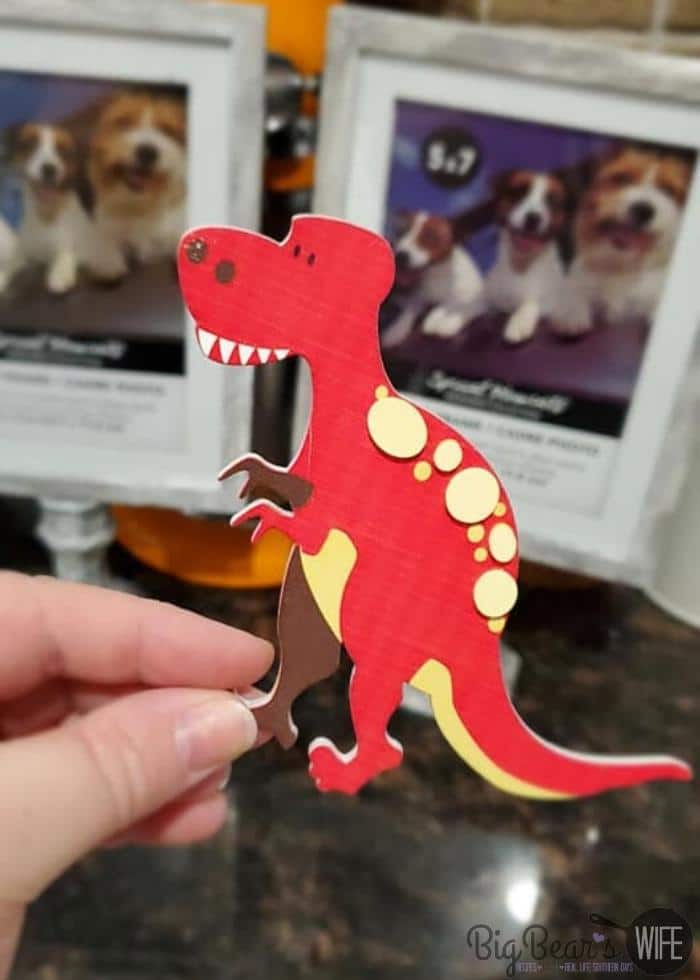
- Glue them on.
Use craft glue or hot glue to attach the wooden shapes.
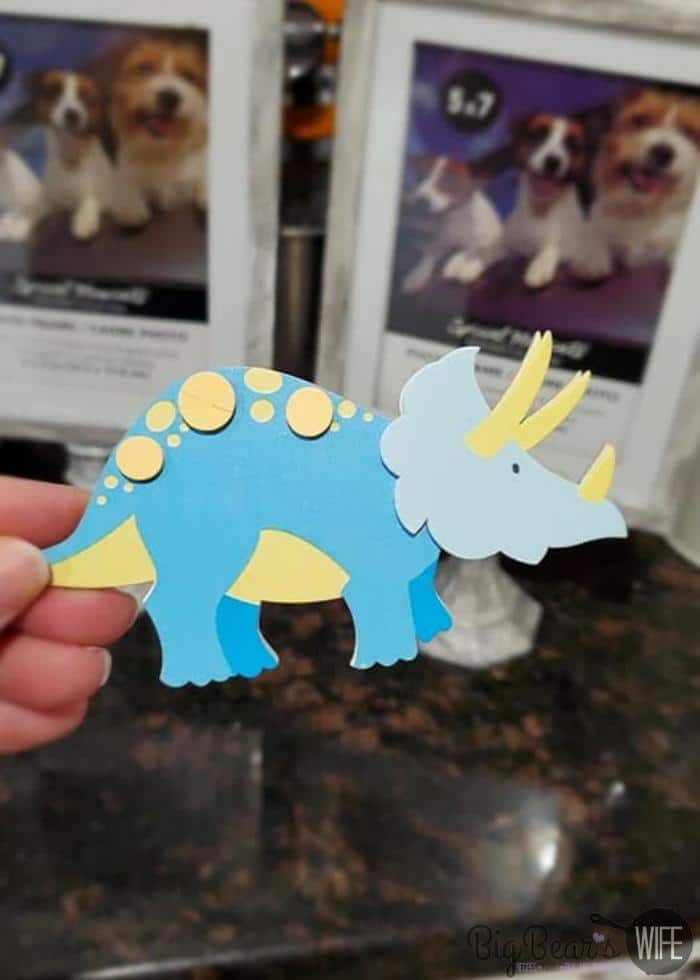
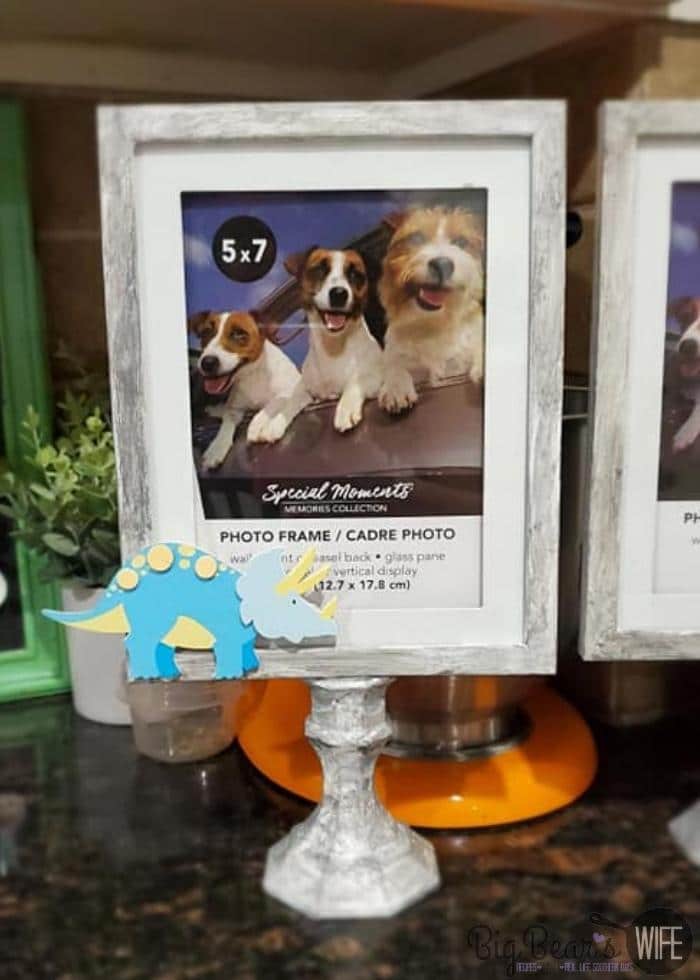
- Another dino
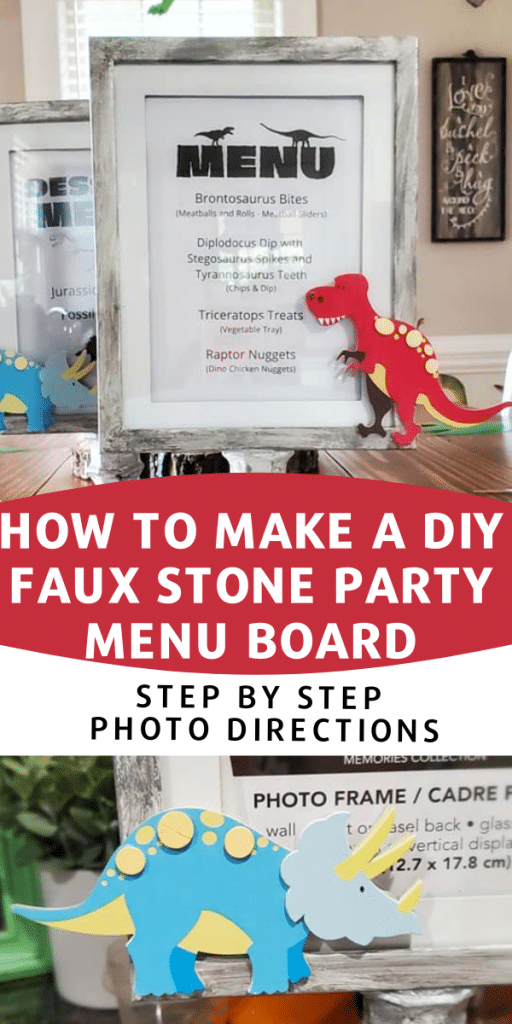
This is the blue wooden dinosaur shape I used for the 2nd one I did.
- Use any theme
- Print your menu
Then just print your menu using Word or something like Canva and put it into the frame.
More Fun Party Themes
- Disney’s Puppy Dog Pals Birthday Party Ideas
- Mickey Pumpkin Birthday Party
- Putters or Pearls Gender Reveal Party
Frequently Asked Questions
You can for the white part but you’ll need to dry brush the gray on to get the faux stone look.
I found these at Hobby Lobby but I’ve seen some like them at the Dollar Tree and on Amazon
More Fun DIY Party Ideas
- How to Set up a Candy Bar for Party Favors
- Easy DIY Popcorn Bar
- How to Make a Towel Cake for a Bridal Shower
How to make a DIY Faux Stone Party Menu Board
HOW TO MAKE A DIY FAUX STONE PARTY MENU BOARD
Throwing a party and in need of an awesome menu board? Let me show you How to make a DIY Faux Stone Party Menu Board for just a few dollars! We made these to match a dinosaur theme for a birthday party!
Materials
- Photo Frame (I used 5×7 frame from Dollar Tree)
- Glass Candle Holder (from Dollar Tree)
- White Acrylic Paint
- Grey Acrylic Paint
- Painted Wood Shapes – I used Dinosaurs (Found mine at Hobby Lobby)
Tools
- Paint Brush
- E6000 Glue
Instructions
- Starting with the frame - Start with the frame and remove the glass, back and paper. Place it onto a working surface.
- Paint the frame. - Using the white paint, paint the entire frame white and set it aside to dry. You may need to do two coats depending on the color of the original frame.
- Add stone detail. - Once the frame is dry, we’re going to use grey paint to give it a fake stone look.
- Dry brush the detail - With a dry paint brush and a small amount of paint, dry brush some gray onto the dry white frame. You don’t want a lot of paint on the brush, just enough to add a bit of color to the frame.
- Paint the candle holder - You’ll also need to paint the glass candle holder. The candle holder is going to be the base of the menu holder.
- Paint it white - Paint the candle holder white.
- Add the stone detail. - Just like with the frame, let the white paint dry and then use a paint brush to dry brush some grey onto the candle stick holder to create a stone look.
- Let them dry - Let them dry completely.
- Attach them together. - Once they’re dry, use a very strong adhesive like E6000 craft glue to glue the frame onto the top of the candle holder. Let it sit, undisturbed, for about 12 hours to dry.
- Add your theme detail. - Now it’s time to add your detail for your theme. I made these for my son’s dinosaur birthday so we went with dinosaurs.
- Glue them on. - Use craft glue or hot glue to attach the wooden shapes.
- Another dino - This is the blue wooden dinosaur shape I used for the 2nd one I did.
- Use any theme
- Print your menu - Then just print your menu using Word or something like Canva and put it into the frame.
Recommended Products
As an Amazon Associate and member of other affiliate programs, I earn from qualifying purchases.

If you make this DIY, leave me a comment or snap a picture and share it on Instagram, Facebook or Twitter with the hashtag #bigbearswife — I love to see what you’re making from the blog!
Love the recipes that you’re finding here but worried about misplacing them? Sign up for my newsletter above for new recipes every week OR make sure to pin this recipe to your Pinterest account so it’s always easy to find!
Love it? Pin it!
Leave a Comment