
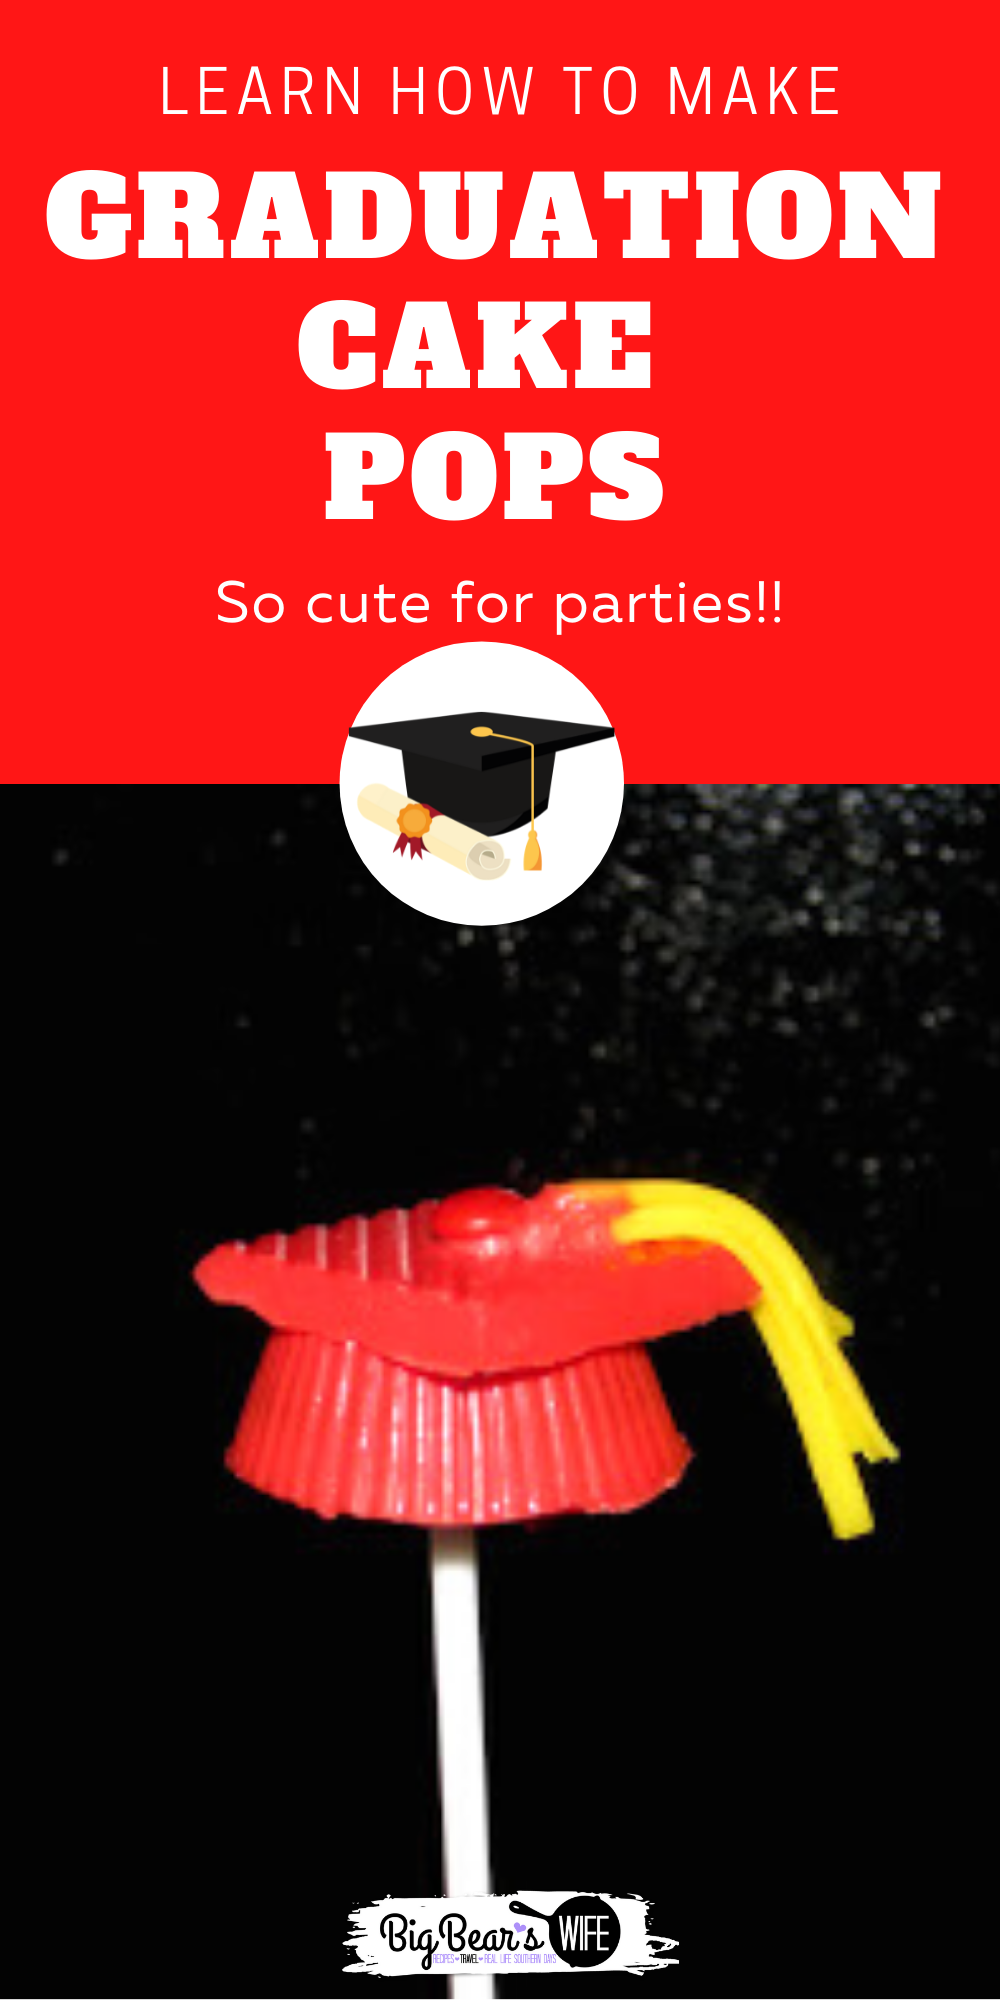
Graduation Cake Pops
yes yes I know graduation happens for the most part during the summer, so I know this is a little late for posting BUT I’m gonna go it anyways!
This awesome Idea is from the talented Bakerella!
What You Need:
Cake Balls (You can see how to make these in my Turkey Cake Pop Tutorial)
Melting Chocolate
Mold
Food Paintbrush
Candy Sticks
Mini M&Ms
Twizzlers (or some kinda candy for the tassel)
What to do:
Gather your molds.
I used a Peanut butter cup mold from Hobby Lobby (Price 1.99)
and a candy bar mold from Hobby Lobby (Price 2.99)
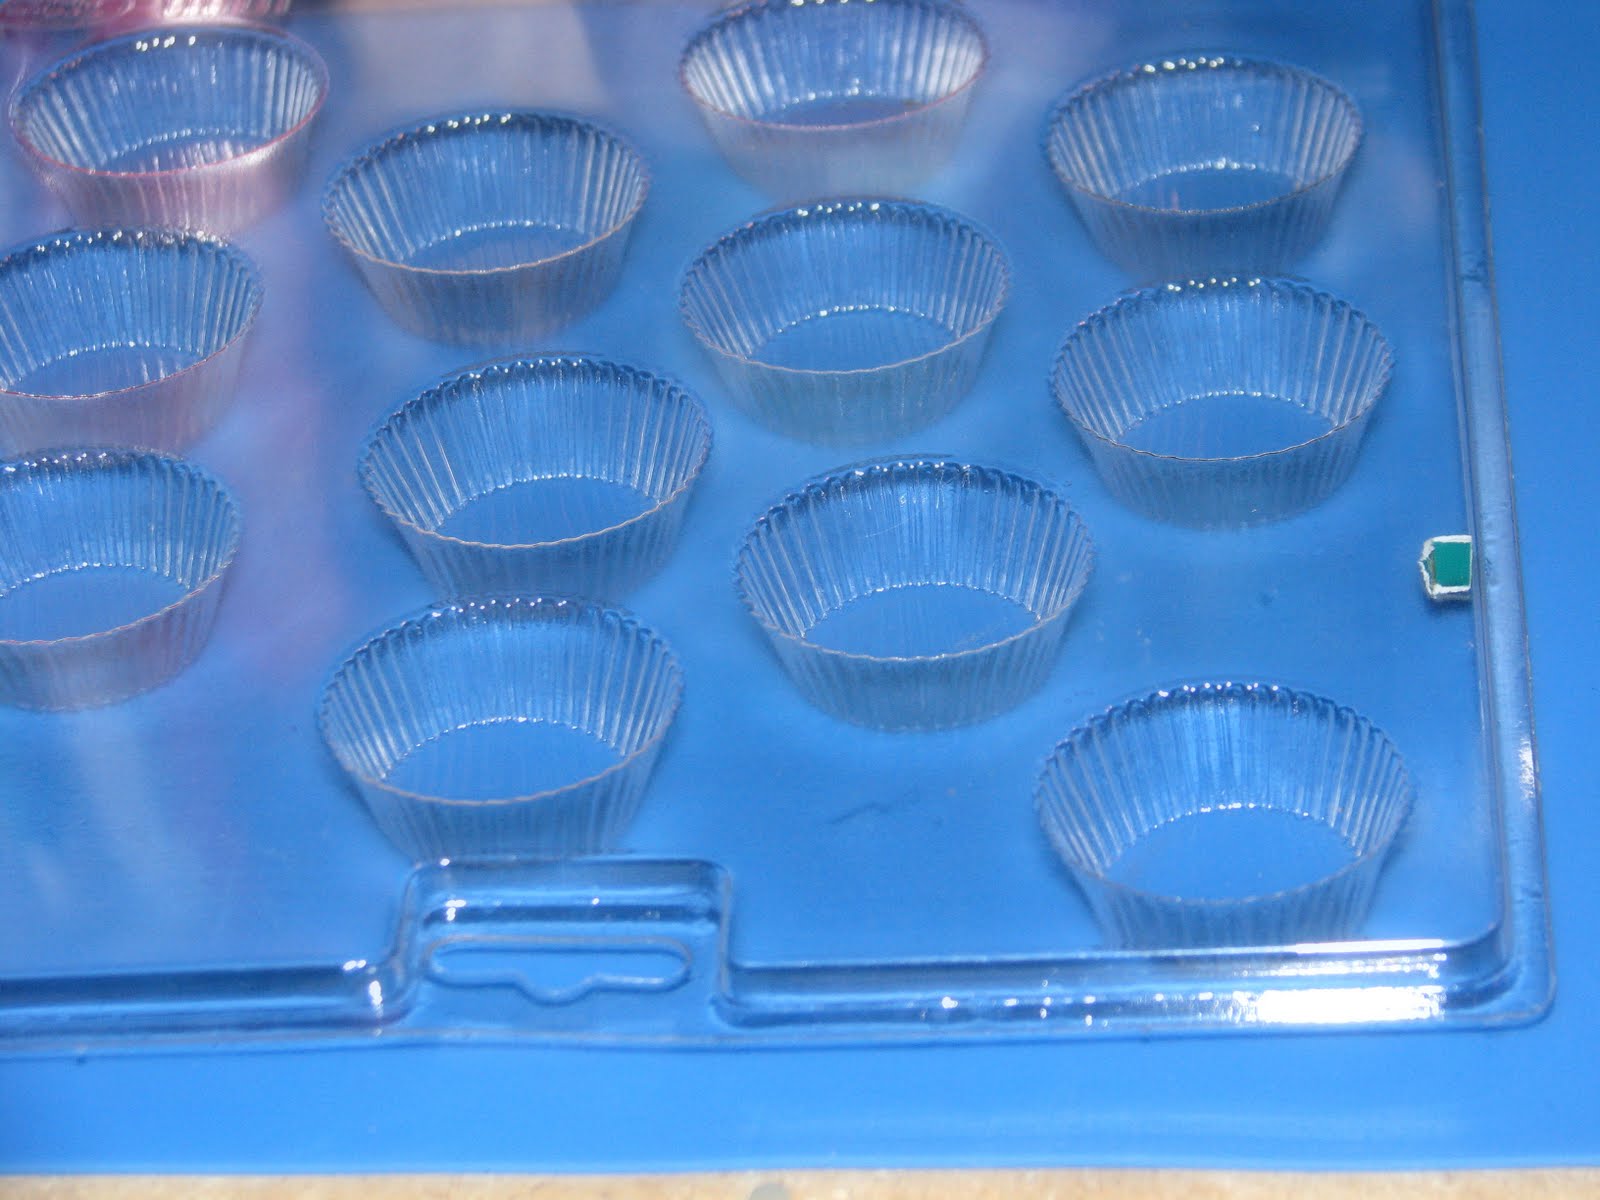
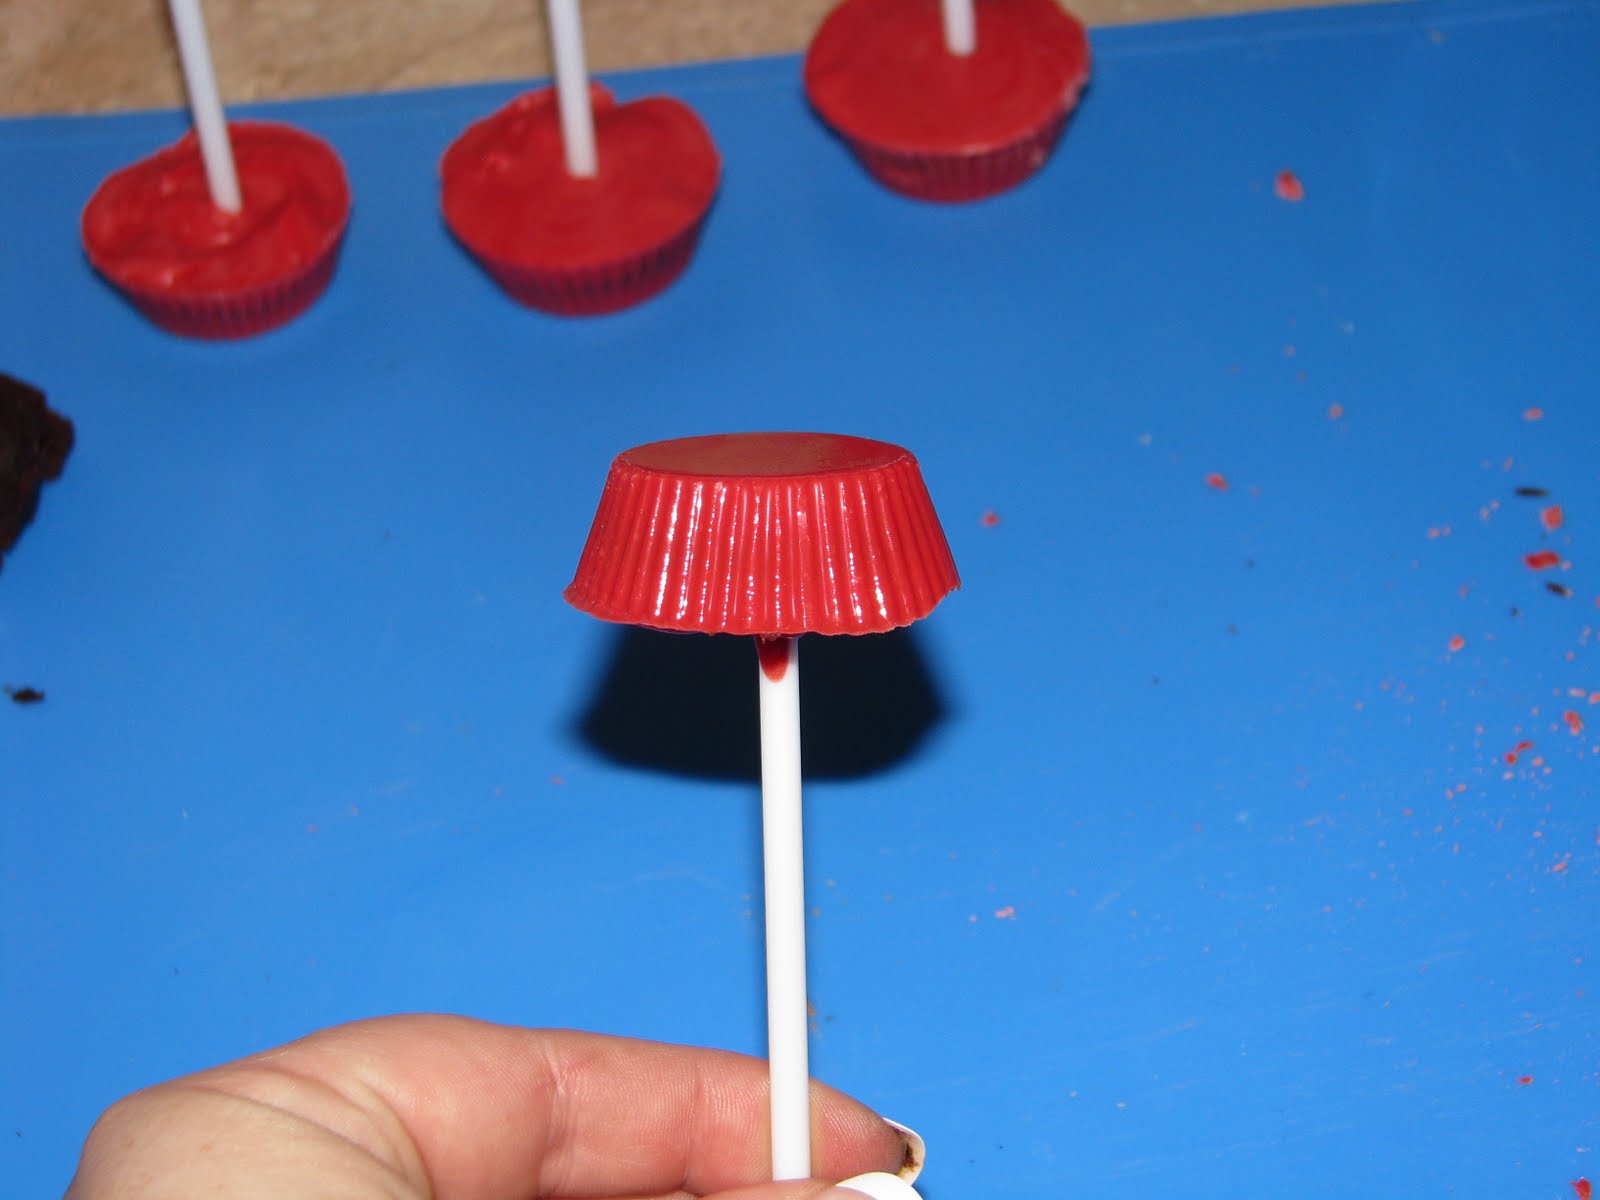
Melt your chocolate according to the directions on the package. Once melted. “Paint” the insides of the peanut butter cup mold. DO NOT FILL THEM! Just paint the bottoms and sides with the melted chocolate. chill about 3 minutes until hard.

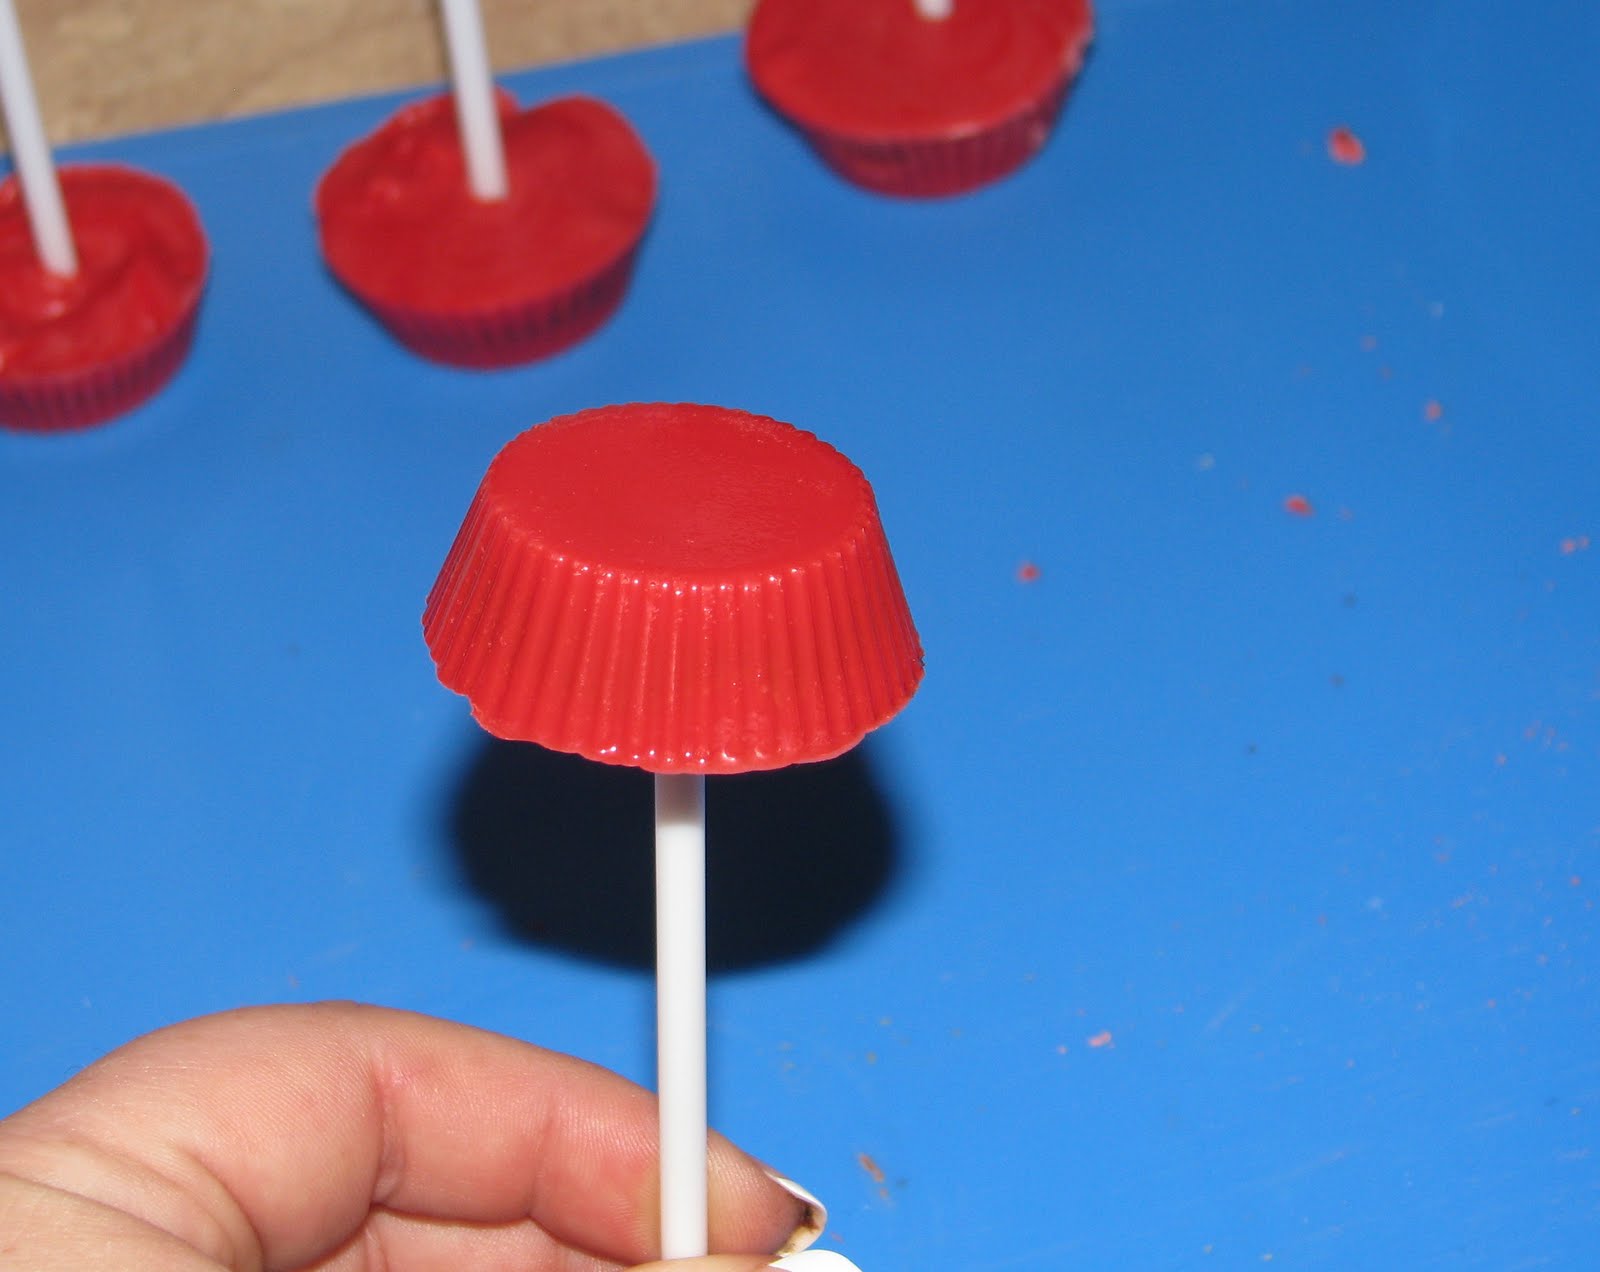
Fill your molds with the cake balls.

Insert the candy sticks into the cake balls.

Fill with melted chocolate.

Chill for about 5 minutes and Pop the Cake pops from the mold. DON’T pull on the stick to free them. Pop them out by pushing on the bottom of the mold.
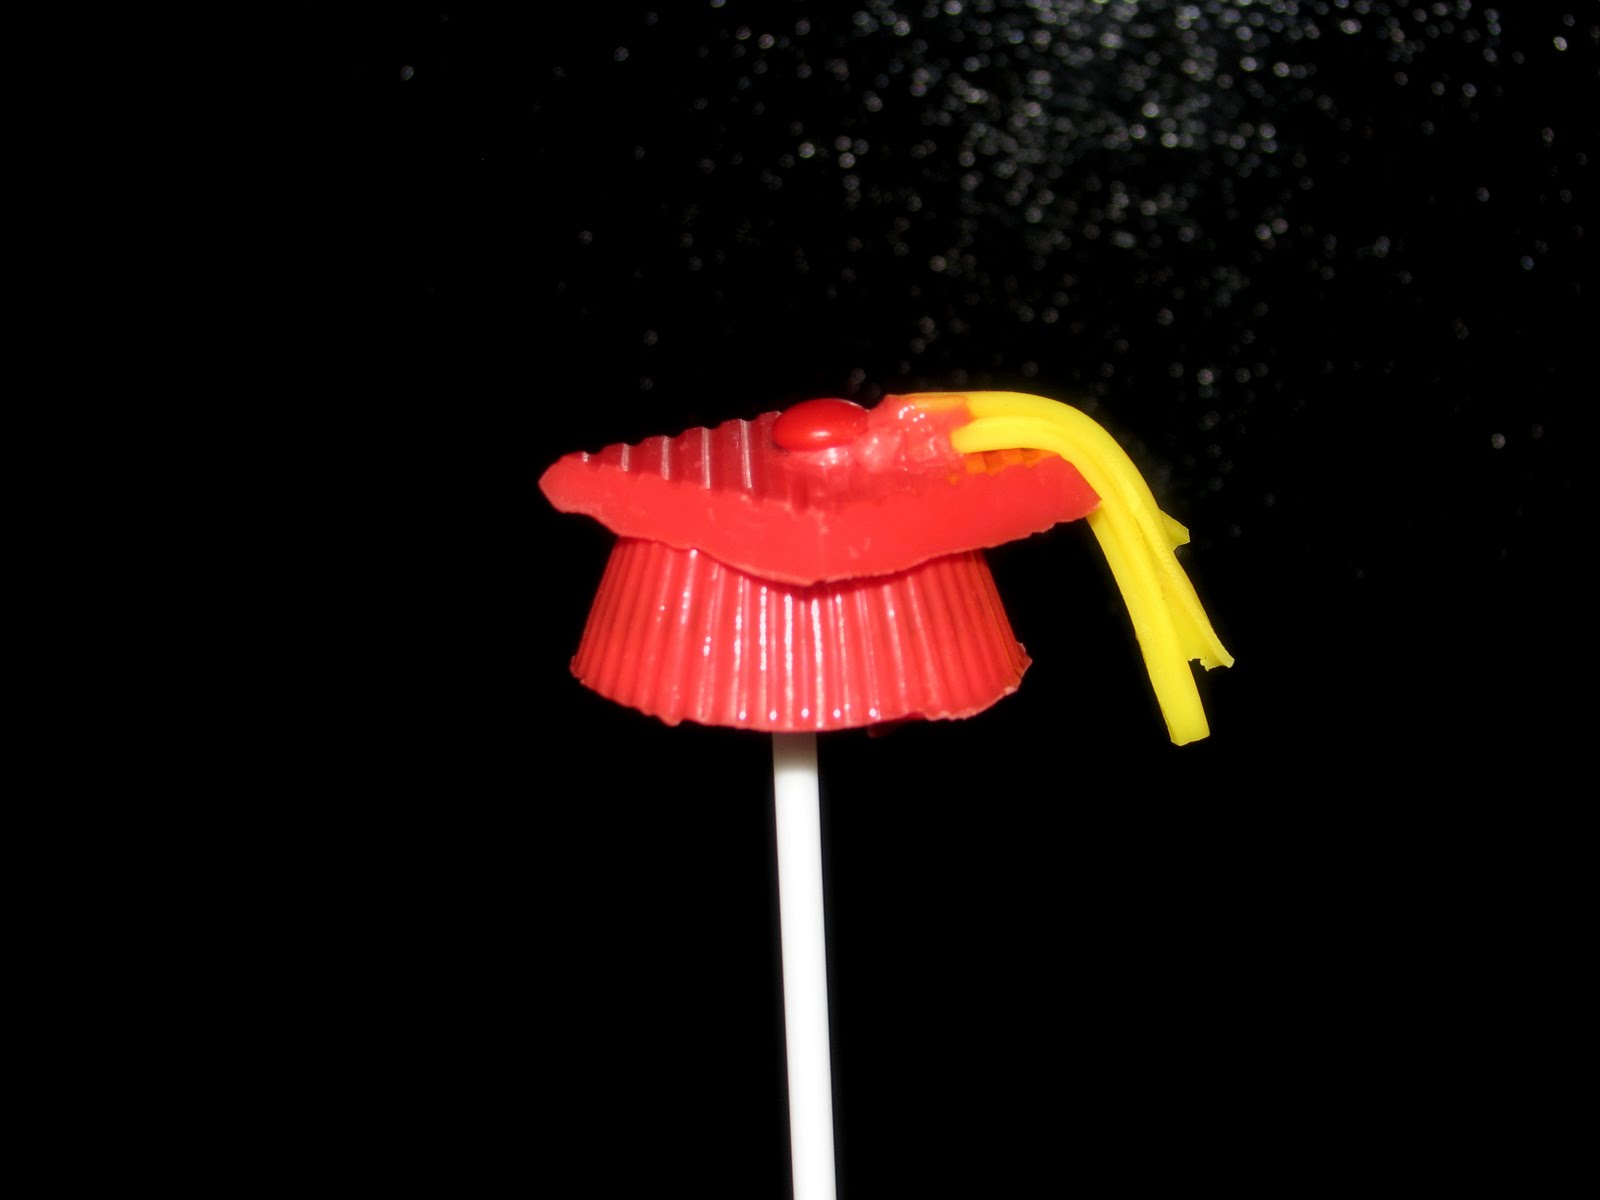
For the graduation hat tops you will need the candy bar mold or any candy mold that will give you a square. Melt the chocolate and fill the square molds. Let chill for about 10 minutes. Pop out of the mold and adhere to two pieces of the cap together with a little chocolate!
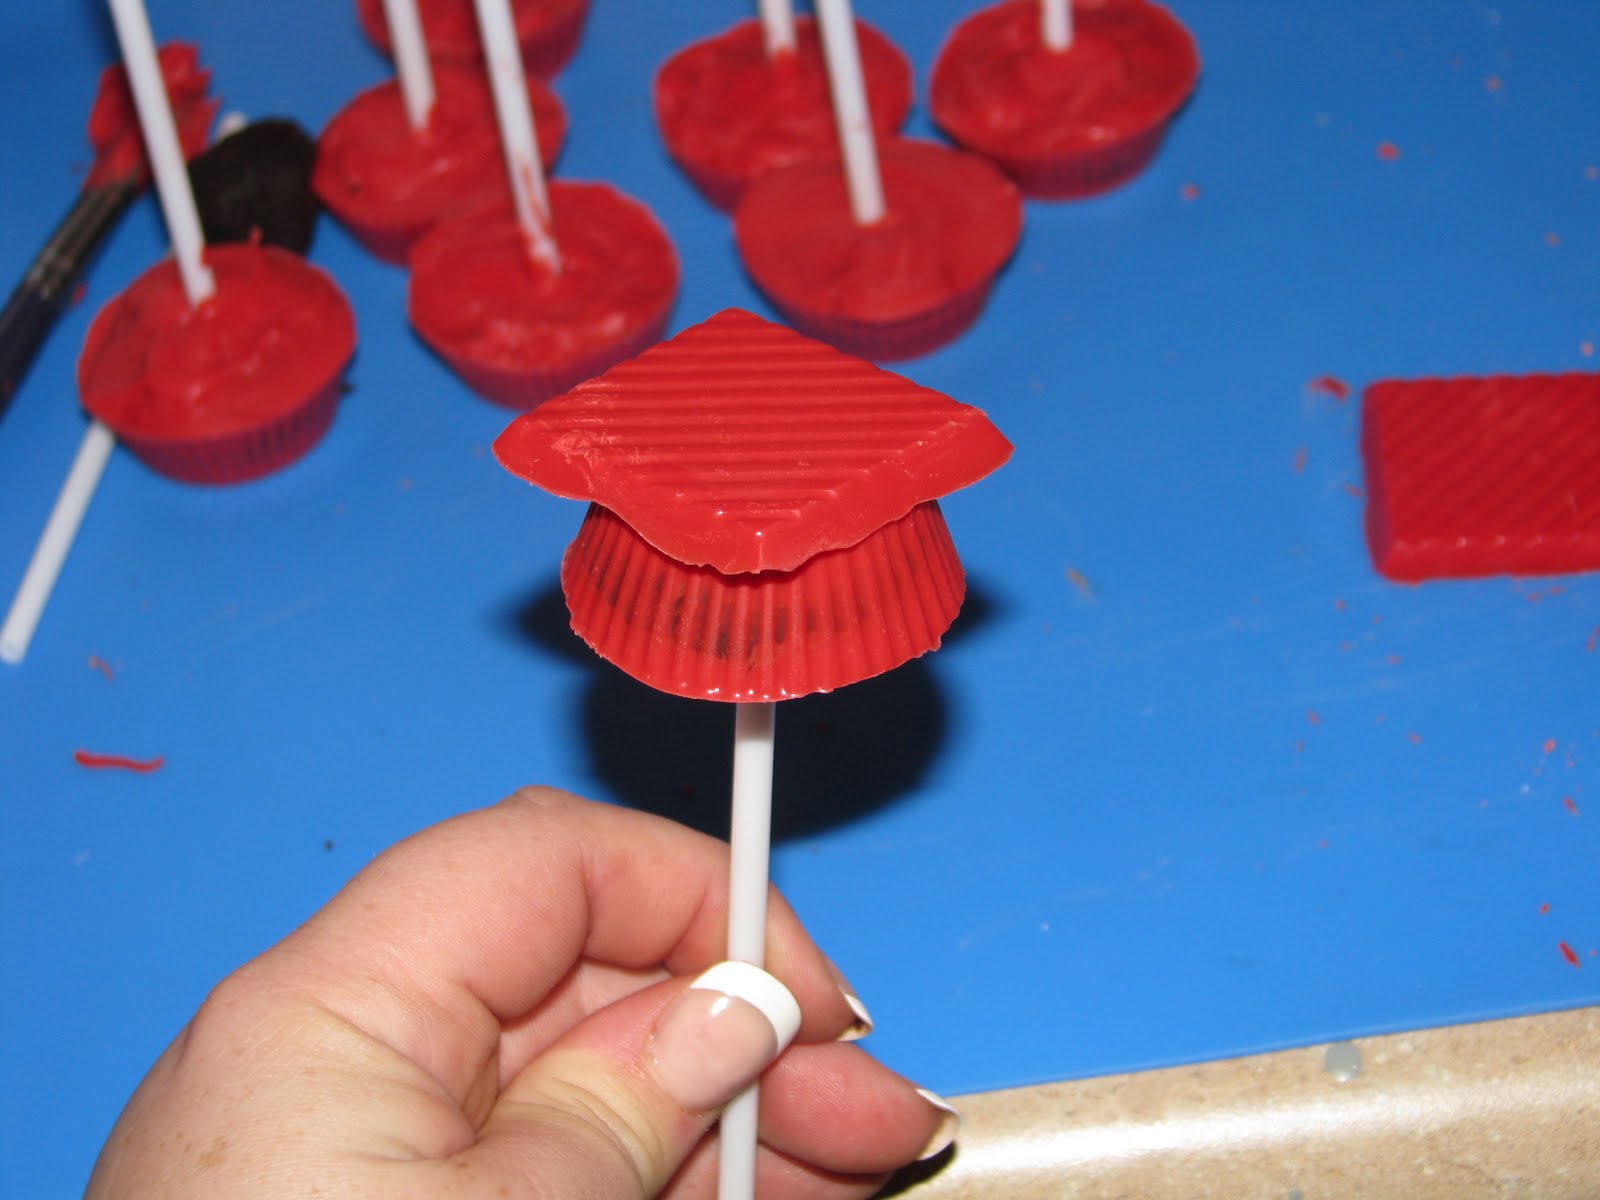
Add a Mini M&M and a tassel using melted chocolate as “glue”

And your Done! TADA!


Leave a Comment